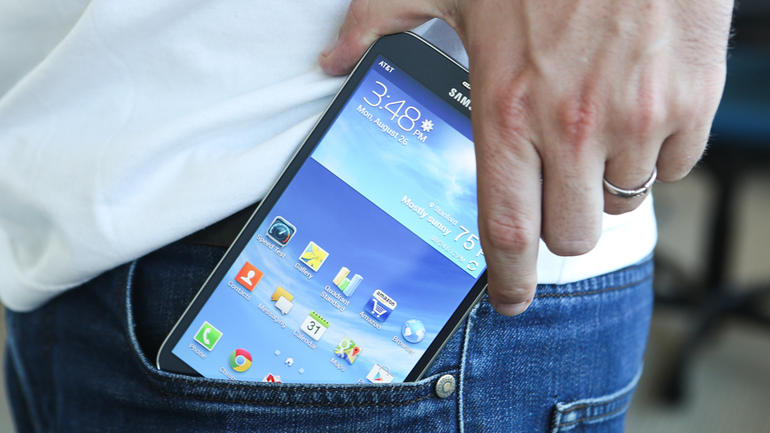
If you are looking for a reason to root the Samsung Galaxy Mega 6.3 smartphone, look no further than the ‘Triangle Away’ app. The ‘Triangle Away’ application will remove the yellow triangle that appears after you flash aftermarket firmware on your device — something that most people do when rooting a device. Further, the Triangle Away application will return the flash counter back to zero so you can send it away under warranty and they will never know.
Speaking of ‘Away’, if the Triangle Away application doesn’t tickle your fancy, try installing the ROM Toolbox. The ROM Toolbox is an application that you will available from the Google Play Store. With it running on your Samsung Galaxy Mega device, you can uninstall the system apps and remove the bloatware from Samsung. Samsung is one of the most iconic smartphone brands in the world. Unfortunately, they are also the most famous for having too much bloatware. remove the default Samsung stock applications and continue using your awesome device for the ultimate Samsung experience.

The CF-Auto-Root tool in this guide is based on the Android 4.4.2 KitKat software update and the KOT49H.I9205XXUDNF2 firmware. It does not mean you need to update the Samsung Galaxy Mega 6.2 to the same KOT49H.I9205XXUDNF2 firmware build ID. You should use that as an indicator so you know you are not too out of date. Some Samsung smartphones and tablets will not boot older images.
Files You Need
- Download the CF-Auto-Root for the GT-I9205 on Android 4.4.2 KitKat from this page.
- You are voiding the Samsung warranty when you choose to root the Samsung Galaxy Mega device. You can head over to the Sam Mobile website and download the stock ROM for the GT-I9205 and your region to unroot and have the warranty working again. Just be sure to flash the right stock ROM so it does not soft brick your device.
Rooting the Samsung Galaxy Mega 6.3 GT-I9205 On Android 4.4.2
- Download the rooting exploit for the GT-I9205 device to the computer and drag it over to the desktop from the default downloads folder.
- Extract the rooting file to the desktop and you should see the CF-Auto-Root tool and the Odin tool pop out onto the desktop.
- Right-click on the Odin executable and choose to run as an administrator.
- Do not make any changes from the default settings of the Odin application after it opens on your computer.
- Enable the USB Debugging Mode on the Mega 6.3 smartphone so it can connect with the computer and use its tools.
- Boot the Samsung Galaxy Mega 6.3 device to download mode and connect it to the computer with the USB cable you normally use to charge the battery on the device.
- Wait until you can see the green light appearing from the Odin user-interface. Anyone without the green ID: COM port should install the universal Windows ADB driver and try again.
- Click the AP button and browse the desktop for the Mega’s rooting file ending in the tar.md5 file.
- Do not make any changes from Odin’s default settings that you get after first opening the app.
- Click the Start button and wait for the CF-Auto-Root file to be flashed on your Samsung Galaxy mega 6.3 device.
- Soon you should see the Odin app give your Galaxy Mega 6.3 the pass message. At that time, check the display of your device for a few new messages, such as it restoring your stock recovery, cleaning up and reboot in ten seconds.
The Samsung Galaxy Mega 6.3 will now boot itself into recovery mode automatically because that’s how Chainfire has programmed the end of his rooting procedure. It must get in the recovery mode or else the SuperSU will not be enabled or installed properly on your device. That means anyone who does not see their Samsung Galaxy mega 6.3 smartphone make it to recovery mode, must boot to the recovery mode manually using the hardware button combination for that.