Last Updated on November 14, 2019 by Mathew Diekhake
Resizing photos is a task that we all do at one point in time. Maybe you want to upload a photo to cloud storage but you don’t like the massive size of the photo, or maybe you’re uploading it to a website that limits the size of the photos. In any case, you’ll need to resize the photos.
When it comes to resizing photos on a Mac, you have many tools to choose to do the task with on the computer. You can use the Photoshop app or any other photo editing app to get your photos resized. However, that requires you to pay for or download a third-party app. What if I say you can do the task using the built-in apps on your Mac?
Preview and iPhoto are two of the apps that you can use to resize photos on your Mac. Both the apps work fine to do the job, and the following guide covers steps for doing the task with each of these apps:
Resizing Photos Using the Preview App on a Mac
The Preview app on your Mac is not limited to only viewing photos, but it can also help you modify your photos, such as resize them for you.
Launch the Preview app on your Mac by clicking on Launchpad in the Dock and searching for and clicking on “Preview.” The app should open.
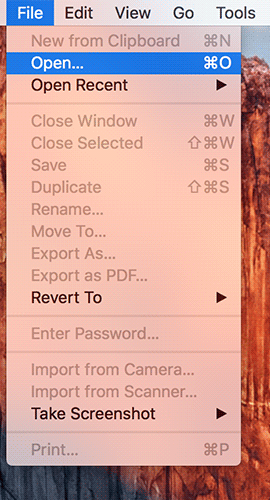
When the Preview launches, click on the “File” menu at the top. Then select “Open” to open a photo on your Mac. That is the photo that is going to be resized.
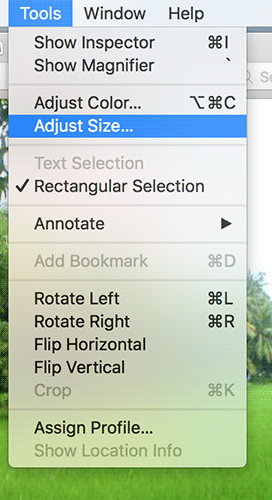
Once you’ve selected a photo to be resized and the photo is open in Preview, click on the “Tools” menu at the top and select “Adjust Size.” The option should let you adjust the size for your photo.
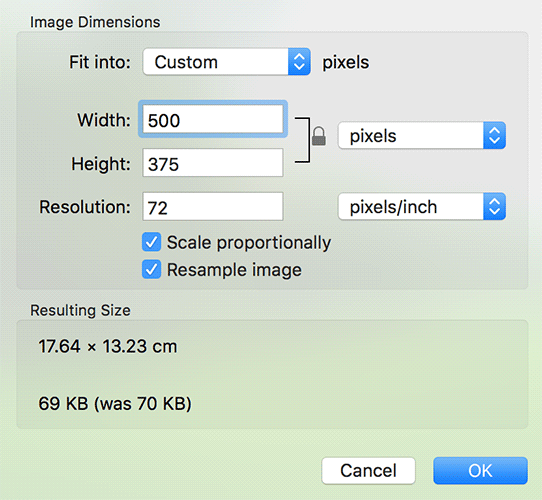
On the following screen, you should be able to enter a new size for your photo. You can enter values in both width and height boxes to define the size of your photo.
When you’re done specifying the size of the photo, click on “OK” at the bottom to save the changes.
The photo has been successfully resized as per your values.
Resizing Photos Using the iPhoto App on a Mac
Besides helping you manage your photos, the iPhoto app also helps you resize your photos, and the following is how you can do that:
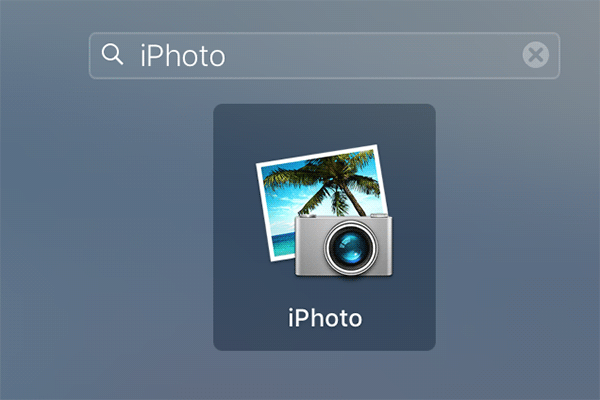
Launch the iPhoto app on your Mac by clicking on Launchpad in the Dock and searching for and clicking on “iPhoto.” The app will open.
When iPhoto opens, click on the “File” menu at the top and select “Import to Library” to import your photo to the iPhoto libraries.
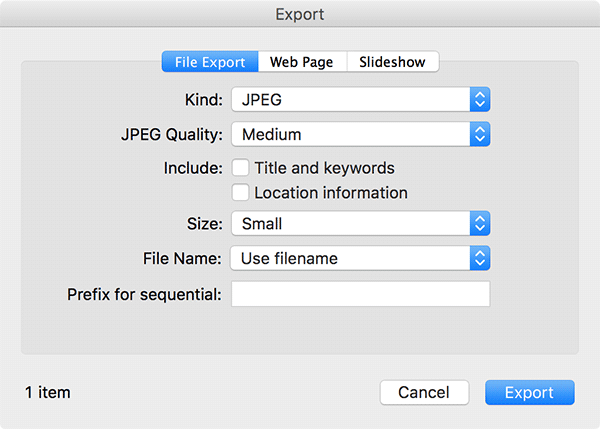
Once the photo has been imported, click on it to select it and then click on the “File” menu at the top and select “Export” to export the photo.
On the following screen, use the drop-down menu for “Size” to resize the photo. You can choose from the predefined sizes, or you can use the custom option to define your size.
Once that’s done, click on “Export” to export the photo in the newly defined size.
You’re all done.
Your selected photo should now be resized, and it’s ready to be uploaded wherever you want.
Let us know if this helped you to avoid the hassle of downloading a third-party app to resize photos on your Mac.
You might also be interested in:
- How To Turn Off The Startup Sound On Your Mac
- How To Automatically Delete Archives After Expanding On Mac
- Some Of The Useful QuickTime Tips To Use On Your Mac
- How To Change The Homepage In Various Web Browsers On A Mac
- How To Play A Single Song Without Bothering iTunes On Your Mac
Have something to say? You can contribute to this tech article by leaving a comment below.


