Last Updated on November 12, 2024 by Mat Diekhake
One of the great things about Macs is that it comes with the built-in tools to help you unarchive your archives. As soon as you boot up your Mac for the first time, and you double-click on a ZIP archive, it will extract there and then use the Archive Utility that comes preloaded on the Mac.
This way of extracting archives is really cool as all you have to do is just double-click on the file, and it will be expanded in the same directory with a folder name same as the archive name. You can then play around with the files that you just extracted. While this all seems right, there’s actually an issue here if you haven’t noticed it.

When you expand an archive, most of the times you don’t need the original archive anymore because of the file that it had have been extracted, and they are available to you. So, the original archive is now useless, and all it’s doing is occupying the precious memory space on your Mac. While you can always go ahead and delete the archive after extracting it, it’s not always the most convenient way and especially when you happen to extract some archives in a day.
So, what you’d like to have here is the feature that helps you automatically delete the archive once it’s been extracted. That way, when you have gotten the archive files out of it, the archive will automatically be moved to the Trash which you can then delete permanently.
Fortunately, the feature is available for the Archive Utility app on your Mac, and it’s not too difficult to enable it. If you’d like to enable the feature to get rid of the archives when they have been extracted, then please follow the following steps, and it should get the job done for you.
Automatically Deleting ZIP Files When They Are Extracted on a Mac
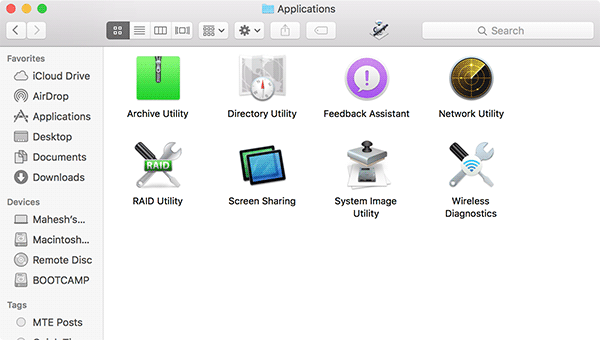
You don’t need a third-party app to do the job. Also, one thing I’d like to mention here is that the Archive Utility app doesn’t show up in the Launchpad. So, if you use it to search for the app, you won’t be able to find it. The app is located deep down in system folders on your Mac, and the following steps should help you get there.
1. Launch Spotlight on your Mac by pressing the Command + Spacebar key combination and then search for and click on Archive Utility. The app should start.

If you’re a geek and are curious to know where exactly the app is located at, then it can be found at the following path on your Mac.
/System/Library/CoreServices/Applications/Archive Utility.app
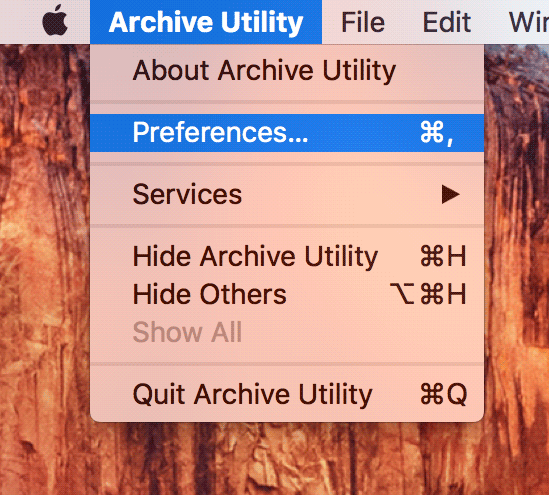
2. Now that the app is open on your Mac, you need to click on the Archive Utility menu on the top and then select the option that says “Preferences…” to be taken to the preferences panel for the app.
3. When the preferences panel opens, you’ll see some options that you can configure for the app.
What you need to focus here on is the option that says After expanding. Using the drop-down menu given next to this option, select move archive to Trash. What it will do is move the archive to the Trash once it’s been extracted. Remember that this does not delete the archive; it just moves it to the Trash and then you can delete it from there.
You also have the option to remove the archive entirely by selecting the delete archive option from the drop-down menu, but that isn’t recommended for many reasons.

4. Now double-click on a ZIP file on your Mac and you’ll see that it moves to the Trash after it has been extracted. It no longer remains in a folder on your Mac.
So, that was how you could make an archive to move to the Trash once it’s been unzipped so that it no longer eats your memory space.
Let us know if this helped you!
You might also be interested in:
- Some Of The Useful QuickTime Tips To Use On Your Mac
- How To Change The Homepage In Various Web Browsers On A Mac
- How To Play A Single Song Without Bothering iTunes On Your Mac
- How To Add A Book To The iBooks Using An Email And Not iTunes
- How To Add Dividers To Separate Apps In The Dock On Your Mac
Have something to say? You can contribute to this tech article by leaving a comment below.