Last Updated on December 26, 2022 by Mat Diekhake
The DISM Cleanup image (Deployment Imaging and Servicing Management) tool is available for administrators to use if the Windows image develops a problem that can’t be fixed with a standard service. If you ever get faced with an issue that’s serviceable, DISM can overwrite the current files with new versions and fix the problem that way.
You can use the DISM cleanup image tool if you have tried using the sfc/ scannow command in Windows but it was unable to fix the problem. You should try running the SFC command first before using DISM (if you haven’t already) just to check that it can’t fix the problem. The SFC command can scan and repair the system files without you needing to do anything else a lot of the time.
You can use DISM from the Command Prompt and the Windows PowerShell. The commands you need to enter will differ between the two, however, so you’ll need to know the right commands for the particular app you choose to use. You’ll need to open the elevated version of the Command Prompt and the Windows PowerShell before you can use DISM though, which means you need to be logged into Windows 10 with a Microsoft account or a local account that has the administrative permissions assigned to it.
How to Repair Windows 10 Image with DISM from Command Prompt
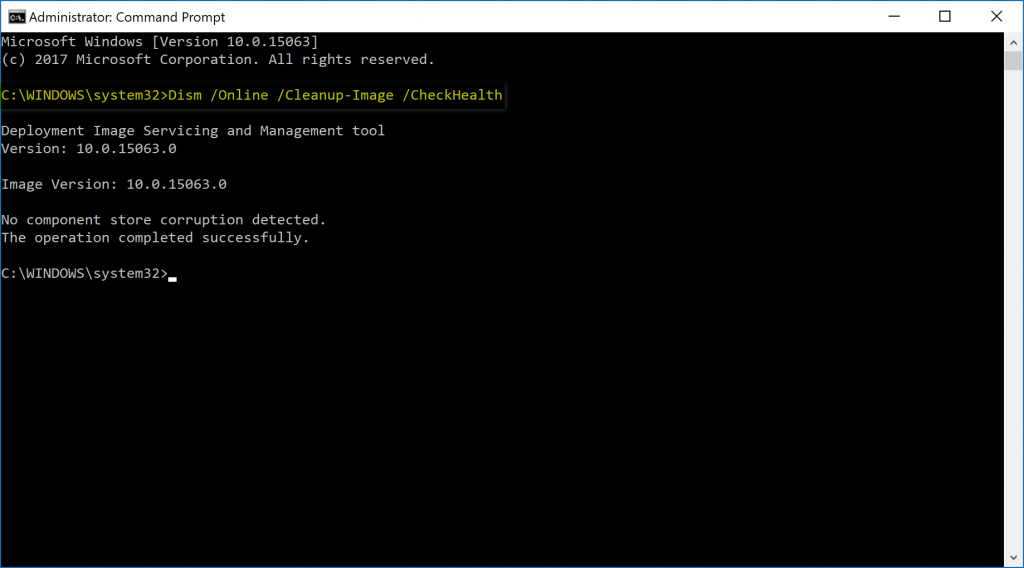
Check Health
You can run the different DISM commands to check for the health, scan for the health and repair all from the command line. To get started, make sure you open an elevated version of the Command Prompt window and then type the Dism /Online /Cleanup-Image /CheckHealth command and hit the Enter key on your keyboards. DISM is now checking for the health of your images. If there is an issue here, it will likely have been flagged as corrupt. If there is a corrupt image, it then works out of the corruption can be repaired or not.
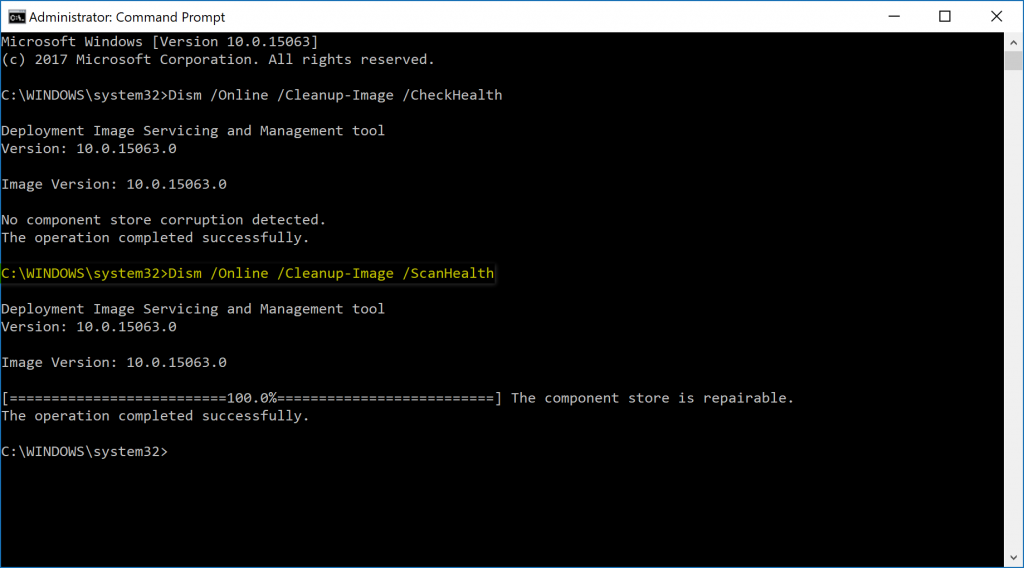
Scan Health
Next, type the Dism /Online /Cleanup-Image /ScanHealth command and hit the Enter key on your keyboards to scan the image for any component store corruption. Once the component store corruption has been scanned, you can then run the next command to repair the issue with the image if there is one.
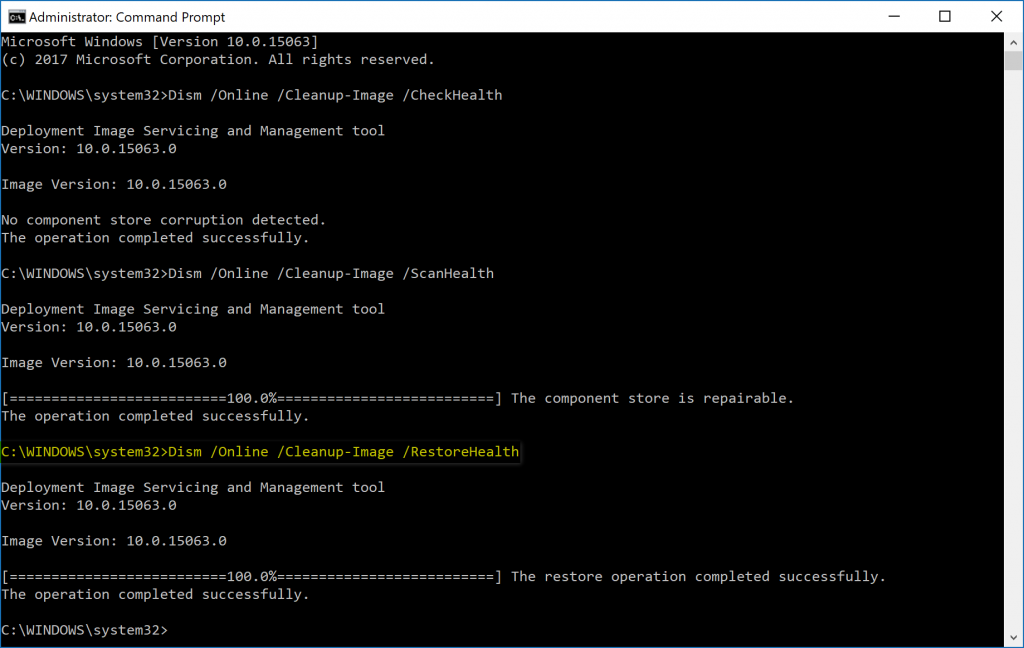
Restore Health
Lastly, type the Dism /Online /Cleanup-Image /RestoreHealth command in the command line and hit Enter on your keyboards to restore the heath of the images. The command for restoring the health of the image scans it for component store corruption, records the image corruption and saves the information that is has gathered to a log file, and then will then repair the image automatically. You don’t need to do anything after running the previous two scans if you chose to run those ones instead, but you should reboot the computer after running the restore health command for the computer to be fully operational after the scan.
How to Repair Windows 10 Image with DISM from Windows PowerShell
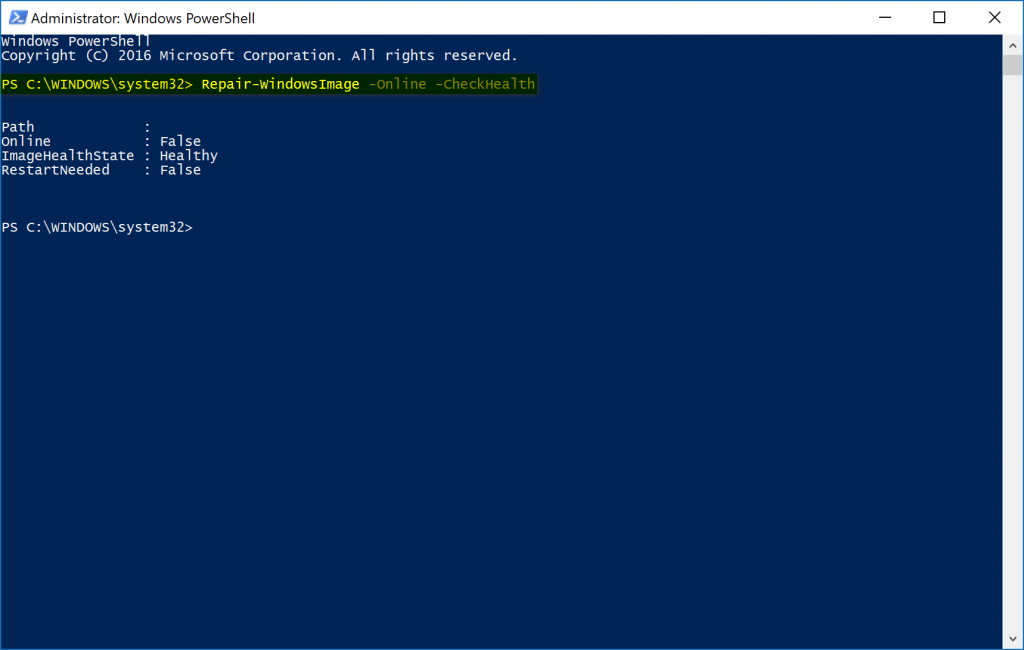
Check Health
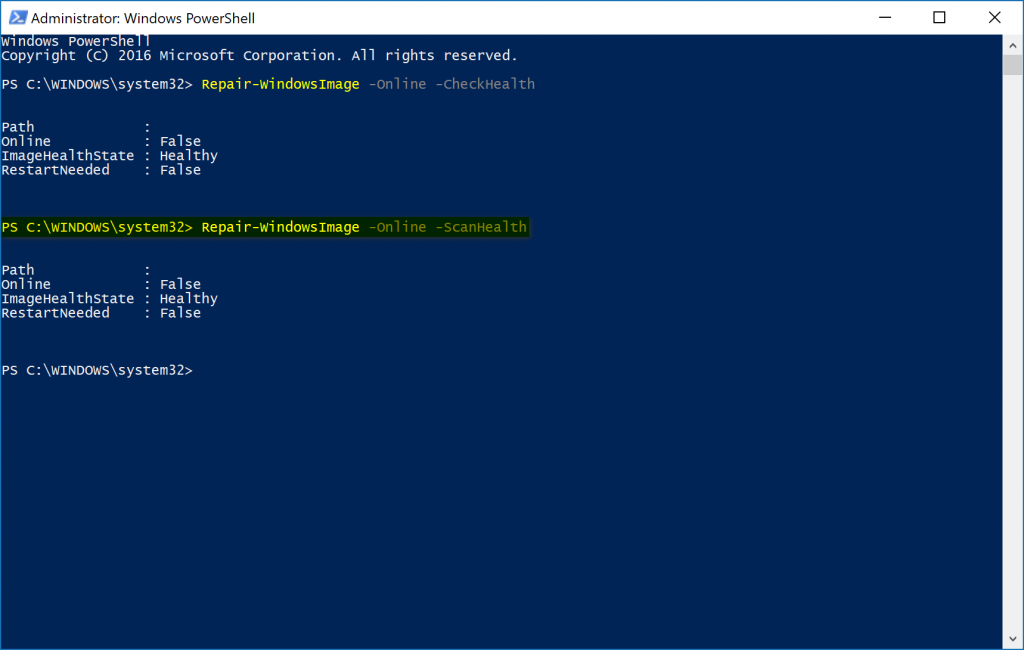
You can also run DISM from the Windows PowerShell. The commands you enter are different, but they do the same three operations that were available from the Command Prompt above. To get started, you’ll need to open the elevated Windows PowerShell window first and then type Repair-WindowsImage -Online -CheckHealth and hit the Enter key on your keyboards. Just like with the Command Prompt, you use the check health command to see if the image is flagged as corrupted by a failed process and if that image can be repaired or not.
Scan Health
Next, type the Repair-WindowsImage -Online -ScanHealth command and press the Enter key on your keyboards when you want to scan (but not fix) the image for component store corruption. The scan health won’t do anything with regards to fixing any issues, but it does check for component store corruption and then keep a record of what it finds in a log file.
Restore Health
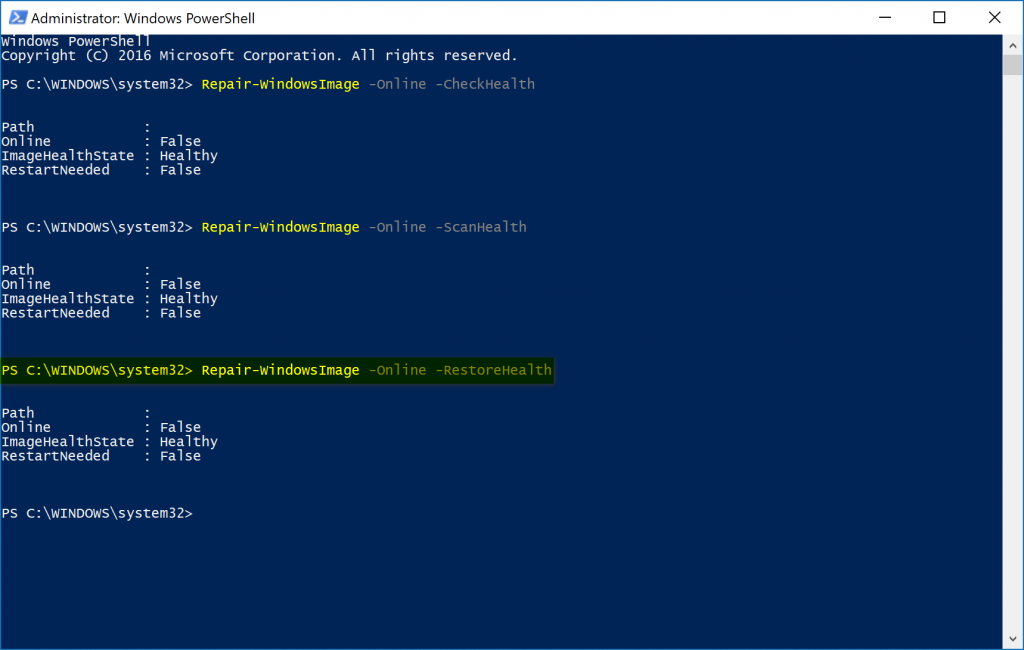
Lastly, type the Repair-WindowsImage -Online -RestoreHealth command in PowerShell and then hit the Enter key on your keyboards if you want to kill all birds with one stone. The restore health command scans the image for component store corruption and records it in a log file, and then automatically fixes the problem.
If you want to know how to repair corrupted Windows System files with DISM Commands, the above guide is your answer. DISM isn’t perfect, and there’ a chance you might run into some errors along the way when attempting to run your command. If that’s the case, then other Windows websites should have some more information regarding those specific errors that you face. You should also check the information available from the log files if the commands you tried do fail. Those log files can contain valuable information on what you should look to do next.
Related Tutorials

February 3, 2019 @ 06:58
I feel like DISM is important enough for it to have its own tool that doesn’t need to be accessed with commands from the command lines. No one really used command lines apart from administrators.
It would be nice to instead of having to remember the “DISM /online /cleanup-image /restorehealth” for there to be a one-click tool available from the Settings app or Control Panel instead.
They say that the Control Panel is slowly being removed for the Settings app, but I think there are some things that should stay in the Control Panel which are the more complicated things, but still things that you need. DISM might be a bit complicated to put in the Settings app for everyone to see, but it’s definitely important enough to have a developed tool made available for it from the Control Panel.
January 12, 2019 @ 18:41
I have a desktop computer that every now and then will shut down without any warning from Windows — no blue screen, no green screen nothing.
A friend told me to look into this DISM thing. After some research, I want to run the dism /online /cleanup-image /restorehealth command to try to restore the computer’s health but before I do I wonder if this will change the software configuration I have or if it will leave everything as is?
January 12, 2019 @ 18:50
I’m not an expert on what might happen to a computer during DISM command, but if my experience is anything to do by, it’s highly unlikely Windows will make changes to the system without letting you know about it first. Windows is usually very cautious with people’s data and will give plenty of warning if you’re about to lose something that needs backing up.
That said, you should always take a backup of the data anyway just in case. When it comes to solving problems, you just never know what might happen.