Last Updated on October 6, 2022 by Mat Diekhake
While we like to be exact and thorough in our delivery, sometimes a clever developer manages to produce something we can’t help, but show off. That’s happened yet again here today when a developer from XDA has come up with a one-click root solution that is easily applied in under a 60 seconds or less. What’s more, the method is easily applied on any compact or original Z1 variant running any firmware or software version.
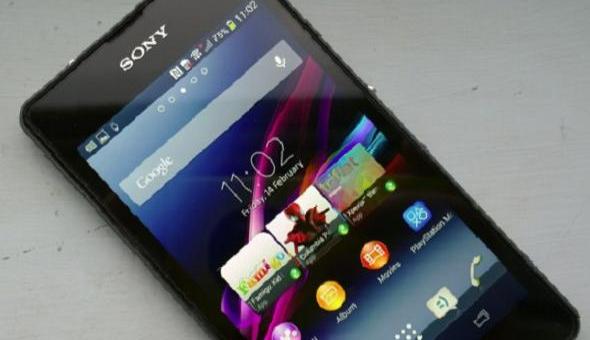
The Xperia Z2 comes out of the box with Android 4.2.2 Jelly Bean and saw the following updates: Android 4.3 JB, 4.2 Kitkat and 4.4.2 Kitkat since then. No matter which one you are currently running it will work perfectly. However, I personally recommend everybody at least updates to the latest Kitkat to witness the best quality OS packed with features that aren’t available on the others. With it people have wireless printing, improve multitasking, better battery life, white status bar icons, camera shortcuts from the lock screen, expanded Emoji icons and unified messaging for all SMS and chat sessions. In addition to this, there is full-screen immersive mode that takes away the status bar when viewing apps full-screen, landscape keyboard improvements, new S features, closed captions for Samsung and Google subtitles and more.
Details of Note
- Please note before continuing that this is a custom procedure that will unchain your smartphones and void the warranty if there is any remaining at the present time. When installing a Custom ROM, root applications or custom recovery systems we must unlock the bootloader and therefore it is noticeable by the manufacturers when they open it up. There is no way around this other than to stick with the stock software issued by the carriers and Samsung.
- Along similar lines, because we do alter the devices significantly, issues can arise and we are not responsible for them. We try to create the best guides we can use all the knowledge we have, but there is no guarantee that you walk away unscathed.
- Moreover, backing up the handset is never as critical as it is now. Backup the contacts or sync them with a Google account assigned to the smartphone or with Samsung Kies. Backup the SMS and MMS text if you have any you don’t want to risk losing, make copies of the photos, videos, songs and albums from your favorite artists and any other data you have installed. You can use the internal memory or the external memory options. Alternatively people can use the application called Helium that is available for download from the Google Play Store to help make copies of the market apps.
- Visit the Develop Options menu to enable USB Debugging Mode; it ensures we have no troubles connecting to the computer system unit to the smartphone.
- Battery percentage is not important because the USB charging feature will kick into gear. When plugged in, the USB charging starts charging the battery. We are connected to the computer for the duration of this guide; therefore, do not worry about saving battery unless you know the USB charging feature isn’t working. In that case, make sure you have at least 55% battery power before starting the tutorial.
- As a refresher, the battery gives a 3000 mAh capacity and offers 13 hours talk-time and 36 days standby time for the original Z1 handset. The compact specs will decrease from that because it is all-round less of everything.
How To Root The Sony Xperia Z1 And Xperia Z1 Compact Quickly In Under A Minute
1. Download the One-Click Newsroot.exe package from here.
2. Save it to the C: Drive for safe keeping or the desktop if you want to delete it after the guide finishes.
– the desktop is easier, but clutter results in slower loading times
– the C: Drive takes longer to locate a file, but is a smart way to store data
3. Unzip the package
– if you need help try using WinZip or the open source 7Zip
– the open source option is free and works just as well.
4. Fetch the USB cable
– If you can’t find it check the phone charger
5. Run the.exe file Newsroot
6. Check the option that says check this to root your phone after the Newsroot shows up on the screen.
7. Follow the prompts to complete the installation.
8. Close the pages down.
9. Move the mouse to the taskbar and inside the system tray, click the “safely remove hardware” icon. Follow the instructions to stop the USB Mass Storage device.
10. Now you can disconnect the smartphones from the computer safely.
That’s all.