Last Updated on December 26, 2022 by Mat Diekhake
Many people loved the Start menu that became available in the Windows 7 operating system versions, but the Start menu that you get with Windows 10 is—in our opinion—even better again. The reason we prefer the Windows 10 Start menu is that you can do more with it than you could from the older Windows 7 versions.
As just about everyone knows by now, the Windows 8 and Windows 8 .1 versions did not come with a Start menu at all, and most people didn’t even bother upgrading to Windows 7 from Windows 8 mainly due to that reason. But the way Windows developers have incorporated the tiles from Windows 8 into the Windows 10 Start menu means that its existence wasn’t for nothing.
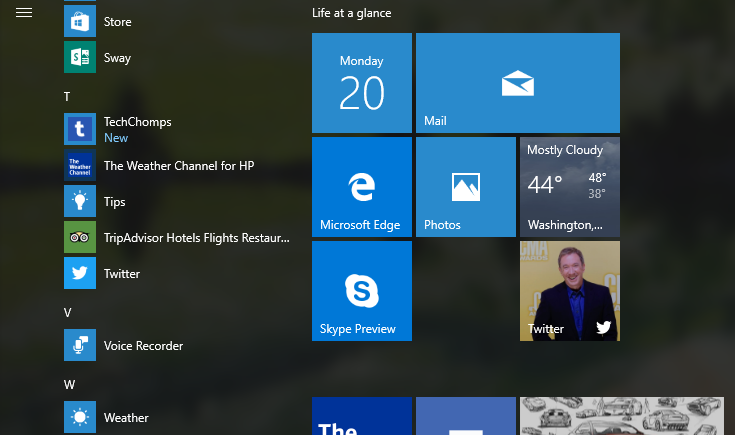
When you click on the Windows 10 Start menu, you can see two sections: “Life at a glance” and “Play and Explore.” These tiled areas are designed to offer you quick access to applications and programs. But you can do more from the tiles than just get access to the applications and programs that are installed on Windows 10. You can also get access to folders and websites.
One of the most common things to do after turning on a computer that is running on a version of the Windows 10 operating system is to open up a web browser then and start using the internet. When you use the internet, you are viewing websites. Most of us have a few favorite websites that we like to visit more than any others. Usually, these are to do with our interests that separate us from other family members that may use the same computer. Those favorite websites that you visit more than any other are also available to be pinned to the Start menu in Windows 10. Doing so means that you don’t have to click on the browser icon on the desktop or taskbar and then search for the website. You can just click directly on the icon from the Start menu.
How To Pin Websites To Start Menu In Windows 10
The first thing you need to do is create a desktop shortcut to a website in Windows 10. (You only need to follow the first part of the guide that directs you to the Internet Explorer browser and then right-clicking on the page to create the desktop shortcut and nothing more.)
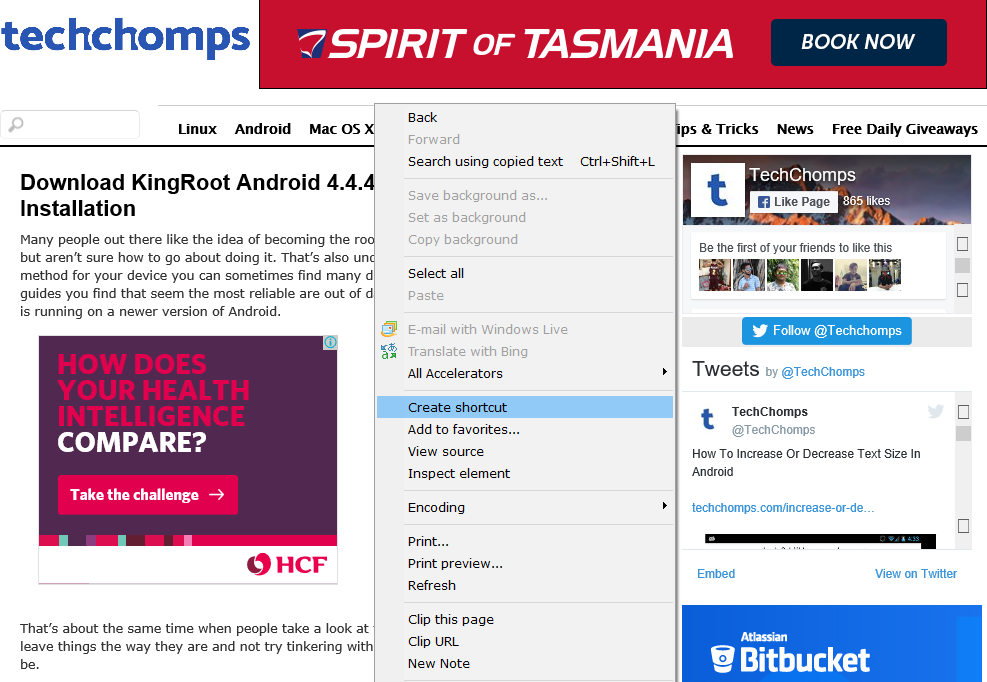
Note that you can actually create a desktop shortcut from other browsers in Windows 10 these days also. If you are using Google Chrome or Microsoft Edge, for example, you can just browse the website that you want to create the desktop icon for, and then click on the logo that is available to the left side of the URL address and then click and drag it over to the desktop. In order to be able to click and drag it, though, you first need to “restore down” the browser window which is done by clicking on the button between the “minimize” and “close” button that are available in the top right-hand corner of the browser.
Now you should all have the website desktop icon available on the desktop.
![]()
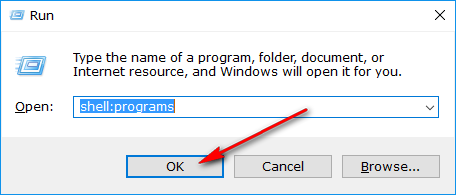
After you have created the desktop icon, press the Windows + R hotkey combination to open the “Run” dialog box on your version of the Windows 10 operating system.
With the Run dialog box open, type “shell:programs” and then click on the “OK” button.
Head to the desktop and copy the desktop shortcut for the website by right-clicking the mouse on the icon and choosing to copy it. Then paste the shortcut into the “programs” folder that is already open.
![]()
The website shortcut is now available from the “All Apps” list that is available after you click on the Start menu. Scroll down the “All Apps” list until you get to the name of the website. The list is done in alphabetical order. (Don’t panic if you do not see it down the list. It may be that you need to restart the computer and log back into your Microsoft account before you can see it there.)
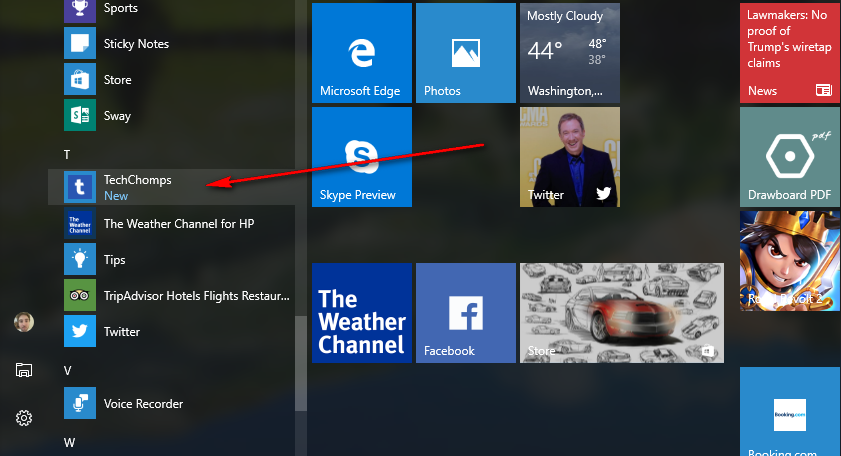
From there, all you need to do is right-click on the listing from the “All Apps” menu and then choose the “Pin to Start” option to pin it to the Start menu in any version of the Windows 10 operating system.