Last Updated on December 30, 2022 by Mat Diekhake
The Windows 11 desktop operating system has software updates similar to what you get with a smartphone: they want to roll out every so often to update your device with the latest security updates, et cetera. Occasionally, you also get new Windows features in the Windows updates.
Though it is a bad idea to disregard them altogether, sometimes you may wish to pause them temporarily. And if you have paused an update, you will need to resume them again at a later date.
This tutorial demonstrates how to pause and resume Windows software updates when using a version of the Windows 11 operating system.
How to Pause/Resume Updates for Windows 11
You can pause and resume updates in the Settings app in Windows 11. Here is how:
1. Open the Settings app.
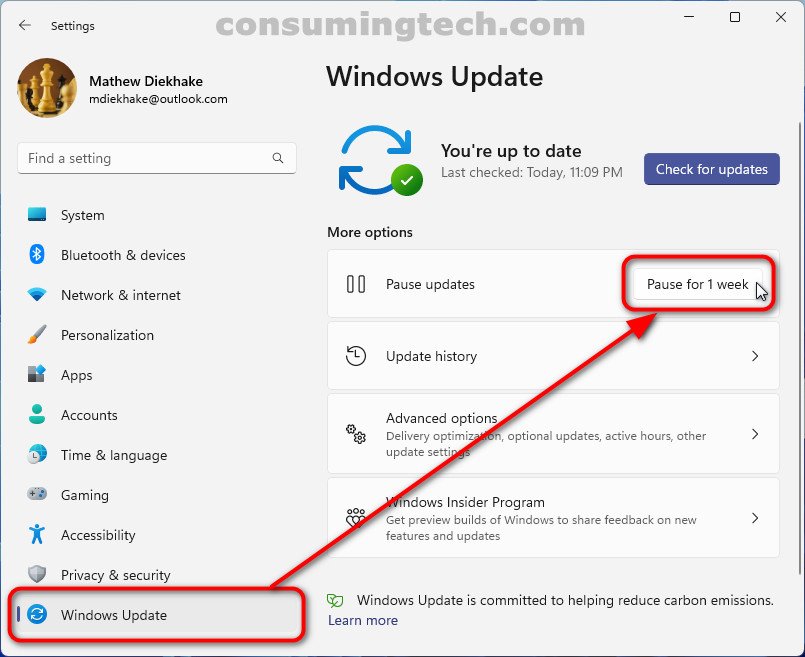
2. Click Windows Update.
3. Under More options, click the Pause updates drop-down menu and select the time you want to pause the updates.
Note: You can pause updates for up to five weeks. Once that time has elapsed, if you have not resumed the updates already, they will automatically continue. Windows does this because it’s not safe for your computer to have them paused for longer.
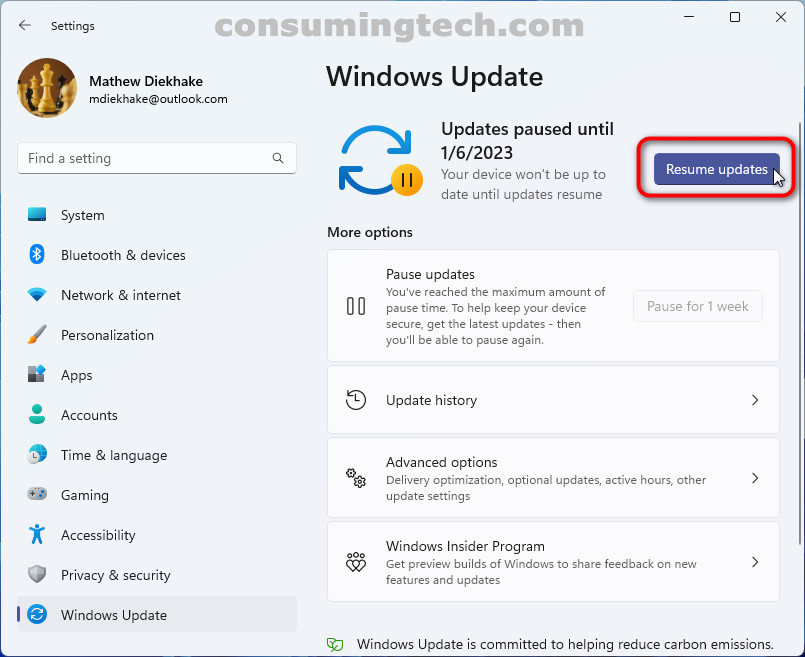
4. To resume the updates, head to Settings > Windows Update and click the Resume Updates button.
In conclusion, that is how to pause/resume updates in Windows 11.