Last Updated on September 20, 2024 by Mat Diekhake
 Freedoms of the internet are key to being educated enough to make good decisions.
A lot of people out there will suggest that the internet is a terrible thing, filled with fake news and so much freedom that it’s like one big written riot; so many independent publications saying whatever they want and so many faces reading a bunch of incorrect words disguised as facts. For all of the shortcomings that the internet has, they still don’t come close to making the internet overall a negative thing though.
Young adults today are far more educated than they were decades ago thanks to the masses of free information out there online. Don’t know anything about Fascism? Look it up. Don’t know the difference between Democrats and Fascists? Look it up. If you come across something that doesn’t sound quite right then keep looking, you’re bound to find more pages written by other publications that can help you get a better understanding of the issue at hand.
You’ll likely hear quite a lot of incorrect statements that people have learned from webpages they shouldn’t have visited, but it’s a small price to pay for the number of positive things coming from other webpages.
There are still some countries out there that like to control the internet so it censors what its citizens can see. It might seem like they only have the people’s good interests at heart, but what if they don’t? What if they wanted to prevent opinions formed against their own government or restrict the influence of its people? There are plenty of ways you can manipulate people by taking away their freedoms. I couldn’t imagine living in China, North Korea, Bahrain, or several other countries that don’t allow its citizens the freedom to browse the internet for instance, regardless if they have left or right economic policies.
Believe it or not, today’s operating systems also like to control the people who use them. It shouldn’t be that surprising given that these are corporations we’re talking about, and why would they not have their own best interests at hand? Apple locks its operating system to stop third-parties from being able to add more to it, like what we used to see from Cydia applications and tweaks from the Cydia store. Cydia was developed to help develop extra features that the standard operating system didn’t support, and it became really popular too. But if it takes away from Apple’s overall revenue in some way, then they seemingly want to be able to control people and stop it from happening.
Though the Android operating system is fundamentally different to Apple’s iOS, they too have blocked off the operating system for any third-party developers to add anything that required access to the root file system before they can run. Where Android differs from Apple though is that it has never necessarily taken a stance against other people making money from their work; it alleged to be locked by default to help people have better security. And we have no reason to doubt Android because, unlike Apple, whose ostensibly professed its actions were for helping users get better security among other things, they do actually allow for people to unlock the operating system should they choose.
Details of Note
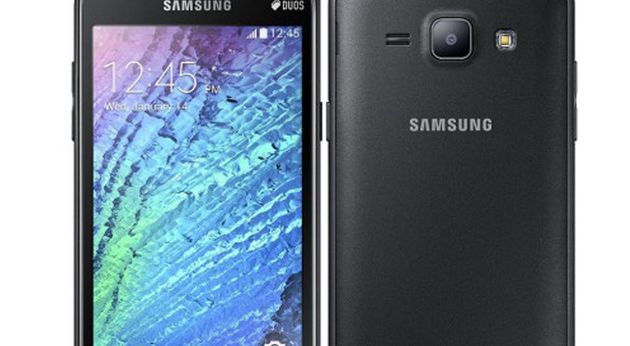
- The custom recovery images available in this guide are only to be installed on the Samsung Galaxy J1 Ace (SM-J110) smartphone. Most devices have a custom recovery image developed specifically for it, and you shouldn’t install one that is intended for another device unless advised it is okay by a professional.
- The codename for the Samsung Galaxy J1 Ace (SM-J110) TWRP Recovery image is “j1acelte.” You will see that codename in the TWRP image file path and also from your About Device menu so you know you are flashing the right file on the right device.
Files Required
- Download on your computer the latest version of TWRP Recovery: Primary (Americas) | Primary (Europe).
How to Install TWRP Recovery on Samsung Galaxy J1 Ace (SM-J110)
Note: The Odin flashing tool is really easy to use, but it only works on the Windows operating system. You won’t get the flashing tool to load on a Mac or Linux computer. It doesn’t really matter what version of the Windows operating system that you’re using as long as it is something above Windows XP.
1. Download and install the Samsung USB drivers on the computer if you don’t have them already.
2. Download the firmware (.tar) file from the links above directly to the computer. Extract the file by right-clicking on it and choosing the option to extract. When you do, you’ll see the tar.md5 file inside. That’s the file you’ll be using to do the flashing.
3. Download the Odin flashing tool. It doesn’t really matter what version, but the latest is the most up to date so grab that one. Extract the Odin file and then double-click on the Odin executable file (.exe) that is found from within the Odin folder after extraction. You should now have the Odin interface open on the computer and waiting for you to connect to it.
4. Boot the Samsung mobile device into the Download Mode by first powering it down and then rebooting by holding the Volume Down + Home + Power keys at the same time.
5. A yellow warning triangle will come up on the device’s display. At this time you need to press the Volume Up button. You’ll then see the device getting into the Download Mode. It’s then ready for the flashing.
6. When in Download Mode, connect the Samsung mobile device to the computer with the USB cable.
7. If you have installed the USB drivers correctly, the Odin flashing tool should detect your device. You can tell this by observing the ID: COM port lighting up with a color, usually yellow or blue.
It doesn’t matter what color, it’s the lighting up that counts.
8. After the device is picked up by Odin, click on the PDA or AP button, depending on what button your version of the Odin flashing tool has.
9. Navigate to the stock ROM folder and upload the tar.md5 file to this location in Odin.
10. Without changing any of the default settings, click on the Start button in Odin, and the flashing then begins.
11. Wait until Odin shows a Pass message before disconnecting your device.
You can now close the Odin flashing tool and continue using your computer if you like.
When you’re installing custom recovery images, you should be thinking about committing to them long-term. That is to say that you don’t really have any intention of running a stock software update from the manufacturer anymore and you’re happy with running custom ROMs if you are planning on installing a custom ROM.
On the other hand, if you are just installing a custom recovery image for the sake of getting root access, then as long as you haven’t made any changes to the system partition, you shouldn’t be running any risks of system instability. Often people get root access with SuperSU flashable zip from a custom recovery and then install a root application such as Titanium Backup to help with the removal of system apps. A system app is an app that comes from the system partition. Thus flashing a stock software update after doing that can result in unexpected behavior when installing official updates again. The reason for this is because an official update never actually makes any changes to the system partition; it doesn’t have any need to. But once you have made system partition changes, then that’s when official updates can do strange things.
For those of you who are sure that the custom recovery image needs to go, then you can flash the stock recovery again one of two ways. When you do the flashing, you never have to remove the custom recovery first. You simply flash over the top of it, as your Android operating system must have at least some type of recovery installed at all times.
To just flash the stock recovery and nothing else, find the Samsung stock ROM that is made for your device, unzip the package and then you’ll find the recovery image inside. You can then flash that recovery image file using the same method that you used for installing the custom recovery. Or as an alternative, you may also flash the entire stock ROM using a flash tool, and when you do, it’ll automatically replace the custom recovery image with the stock one that’s found inside.
That’s all.