Last Updated on March 31, 2017 by Mat Diekhake
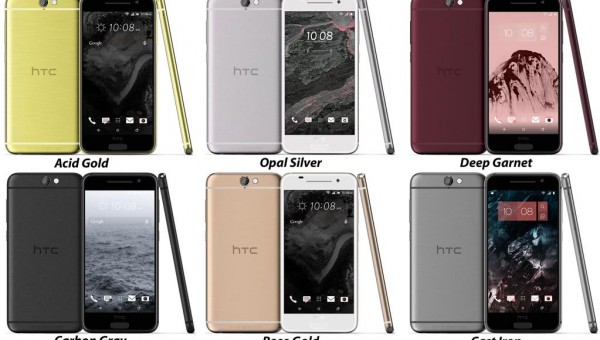
We’ve already created tutorials for learning how to root and install a recovery on the HTC One A9 device and now it’s time to learn how to take a screenshot. Taking snapshots on smartphones are incredibly common and they don’t come with many consequences. It’s that reason that they are generally easy to take — along with the fact that you need to have an easy button combination for you to take timely pictures. The main difference between taking a picture and a screenshot on the HTC One A8 smartphone is a screen takes the picture of what’s on your devices display while the photo takes the picture of what’s in front of your device in the real world.
Screenshots work for people who have a rooted HTC One A9, and unrooted A9, a locked or unlocked device from a phone carrier network and any other potential changes that might vary between devices. You can even use the same hardware key combination from a custom ROM. Those of you running CyanogenMod custom ROMs can record the screen and take a screenshot whereas those of you without a custom RM can only takes screenshots. If you don’t have root access you can install apps from the Google Play Store to give you a similar screen recording experience but none will work native from your Android operating system.
Taking a screenshot on the HTC One A9
- Start with your device turned on and head over to the picture you want captured on your screen.
- When you are ready to take the screenshot, press the Volume Down and Power buttons at the same time.
– the trick is to time it as close to being exactly the same time as you can or else it won’t take the picture. - You can tell it has worked by witnessing the screen flash and a shutter sound going off.
- Now navigate to your photo Gallery and check out the new Screenshots folder. Alternatively, slide down the notification bar.
Those of you with the A9 by HTC preferring to use apps and get in on the extra features like editing can install the Screen Grabber or the Screenshot Ultimate apps.