Last Updated on November 16, 2019 by Mat Diekhake
By default, the Finder app on your Mac doesn’t show the files that are marked as hidden by the operating system. Usually, these files are system files that your OS uses to manage features on your Mac, and it thinks you don’t need access to these files, and it’s also dangerous to provide you access to these files as you may accidentally end up modifying a file that breaks a feature on your machine.
However, there are times when you need to access the hidden files on your Mac. Maybe you’re following a tutorial that requires you to access a hidden file, or maybe you’re doing your own task, and you do want to see the hidden files. Since the Finder app does not show such files by default, you need to find a way that helps you reveal the hidden files.

Fortunately, there’s an easy way to get Finder to show the hidden files on your Mac. There’s a command that enables Finder to show you all of the hidden files on your machine, and there’s then another command that restores the settings to the default (not showing hidden files).
Here’s how you can go about doing that on your Mac:
Show Hidden Files in the Finder on Your Mac
You don’t need a third-party app to do the job as the command can be executed right from the Terminal app on your Mac.
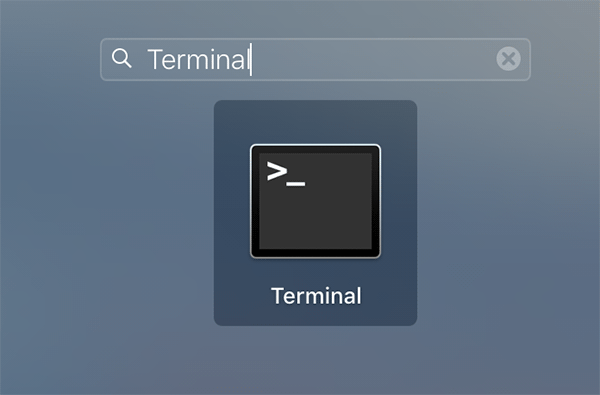
Launch Terminal on your Mac by clicking on Launchpad in the Dock and searching for and clicking on “Terminal.” The app should launch.
When Terminal launches, type in the following command and press Enter. What this command does is rewrite a system setting that handles the visibility of files in the Finder app. When it’s executed, it allows for the Finder to show hidden files.
defaults write com.apple.finder AppleShowAllFiles YES

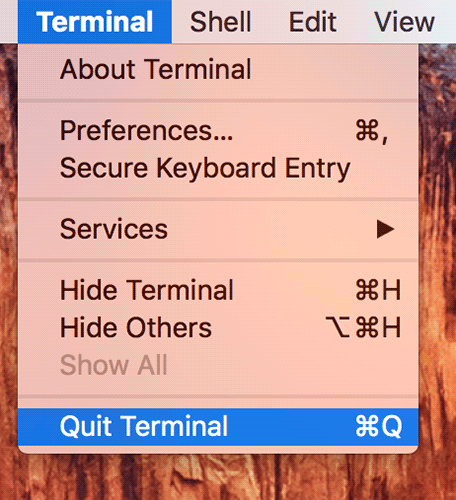
When the command has been executed, quit Terminal as you no longer need it by clicking on the “Terminal” menu on the top and selecting “Quit Terminal.”
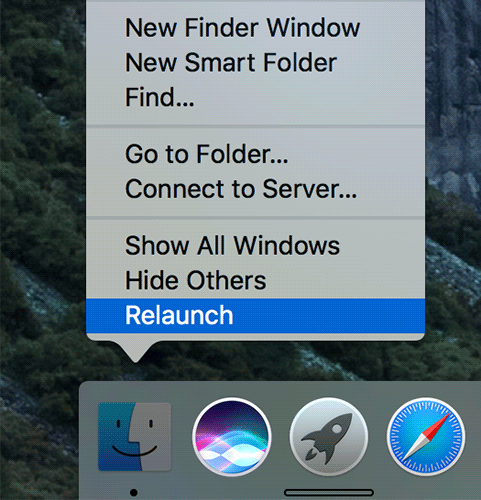
You now need to relaunch the Finder app so that the changes can be brought into effect. To do that, hold down the “Option” key on your keyboard and right-click on the Finder app in your Dock and select the option that says “Relaunch.” It will relaunch the Finder app.
Open your hard disk drive in Finder and you’ll notice you can now see all of the hidden files that were previously invisible.
So, that was how you could get the Finder to show hidden files on your Mac.
Hiding the Hidden Files on a Mac
If you’d like to hide the hidden files again on your Mac, then you can use the following steps to do so:
Open Terminal on your Mac by clicking on Launchpad in the Dock and searching for and clicking on “Terminal.” The app will open.
When Terminal opens, type in the following command and press Enter. It rewrites a system setting and gets it back to the default.
defaults write com.apple.finder AppleShowAllFiles NO

Quit Terminal when the command has been executed.
Relaunch the Finder app by holding down the “Option” key on your keyboard and right-clicking on the Finder app in the Dock and selecting “Relaunch.”
You’ll no longer see the hidden files in Finder on your Mac.
So, that was how you could get the settings back to the default.
Let us know if this helped you get access to the hidden files that you really want to access for your tasks.
You might also be interested in:
- How To Remove The Siri Icon From The Menu Bar Of Your Mac
- How to Change the User Agent in Various Browsers on Your Mac
- How To Merge And Demerge Windows In macOS Sierra On Your Mac
- How To Take A Timed Screenshot On Your Mac
- Some Of The Ways To Take A Screenshot On Your Mac
Have something to say? You can contribute to this tech article by leaving a comment below.