Last Updated on November 15, 2019 by Mat Diekhake
Taking screenshots is really great as that way you can show others exactly what you have got on your screen and these screenshots also help you write detailed tech tutorials that the users can easily understand.
While there are various ways to take a screenshot on your Mac using keyboard shortcuts, there does not seem to be a way for capturing a timed screenshot using the keyboard shortcuts. Sometimes you may need to capture a screenshot after a particular time, such as after 10 seconds so you can prepare your Mac’s screen accordingly. Fortunately, though, you have a built-in app on your Mac that can help you capture timed screenshots on your Mac.
The app that we are talking about is called Grab which comes preloaded on almost all the Macs. You can launch it and take screenshots in timed mode.
Here’s how to do exactly that:
Taking a Timed Screenshot using Grab on Your Mac
Grab is a really wonderful app on your Mac that helps you take timed screenshots in addition to helping you take the normal screenshots on your Mac.
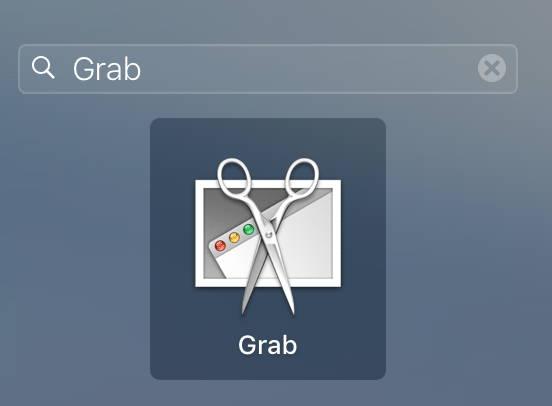
Launch the Grab app on your Mac by clicking on Launchpad in your Dock and searching for and clicking on “Grab.” The app should launch.
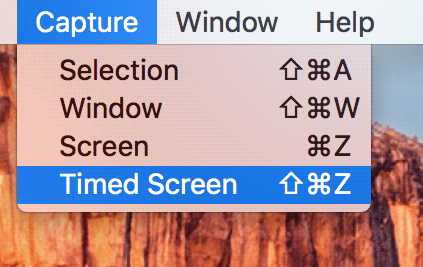
When the Grab app launches, click on the “Capture” menu at the top and select the option that says “Timed Screen.” You can also trigger the function by pressing the Command + Shift + Z key combination on your keyboard. The Grab app must be open while you are pressing the key combo or it won’t work.
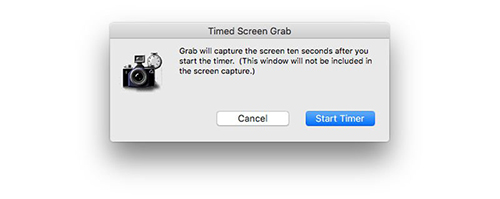
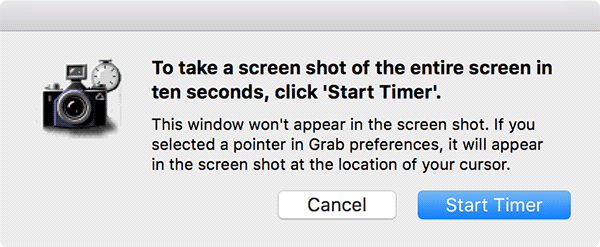
You will see the following dialog box on your screen. What it says is that it will capture your screen after ten seconds, remember ten seconds, of pressing the “Start Timer” button.
The dialog box will continue to appear even when your screenshot is being taken, but the box will not be captured. So there are no worries.
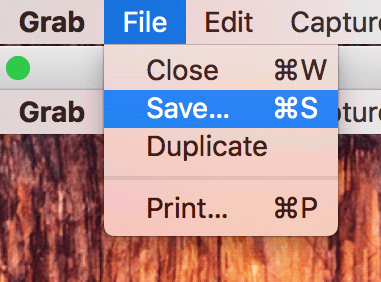
As soon as the screenshot is captured, Grab will show you the screenshot in its interface, and you can click on the “File” menu at the top and select “Save” to save the screenshot on your Mac. Please note that Grab does not save your screenshots automatically unlike the built-in key combo method of taking screenshots; you must save it from the File menu, or you will lose it.
So, that was how you could take a ten seconds timed screenshot on your Mac.
While ten seconds work just fine to take a screenshot, some people prefer to have their customized time for capturing screenshots. If you’re one of those people, the Terminal app can help you do that.
Taking a Timed Screenshot using Terminal on Your Mac
With Terminal, you can specify a time for taking the screenshot (such as 5 seconds, 10 seconds, 15 seconds, and so on) after which the screenshot will be taken and saved.
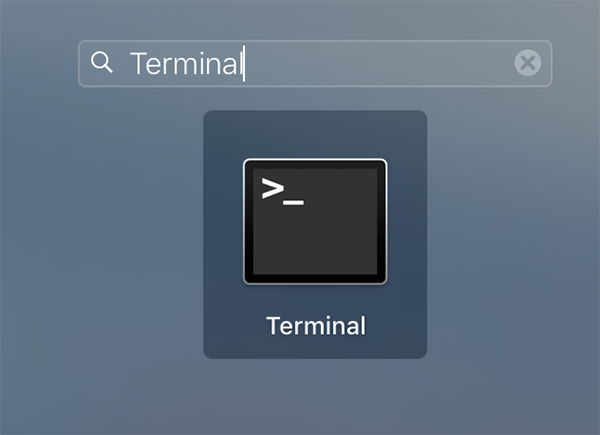
Launch Terminal on your Mac by clicking on Launchpad in the Dock and searching for and clicking on “Terminal.” The app will open.
When Terminal opens, type in the following command and press Enter. Make sure to replace “15” in the following command to however seconds you want. The last part of the command specifies the name of the screenshot image. You can also change it to yours if you would like.
screencapture -T 15 MyScreenshot.jpg

If you ran the above command, a screenshot would be captured after 15 seconds and saved with the name MyScreenshot.jpg.
So, that was how you could take a timed screenshot using the Terminal app on your Mac.
Above were the ways to take a timed screenshot – which is many people’s requirement – on a Mac. Let us know if this helped you!
You might also be interested in:
- Some Of The Ways To Take A Screenshot On Your Mac
- How To Turn The Location-based Suggestions Off On Your Mac
- How To Quickly Open The Library Folder On Your Mac
- How To Share Your Mac’s Internet Connection With Others
- How To Prevent Safari From Launching iTunes When Visiting App Store Webpages
Have something to say? You can contribute to this tech article by leaving a comment below.