Last Updated on March 28, 2017 by Mat Diekhake
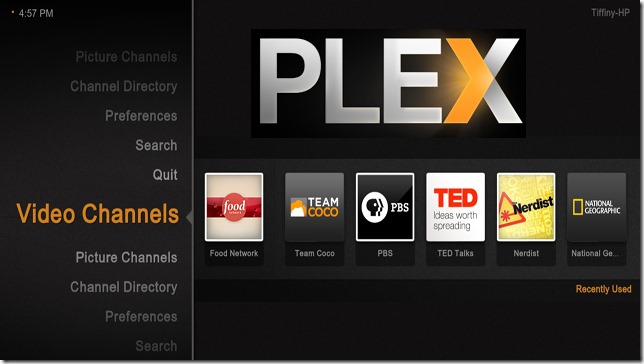
If you wanted us to recommend a media server for you to use, we would probably tell you Plex is where to start. The Plex media server is really popular for all major operating systems, including Linux, Windows and even Max OS X. With Plex users can host new movies, songs, images and even TV shows.
Plex is incredibly popular and is available to watch on PlayStation, Xbox, ChromeCast, Roku, Android TV, Smart TV’s. Amazon Fire TV and Apple TV. All you need to do is upload your media files from your system to Plex and away you go. Plex offers an open source alternative to online streaming services such as Netflix, Amazon and Hulu. It requires a touch more work to get going but you can call it a great investment.

As usual, the way in which we set up a media server will vary between operating systems and the same rule applies to people running Linux. Here is how to set up the Plex media server on Linux.
Files You Need
- Download the Plex media package you need for your Linux computer from this page.
- These are the steps to install Plex on Ubuntu, but you should find the same steps work for other versions of Linux too like RedHat.
Setting Up Plex Media Server on Linux
- Open a new terminal command window and type the following commands:
cd ~/Downloads sudo dpkg -i plexmediaserver*.deb - First you needed to download the Plex package and then by applying the aforesaid commands above, you have successfully installed that Plex package on your computer.
- Now enable the server via systemd with this following command:
sudo systemctl enable plexmediaserver.service - Now start the service with systemd:
sudo systemctl start plexmediaserver.service - Open any web browser from your Linux machine and point to this web address: http://127.0.0.1:32400/web.
- Create your Plex account from the official website on this page.
- Sign into your account and click the Gear icon you can see visible from the left hand side.
- Input a name where it says “Friendly Name” — you might want something like “Mathew’s Plex” if you have a name like mine. You can enter any name you find appealing. The idea is to make it easier to find the server when you are browsing from your network.
- Click the Settings window from the sidebar and have a browse through the settings to set your preferences. None of these settings are mandatory, of course, but you can find some settings here that are valuable and that you might like tweaked. For example, you might like it to update your library automatically.
- Read through the official Plex documentation on how you should set up your media.
- Click the ‘+’ sign that is available from the sidebar on your server and upload your media files. Click on the Movies icon if you want to upload a movie file, the music icon if you want to upload your music and so forth.
In conclusion, there are no limits with the files you can upload to the Plex media server. You should find most of your files will play and be compatible. Over time you can understand what works and what doesn’t. So long as you can come up with the files yourself, the Plex way of thinking is going to save you money — even with companies like Netflix offering some very cheap deals of late.
