Last Updated on March 28, 2017 by Mat Diekhake
If you have hung around a web skeptic of late, you might have heard some conversations about people not wanting to ever store data in the cloud. Sadly we have been subject to some cloud hacks over its first few years after being introduced, but it would be wise to show some faith in the cloud heading forward, as its going to become the normal thing to use in a few years time. The main purpose cloud-based storage has going for it is it means you can afford that device you really want that only comes in an 8 GB version, or in the case of Linux, you can afford that computer with less storage space.
The cloud offers us a place to store our extra data we cannot manage to fit on our hard drives without having to delete older data we would prefer to keep. Over time the hacking will become less common and the security will become improved. Furthermore, you don’t have to be storing your sensitive data in the cloud, so even if it is seen by others it won’t matter. The cloud can be useful for almost all people if they just give it a chance.
With regards to people using Linux, there are four main types of cloud-based storage: Public Storage, Personal Storage, Private Storage and Hybrid Storage. The OwnCloud application lets users set up their own personal cloud-based space for data storage.
Provisions
- You must have LAMP stack installed before you can install the OwnCloud app and get it running.
- Those of you running Linux Mint, Ubuntu or Debian must enter this code to get LAMP:
# apt-get install apache2 apache2-doc apache2-utils mysql-server mysql-client php5 php5-mysql php5-curl - Those of you running Fedora, RedHat or CentOS must enter this command instead:
# yum install httpd mysql-server mysql-client php php-mysql php-curl - Login to your database with this command:
# mysql –u root -p - Create a database with this command:
mysql> create database cloud ; Query OK, 1 row affected (0.00 sec) - Finish creating your database with this command:
mysql> grant all on cloud.* to tecmint@localhost identified by 'your_password'; Query OK, 0 rows affected (0.00 sec)
Installing OwnCloud On Linux
- Download the OwnCloud from its official website:
# wget https://download.owncloud.org/community/owncloud-8.0.0.tar.bz2 - Place the file in your Apache working directory.
- Debian owners:
# cp owncloud-8.0.0.tar.bz2 /var/www/ - RedHat owners:
# cp owncloud-8.0.0.tar.bz2 /var/www/html/ - Extract the OwnCloud file so you can use the content with this command:
# tar -jxvf owncloud-8.0.0.tar.bz2 - Remove the archive after extracting the package:
# rm -rf owncloud-8.0.0.tar.bz2 - Give it read and write permissions temporarily with this command:
# chmod -R 777 owncloud/ - Debian users only must now enable the “mod_rewrite” and “mod_headers” as follows:
# a2enmod rewriteand then# a2enmod headers - Debian users must now open the Apache global configuration file:
# vi /etc/apache2/sites-available/default - RedHat users must open the Apache global configuration file with this command:
# vi /etc/httpd/conf/httpd.conf - Everyone must now change the “AllowOverride None” to “AllowOverride All” by adding these two commands:
AllowOverride NoneandAllowOverride All - Restart the system now for Debian users:
# service apache2 restart - Restart the system for RedHat users:
# service httpd restart
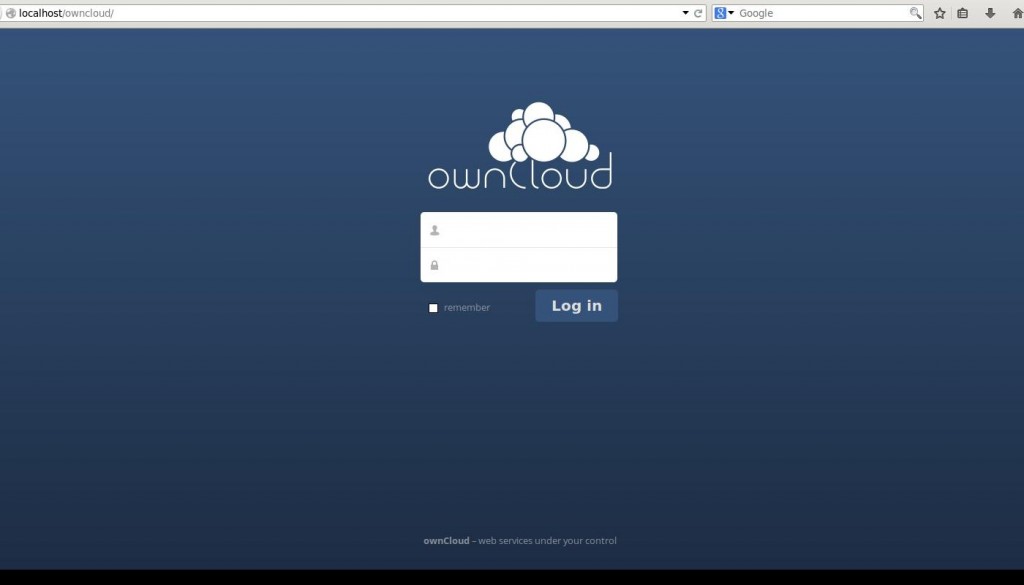
That’s all you need to set up the OwnCloud storage on your Linux computer. All you need to do now is access your data any time you need. You can always do that at any time by issuing the following commands depending on your local host or your IP address. The two web addresses are as follows: http://localhost/owncloud or http://your_address_IP/owncloud.
In conclusion, add your administrator account so you can start storing and using your files. Once the administrator’s account is created, give your MySQL database username, password and database name. Now just click the ‘finish’ button and you can start using your OwnCloud storage.