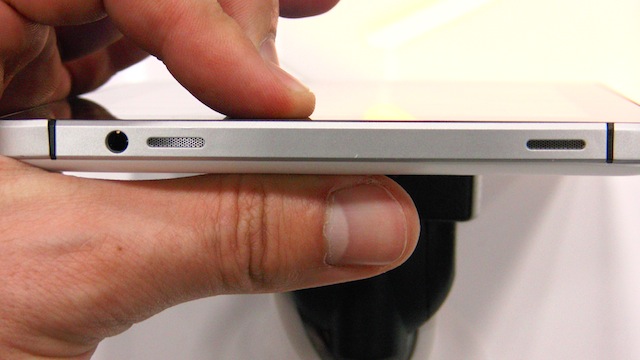
Rooting the T-Mobile Springboard is what you need to do if you want to install all the extra apps available from the Google Play Store.
These apps can help you increase battery life, increase the performance, remove bloatware and more. Installing a custom recovery like CWM recovery is what you need to install a custom ROM and take a NANDroid backup.

The Files You Need
- Download the ClockworkMod recovery file from this page.
- Download the Fastboot from this page.
- Download the SuperSU from this page.
- You must have a Windows PC to follow this guide. Likewise, make sure you have the USB Debugging Mode enabled on the smartphone. You can find that in older devices by navigating to the Menu > Settings > Applications > Development > USB Debugging Mode. Newer versions of Android have it under Settings > Developer Options > USB Debugging Mode.
Rooting The T-Mobile Springboard
- Extract the Fastboot and the CWM recovery file to the desktop of your computer.
- Do not unzip or extract the SuperSU file.
- Reboot the T-Mobile Springboard by holding the Power + Volume Down keys. You must do that starting with the device off.
- You should now have the Springboard in Fastboot mode.
- Connect the smartphone to the computer.
- Transfer the SuperSU file over to the internal SD card.
- From the folder where you have Fastboot, launch the command prompt window.
- To launch the command prompt, hold down the Shift key from the keyboard and right-click the mouse on an empty space in that folder.
- You will get a new menu where you can choose the ‘open new command windows here’ option.
- The the following command to install the custom recovery: ‘fastboot flash recovery recovery.img’.
- Reboot the T-Mobile Springboard after the custom recovery image is flashed.
- Now turn it off completely by holding in the Power key until it’s off.
- Reboot into the custom recovery mode that you juts installed. The buttons for that are Power + Volume Down.
- Navigate to the Install option from the recovery menu.
- Browse the SD card for the SuperSU file you loaded on the SD card earlier.
- Once you have the SuperSU installed, you have a custom recovery and root access. All you need to do is choose the reboot system option from the main recovery menu and you’re done.
- You can install the root checker app from the Google Play Store. The app will tell you if the guide worked or not. Once you know you have root access, you can start installing the root-requiring apps from the Google Play Store.