Last Updated on July 19, 2022 by Mathew Diekhake
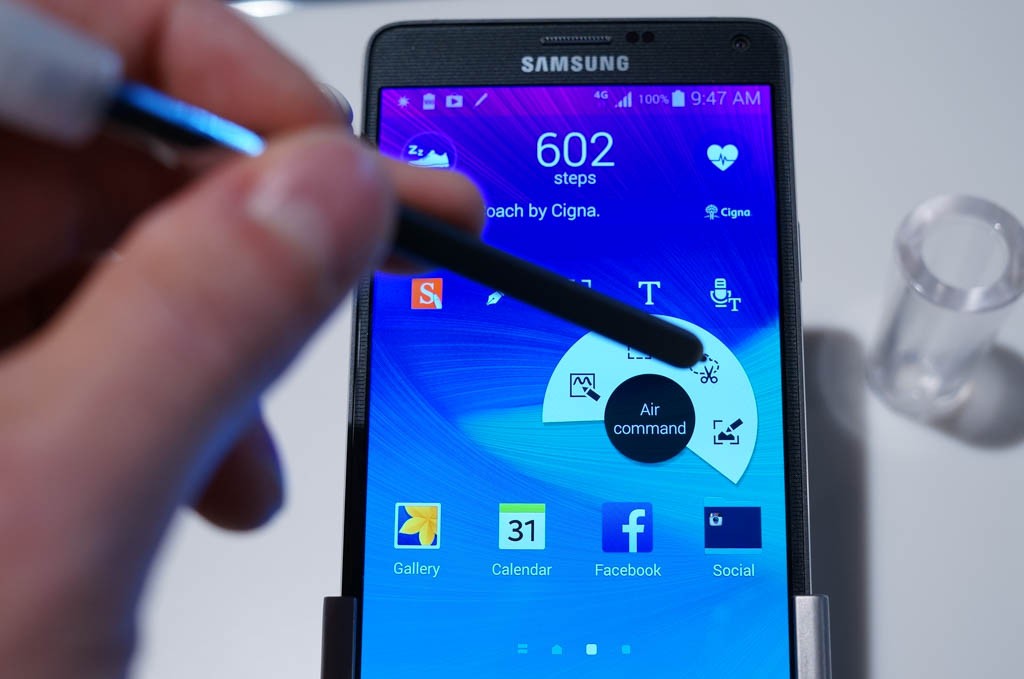
If you have bought your Samsung Galaxy Note 4 from Canada, then you would be glad to know that your variant can also be rooted by just flashing a custom kernel and SuperSU.
Root access has been enjoyed by the other variants of this phone, and now it is your turn to enjoy the same on your Canadian variant. So, if you are all set and ready to take the plunge, here’s how to root your Canadian Samsung Galaxy Note 4:

Files You Need
- Please backup your phone before doing this tutorial to be in safe side.
- This first flashes a custom kernel and then flashes the SuperSU file to obtain root access on your phone.
- You must have a custom recovery installed on your phone before you can do this tutorial. A quick Googling should help you get to that recovery tutorial.
- Download Custom Kernel to your computer. It should be flashed on your phone.
- Download SuperSU to your computer. It should be flashed on your phone to achieve root access.
- You should only try this on the Canadian variant of the Samsung Galaxy Note 4. The model number is SM-N910W8.
Rooting the Samsung Galaxy Note 4 (Canadian Variant)
- Make sure that you have not extracted the archives that are downloaded to your computer.
- Connect your phone to your computer using a suitable USB cable.
- Copy both custom kernel and SuperSU from your computer over to the internal SD card storage on your phone. Place them on the top so they can be easily found at a later time.
- When both the archives have been copied, disconnect your phone from your computer.
- Turn off your phone completely.
- Turn your phone back on in the custom recovery mode. To do that, hold down Volume UP, Home, and Power buttons together for a few seconds.
- Your phone should boot up into the custom recovery mode.
- Once you are in the recovery mode, select the option that says Install.
- Navigate to your internal storage and find the custom kernel archive and select it to be installed on your phone.
- Confirm the prompt and wait for the recovery to flash the selected file on your phone.
- When the recovery’s done installing the file, choose the Install option once again.
- This time, select the SuperSU archive to be installed on your phone.
- Just like before, confirm the prompt and wait for it to flash SuperSU on your phone.
- When the recovery’s done installing SuperSU, reboot your phone by selecting Reboot followed by System in the recovery menu.
- Your phone should reboot.
- You should now be rooted!
And there you go.
Your Samsung Galaxy Note 4 from Canada is now rooted and is running a custom kernel.
Now that root access is up and running on your phone, you might want to give a try to the apps that have been requesting for the SU permission. Go ahead and hit up the play store, find the apps for rooted phones, install them, and enjoy what they provide you with.
These apps will satisfy almost all of your needs, however, a custom ROM would be a good choice should you wish to change everything on your phone in one go. Since you already have a custom recovery, getting a custom ROM installed on your phone is not a big deal. Just download the ROM of your choice on your phone, and have it flashed through the recovery and you will be all set. Enjoy.
You might also be interested in:
- How To Install A Custom Recovery On The Sony Xperia SP
- How To Root The Sony Xperia Z Running Android 5.1.1
- How To Install A Custom Recovery On The Sony Xperia Z Running Android 5.1.1
- How To Root The Sony Xperia ZL Running Android 5.1.1
- How To Install A Custom Recovery On The Sony Xperia ZL Running Android 5.1.1
Have something to say? You can contribute to this tech article by leaving a comment below.
