Last Updated on July 19, 2022 by Mathew Diekhake
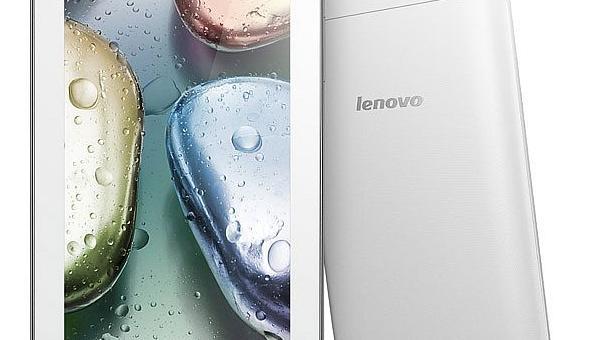
What comes after installing a custom recovery on your Lenovo A3000? You guessed it right, it is root. Root access can be achieved on your Lenovo A3000 if you have flashed a custom recovery on it. The method to root the tablet takes help of recovery to flash SuperSU package which then gains root access on the tablet.
Once you are rooted, you should be able to flash your tablet with various developments, ranging from custom kernels to custom ROMs. If that sounds good to you and you wish to take the plunge to root your tablet, here’s how:

Files You Need
- Your tablet must have a custom recovery before you can do this tutorial. If you have not flashed a custom recovery on your tablet yet, do so now using our how to install a custom recovery on the Lenovo A3000 tutorial. Once that is done, come back here and continue.
- This flashes SuperSU to obtain root access on your tablet.
- Download SuperSU to your computer. Do not extract it, leave it as is.
Rooting the Lenovo A3000
- Connect your tablet to your computer using a USB cable. Your tablet must be in data transfer mode as you are going to transfer a file from your computer over to your tablet.
- Copy SuperSU .zip from your computer over to the internal storage on your tablet. Make sure to place it on the top of the directory so it is easily accessible.
- When SuperSU is copied, eject your tablet from your computer.
- Turn off your tablet completely.
- Turn your tablet back on in CWM Recovery mode. You can do that by holding down Volume UP, Volume DOWN, and Power buttons together.
- You should see the boot menu on your screen. Select Recovery using the volume buttons to get into the recovery mode.
- Your tablet should now be in recovery mode.
- Select install zip from sdcard followed by choose zip from sdcard.
- Choose SuperSU .zip to be installed on your tablet.
- Confirm the prompt and wait for it to install SuperSU on your tablet.
- The entire process of flashing SuperSU should not take too long. Should be done in a minute or two.
- When CWM Recovery’s done installing SuperSU, reboot your tablet by selecting reboot system now from the recovery menu.
- Your tablet should reboot normally.
- You are now rooted!
And there you go.
Root access has been successfully achieved on your Lenovo A3000, and you can confirm the same using Root Checker on your tablet, if you wish.
Now that your tablet is rocking a custom recovery and root access, feel free to load it up with your favourite custom ROMs and other custom developments such as a custom kernel, and so on.
It is highly advised that you make a full backup of your tablet using the custom recovery before flashing custom developments. So, in case things go south, you can always revert back to the stock condition using the backup you have created before.
Let us know how this tutorial worked for you in the comments section below.
You might also be interested in:
- How To Install Custom Recovery On Lenovo A3000
- How To Root The Lenovo A6000 Plus
- How To Unlock The Bootloader On The Huawei Honor 7
- How To Install A Custom Recovery On The Huawei Honor 7
- How To Root The Huawei Honor 7
Have something to say? You can contribute to this tech article by leaving a comment below.
