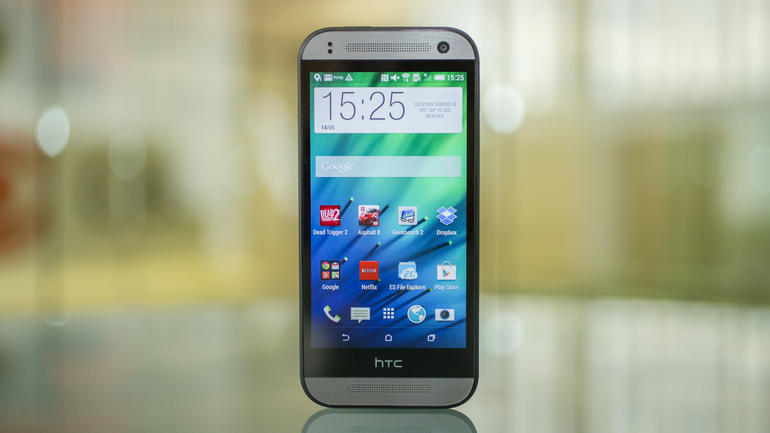
There are many benefits to rooting the HTC One Mini 2 smartphones. Since we use our devices daily, we always have so much data. That data would be best backed up, but most people do not bother with backups. The way the Android operating system works with factory restrictions makes it difficult to give device owners a simple backup solution. That’s one of the best parts about getting root access on a device: the backup options are far more advanced. One example of that would be the Titanium backup application that’s available from the Google Play Store.
The Titanium backup app gives users the best backup options apart from those with a custom recovery. The Titanium backup app lets you back up all of the apps, uninstall system apps, integrate apps with your ROM to save more space and more. That means you can backup app apps, remove any bloatware and free up memory space. Once you have a custom recovery like CWM recovery or TWRP recovery, you can take a NANDroid backup. NANDroid’s were invented because you always need to wipe your phone before updating to a new custom ROM. That was a real pain with the old backup options. Now you can just press the Backup option from inside the custom recovery and it backs up everything in one click.

The Files You Need
- Download the SuperSU from Chainfire’s site here. You can download the SuperSU from other sources if the link is down.
- Download the TWRP recovery you need from this page. The TWRP custom recovery is specific for the device.
- Download the Fastboot file from here. You can download Fastboot from any other source if the link is down.
Rooting the HTC One Mini 2
- Download the three file and shift them all over to the desktop.
- Extract the fastboot file only by right-clicking over the file and choosing the extract it here option.
- Make sure you have the USB Debugging Mode enabled on the HTC One Mini 2 smartphone. You find that from the Developer Options menu here: Settings > Developer Options > USB Debugging.
- Sometimes Android devices do not have the Developer Options unlocked depending on what version of Android you are running. Unlock it if you must by going to the Settings > About Device > tap the build number about seven times and it will tell you that you are now a developer. That’s Android’s way if telling you that you can find the Developer Options now available from the Settings.
- Connect the smartphone to the computer with the USB cable.
- Transfer the zipped SuperSU zip file over to the root of the SD card. That means don’t hide the SuperSU in any sub folder.
- Hold the Shift key on the keyboard and right-click the mouse on the desktop. You should get a new menu where you can choose the option of open the command windows here.
- Type the command into the command prompt:
adb reboot bootloader - Wait for the device to reboot in bootloader mode.
- Use the Volume keys to select fastboot from the menu on the smartphone.
- Type the next command:
fastboot boot recovery.img
– make sure you change the name of the file to the real name of your recovery file. - Wait for the device to install and the boot into the recovery mode.
- Select the Install option from the menu.
- Now navigate through to browse the SD card and upload the SuperSU file form the SD card.
- Wait for the SuperSU to install on your device before going back to the main recovery menu.
- Look for the reboot system option from that menu and your device will reboot into normal mode where you can use the device again.
Optional: install the root checker app from the Google Play Store on your device. That’s how to check if your Android has root access or not.