Last Updated on July 20, 2022 by Mathew Diekhake
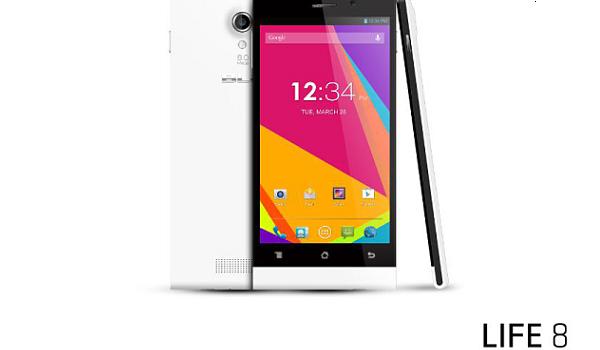
BLU Life 8 was launched about a year ago with Android KitKat running on-board. While the stock firmware provides you with everything you’d ever need on your device, custom developments have always been proven to be more efficient and powerful than the stock ones.
One of the best ways to try out custom developments on an Android device is to gain root-access on your device and then load it up with your favorite apps and tools. Sounds great?

Here’s how you can go about rooting your BLU Life 8 and getting the most out of it:
Files You Need
1. You don’t need a computer to be able to root your device.
2. Download KingRoot app to your computer. It is the app that will help you achieve root-access on your device.
Rooting the BLU Life 8
1. Connect your phone to your computer in the data transfer mode using a USB cable.
2. Copy KingRoot APK from your computer over to the SD card storage on your phone.
3. When the APK has been copied, unplug your phone from your computer.
4. On your phone, go to Menu->Settings->Security->Device Administration and enable the Unknown sources option. What this does is allow the apps from outside the Google Play store to be installed on your device.
5. Launch File Manager and locate the KingRoot APK and tap on it to install it on your phone.
6. When the app is installed, launch it from your app drawer.
7. The app isn’t much confusing and there really aren’t any options on the main screen of the app. To root your device, all you need to do is just tap the button that says Start Root and it should begin rooting your device.
8. Wait for the app to achieve root-access on your device.
9. When the app’s done rooting, reboot your device for the changes to take effect.
10. You are all set.
Your BLU Life 8 should now be rooted and you can confirm it using the Root Checker app on your device.
All the ways for you to enjoy the custom development on your device are now open. So go ahead and load up your device with whatever apps/tools you like!
