Last Updated on October 9, 2022 by Mathew Diekhake
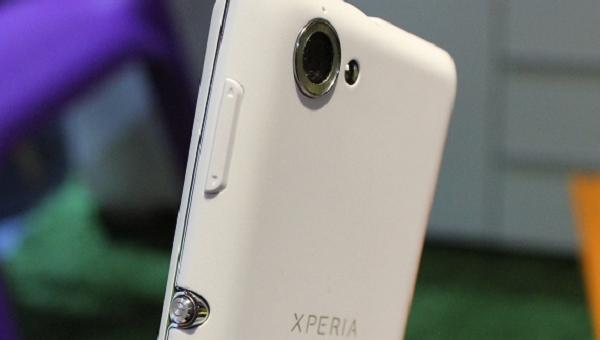
DooMLoRD might appear scary and intimidating when you view his online profiles such as his Twitter account, but he is a very talented developer that works out of XDA and has come up with some amazing toolkit that give root to many different devices. One of those devices is the Sony Xperia L and today I will show you how to do it using his method.
As I mentioned before, this developer, who hails out of Noida in India, has done lots of great work by himself, but he has also other projects on the go also. He is the head of Team UtterChaos and is part of the ICX team. Furthermore, he founded the DooMKernel — a tool that makes the Snapdragon processor found in most modern Android smartphone and tablets go faster. Needless to say, when it comes to credibility it is hard to go past this man so follow the guide I’ve written below with confidence know that it has come from him. He is one of our favorites in the industry.

Do not skip any steps that we have mentioned in this post.
If there are any steps you are unsure of, double check and read through them properly so you do not make a mistake. It is always better to be safe and cautious than sorry at the end of the day. We are also available to be contacted from social media, the comments section of our pages and also by using the Contact Us page. Feel free to get in contact with us at any time.
This guide that has been provided by one of the best developers we know is made for the Xperia L only that we know of and should be not used to install files on any other handset. It is important you follow this advice or else you can potentially cause harm to, or even worse, brick the device altogether. Luckily today there are tools that can help you with this, but save yourself the trouble by avoiding it.
Details of Note
- We recommend backing up all critical data that you have existed on the smartphone. Use the device’s internal storage or any external storage options. It is not expected that we lose data during this process. However, it is not guaranteed.
- With the previous step in mind, if anything does happen to your device or data is lost we are not liable for this.
- Using the new Android Developer Option menu enable USB Debugging mode if it is not set up already.
- I always recommend temporarily disabling (not uninstalling) any security software such as antivirus programs on the Computers and the mobile device that you may have run prior to starting this tutorial. They can interfere with operations and as a precaution it is best to disable them for now until this is finished. Always remember top turn them back on again before you start surfing the web at a later date.
- When we plug the device into the computer using the USB cable it will automatically start charging the battery on the Xperia L. Because it remains plugged in throughout this operation we see no need to keep a set amount of battery power before starting. Others, however, are known to recommend storing at least 60% to be safe.
- Most of you will already have the USB drivers required. Verify that yours are working and up to date.
How To Root The Xperia L With The DoomLoRD Easy Rooting Toolkit
1. Using a Windows, Linux or Mac computer, download the file from here. You can see the “virus status” is marked as clean so there is nothing infected in the file. It also shows that over 124,000 people have downloaded it so far. That should re-install some confidence.
2. Get the USB cable that you use for the Xperia device. If you do not know where it is looking in your charger. It is often the same cable used for charging.
3. Now fetch the correct file for the operating system you are using. If you are running Windows then click on the runme_win.bat. If you are running Mac OSX then click the runme_mac.sh file and if you are using Linux click the runme_linux.sh. All of the wording is provided in the file extension so you cannot go wrong.
4. Run the files by double clicking on them.
5. Now you will be presented with a “DOS-like” screen with some instructions. Follow them until the guide is complete.
6. Verify a successful attempt by download the root checker applications from the Google Play store or using the Super SU app.
That’s all.
