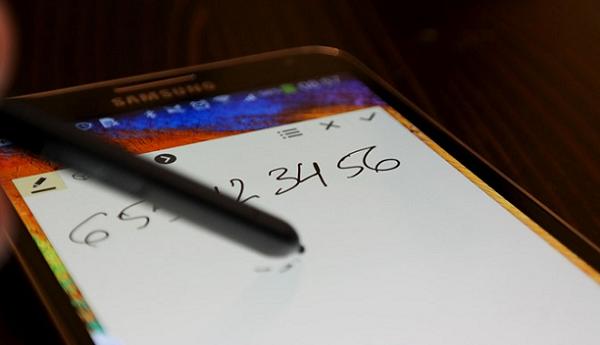
The Galaxy Note 3 is the new phablet from Samsung which is subject to a shipment that has just commenced proceedings. There has been leaks-a-plenty, from sources far and wide, and there really wasn’t anything we didn’t already know about the new phablet before its eventual launch. After its launch certain developers then managed to get their hands on one fairly quickly, and as is so often the case in today’s day and age, it wasn’t long at all before they managed to come up with a way to root it.
There are several guides floating around. If you were to do a search you should be able to get your hands on a carrier specific tutorial or a firmware specific manual. In this instance, we have the one to follow if you are running on the Android 4.3 firmware — the latest available on Android. The KitKat is the name of the next generation. However, it is not yet out for any device. It is coming on the Nexus 5 very shortly.

There’s two links in step 1 that will work. The Canada link is good for Videotron, Rogers, Sam, Bell, Telcel, Telus, Claro, Virgin, Wind Mobile, Koodo, Mobilicity and Sasktel. The second one is a combination link that will work for both the T-mobile and Sprint phablets.
Details of Note
- This step by step by guide void the warranty of the device if you took one out. Not all devices come with warranties, so unless you paid for one, it won’t be there anyway. If that’s the case then you have nothing to lose.
- The guide we have here for you today is made for the Samsung Galaxy Note III only and isn’t to be used on any other device from Samsung or any other manufacturer because it hasn’t been made for them and won’t work for them either.
- Download and install the official Samsung USB drivers so you can make a correct connection to the Windows-based computer with your handset.
- Enable USB debugging mode by navigating to Settings > Developers Options.
- Last but not least, make sure you backup all of your data to the internal memory.
How To Root The Samsung Galaxy Note 3 On Android 4.3 Jelly Bean For Sprint, T-Mobile And Canadian Phone Carriers
1. Download the specific root package required for yours. Choose from Canada or Sprint/T-Mobile. When you open the link you will see a host of different links depending on where about in the world you are and what model you are running. Presumably, if the list is not yet in its entirety, you can expect more added to this thread.
2. Boot it into the usual download mode.
3. Open up ODIN.
4. Connect the Note so that it is picked up inside of ODIN.
5. Hit up the PDA button. Load the root file which is found in the root package after extraction.
6. Check Auto-Reboot, but nothing else this time around.
7. Press the start button.
8. Remember to always right-click the USB symbol in the Windows taskbar and click on the green arrow that says ‘safely remove hardware’ when you hover the cursor over it. Now right-click > select the gray area >USB Mass Storage Device > stop button > select the flash drive in the ‘stop a hardware device’ section and click OK. It will now say ‘safe to remove hardware’ in a bubble that’s popped up on the taskbar