Last Updated on April 10, 2017 by Mat Diekhake
Even though the official unveiling of the nexus 6 and the Nexus 9 is closing today, we are still witnessing many chocolate KitKat builds coming our way. We have great news for those with the flagship smartphone from two years ago and that is it will be receiving the new Lollipop software with a bevy of features making it better than KitKat. However, that day is not coming until early November. Anyhow, if you want to have a nightly experience of the final stages of the chocolate treat there’s no better way than with this ROM.
Before introducing the custom ROM you need to first apply a full factory reset after creating a NANDroid backup. The NANDroid sets a restore point on the operating system so you can return to where it was prior to resetting the OS. It is the easiest and preferred method for anyone running the custom goods.
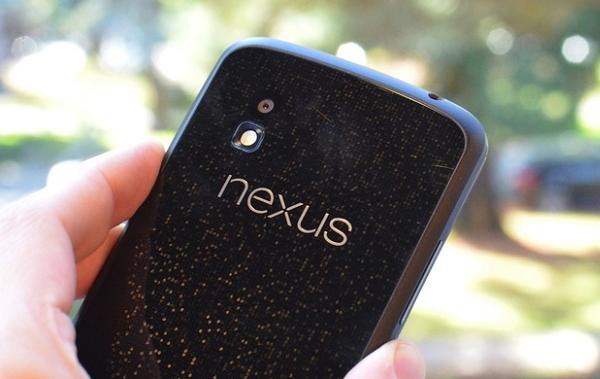
- The new range of Nexus devices this year for 2014 are made by Motorola and HTC. However, the 4 comes to us by LG. That means you need to LG USB Drivers before starting the steps.
- Check the battery charge levels from the status bar after turning the phone to the ‘on’ position and letting it load. You will see the status bar after unlocking the home screen pass-code. Since the 4 is coming to 24 months old now, we want to allow for some extra juice. Make sure there is at least 40% battery power before deciding to go ahead with the installation.
- You will need a computer, notebook or laptop with a fully functional USB slot so we can connect both devices together via the USB cable. Most people will find the USB cable available for use from the phone chargers port. We use this same wire for connecting to the computers.
- Turn off the computer and Android security programs. Stop all antivirus, anti-malware and spyware programs from running until we finish the steps. Just remember to start them u again before browsing the web or else you risk Trojan horses and other nasty infections
- The guide we are presenting here today is for advanced Android users only. if you do not have any experience with custom ROMs or custom firmware we advise for you to find a friend that does. If you do decide to go ahead alone make sure you read through all of the pre-requisites carefully.
- Please understand that the nexus 4 will see the fresh Android 5.0 Lollipop software coming out in a few weeks time. However, for now we have nothing above this to install on your handsets. That means this is the latest firmware you can have running.
- Factory resets are a part of installing anything custom on the Android-based OS. They wipe all of the data from the system memory. However, a factory reset will not influence the data stored on the internal storage. That’s why backing up does work by other means such as application from the Google Play Store including the Titanium app and Helium. Make copies of the phones contacts, market applications, EFS folder, videos, music files and pictures if you want to use Titanium.
- Make sure you have the USB Debugging Mode enabled from the Developer Options menu. For those running 4.2 Jelly Bean that menu is hidden and you need to uncover it by visiting the Settings menu and tapping on the build number seven times until it unlocks.
How To Update The Nexus 4 With Android 4.4.4 LiquidSmooth ROM
1. Turn the computer on and start up your account. Now use the desktop for the downloading destination of the following files:
2. Download the Google Gapps here.
3. Download the nightly ROM by LiquidSmooth here.
4. Fetch the USB wire.
5. Plug the wire into the computer system unit and mobile.
6. Transfer the files over to the Nexus 4 SD card.
7. Unplug the USB wire
– disconnect safely by clicking the ‘safely remove hardware’ icon in the system tray of the task-bar.
– stop the USB mass Storage device.
8. Boot the nexus back up in Bootloader Mode.
– Hold Volume Down + Volume Up + Power keys at the same time.
9. You will be presented with some on-screen instruction from this point.
10. Select the Bootloader from the options followed by recovery.
11. Choose to:
– wipe data/factory reset
– wipe cache partition
– wipe the delvik cache
12. navigate back to the main ClockworkMod recovery screen and choose to “install zip from SD card”.
13. Find the 4.4.4 KitKat ROM file and confirm the upload.
14. Do the same with the Gapps pack.
15. Go back once again to the main screen in recovery and select the “reboot system now’ option.
After the reboot process finishes it is working.