Last Updated on November 17, 2019 by Mathew Diekhake
In today’s day and age we are becoming accustomed to seeing root tools that can be used to root a number of devices, this unlock root tool just happens to be one of those tools. There has not been an extensive amount of testing done regarding how many devices. Or even exactly which devices the unlock root tool will successfully root, however, if you are willing to give it a try then check out the guide after the jump.
The unlock root tool is completely free of charge to download, so you don’t have to worry about money. The only real thing you will need is a few extra minutes you are willing to sacrifice. Once this guide ages a bit more, then we will soon find out which devices it is for, and we will list them here for you to see.
As with all tutorials, please ensure you back up your device before you begin and proceed at your own risk. TechChomps will not take responsibility for any loss of data or damage which may occur to your device during the tutorial.
Before proceeding please ensure you have the drivers for your particular device install on the PC. You must use a Windows PC to complete the following guide.
Rooting Android Devices Using The Unlock Root Tool
Step 1. Download the required unlock root tool from the direct link provided and place it on your desktop for easy access. We always recommend the desktop for a reason. However, you can save it anywhere as long as you know where to find it again.
Step 2. Once downloaded click on the file to install it. Once installed launch it.
Step 3. Before proceeding any further, you must enable USB debugging mode on your device. If you don’t know how to do this navigate to Menu>Settings>Applications>Development>USB Debugging.
Step 4. Connect your Android device to the Windows PC by using the USB cable that came with it.
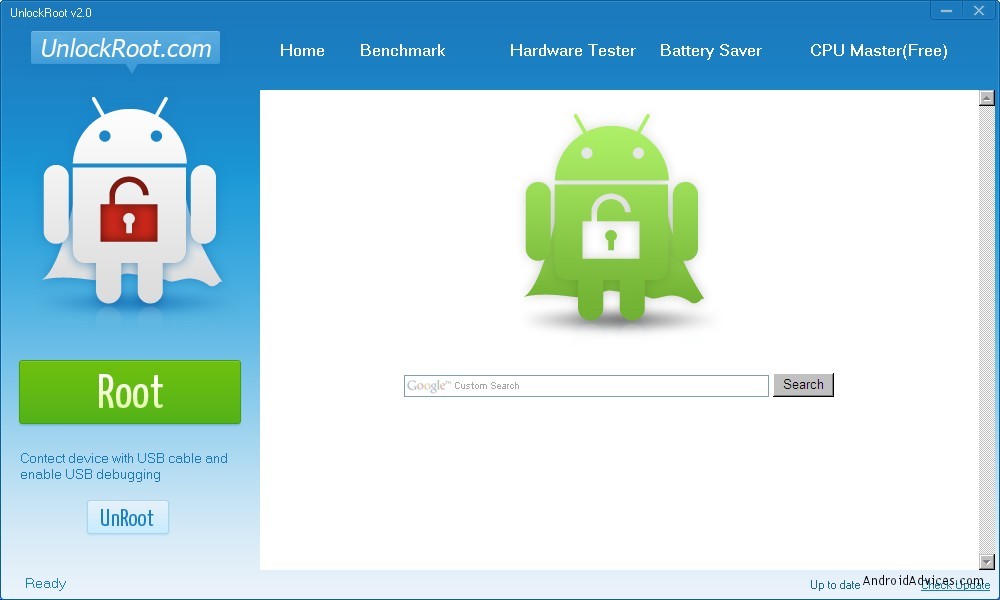
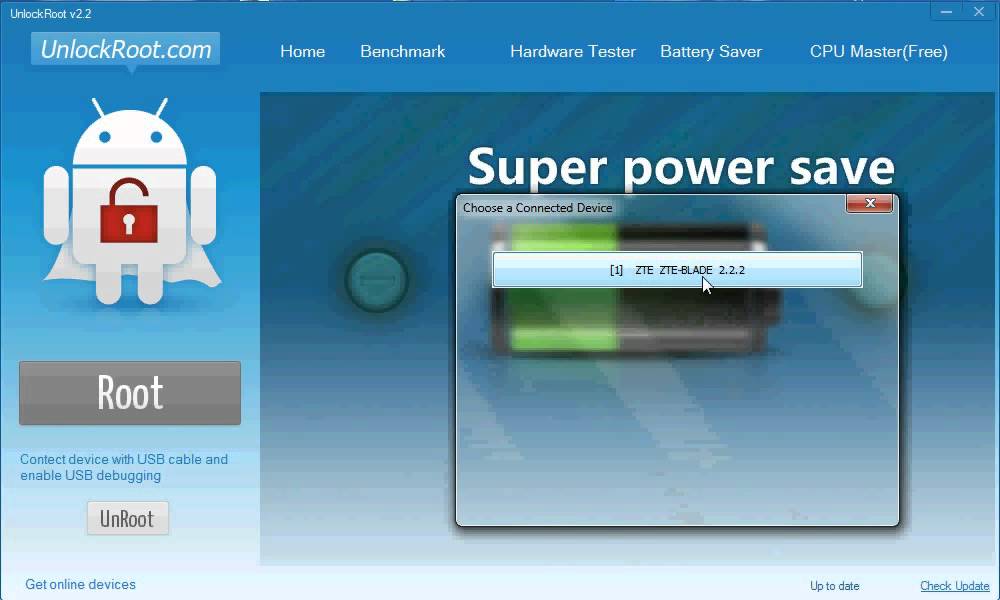
Step 5. Inside the unlock root tool click on the Root button to begin the root process. You will see a list of devices appear. Select the device you are using from the list. Once you have selected the correct device, it will start rooting the device.
Step 6. Be patient while the root process completes. You will know it’s finished by observing a confirmation message on the screen. After you have confirmation reboot your device and you are finished rooting.
Now that you’re finished, you can instantly download rooted apps. Furthermore, you may be interested in checking out some of the best custom ROMs.
You might also be interested in:
- How To Unroot Android Using KingRoot Universal Rooting Tool (KingUser)
- Nexus Root Toolkit Works With Android 4.3 And Is Easiest Way To Get Root On Nexus Handsets
- Root The Verizon Samsung Galaxy S4 I545 With All-In-One Root Tool
- How To Root Google Pixel On Android 7.1 Using Skipsoft Toolkit
- How To Root Google Pixel XL On Android 7.1 Using Skipsoft Toolkit
Have something to say? You can contribute to this tech article by leaving a comment below.


