Last Updated on November 17, 2019 by Mathew Diekhake
TWRP has won the hearts of many Android users by offering really great features that the users are dying to have. For instance, it lets you flash a custom ROM in just one tap, and you can even backup your whole system image in a couple of taps.
What’s more, the recovery includes all the options of the stock recovery plus a nice set of additional features you will want to use on your phone.

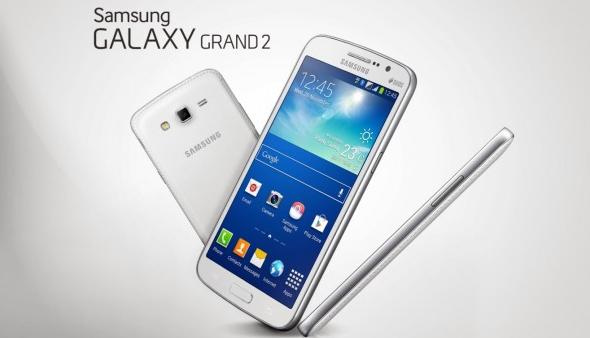
If that sounds good to you, the guide below is all you need to get TWRP up and running on your Samsung Galaxy Grand 2:
Files You Need
- This should replace the stock recovery on your Samsung Galaxy Grand 2 with a custom recovery called TWRP.
- You must have access to a Windows running computer in order to do this tutorial as the tool that you are going to use is only available for the Windows OS.
- Download Odin to your computer. It is the Samsung flash tool that allows you to flash various files on Samsung phones.
- Download TWRP Recovery to your computer. It is the custom recovery that you are going to flash on your device in the following tutorial.
- You should have Samsung USB drivers installed on your Windows running computer. If you do not, install those first before proceeding further. Without drivers, your computer will not be able to recognize your phone.
- This should only work for the SM-G7102 variant of the phone.
Installing TWRP Recovery on the Samsung Galaxy Grand 2
- First of all, you need to extract files from Odin over to your computer. You can do that by right-clicking on the Odin archive and selecting Extract here. It will extract the files for you.
- When the files are extracted, double-click on the Odin executable file and it will launch. It is the tool that you are going to use to flash TWRP on your phone.
- When the Odin launches, uncheck the option that says Repartition. It would cause issues if you left this option checkmarked.
- You can, however, checkmark the options that say Auto Reboot and F. Reset Time.
- Click on PDA in the Odin and navigate to the folder where TWRP is located and click on it. What you are doing here is selecting the TWRP Recovery file to be flashed on your phone.
- Turn off your phone.
- Turn your phone back on in download mode so that Odin recognizes it. To do so, hold down Volume DOWN, Home, and Power buttons on your phone.
- You will see a prompt on your screen. Press the Volume UP button to move forward.
- Your phone should now be in download mode.
- Connect your phone to your computer using a USB cable.
- Odin should recognize your phone and show it in the interface.
- Click on Start in the Odin and let the Odin flash TWRP on your phone.
- It should not take too long for the Odin to flash a custom recovery on your phone.
- When Odin’s done flashing recovery, your phone should automatically reboot.
- You are done!
TWRP Recovery was successfully installed on your Samsung Galaxy Grand 2 and you can reboot into the same using Quick Boot on your phone.
You might also be interested in:
- How To Root Sony Xperia M4 Aqua On Android 5.0.1
- How To Install Custom Recovery On Sony Xperia M4 Aqua
- How To Unroot Motorola Moto X Style (Pure Edition)
- How To Root Samsung Galaxy S6 Edge Plus On Android 5.1.1
- How To Unroot Samsung Galaxy S6 Edge Plus
Have something to say? You can contribute to this tech article by leaving a comment below.
