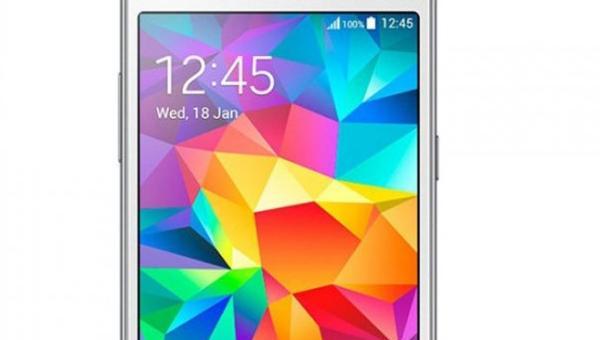
Last Updated on May 31, 2019 by Mathew Diekhake
Installing a custom recovery on the Samsung Galaxy Core is the only way you can install a custom ROM. A stock recovery doesn’t allow for zip file flashing, so it’s impossible to upload a custom ROM zip file without a custom recovery. Loading zip files isn’t all we can do from a custom recovery either. We can also take NANDroid backups — a new backup options that isn’t available any other way. With NANDroid backups, we can take a complete snapshot of the current ROM and backup everything, including saved game data.
Note that you do void any Samsung warranty you paid for when you bought this device. You cannot always just unroot by flashing a file through Odin to get that warranty working again, since Samsung devices often come with additional Knox security.

You should backup the device using the Settings > Wipe Date/ factory Reset option. The next screen will let you backup. You do not need to wipe the data before flashing a custom ROM, however.
The Files You Need
- Download the TWRP recovery from this page.
- Download the Odin flashing tool you need to install the custom recovery. You may use any version of Odin on the page; however, the newer the Samsung smartphone, the newer the Odin version you should use.
- Download the Samsung USB Drivers for mobile phones from the official web page.
- The following guide installs TWRP recovery on the Samsung Galaxy Core by MetroPCS
Installing Custom Recovery on the Samsung Galaxy Core (MetroPCS)
- Download the custom recovery and the Odin packages to the computer’s desktop.
- Unzip both folders so you can use the Odin and custom recovery files inside.
- Run the Odin flashing tool by double-clicking the mouse over the executable file.
- Now that you have Odin ready, it’s time to reboot your Samsung Galaxy Core to download mode.
- Press the Volume Down + Home + Power starting from the off position and it should boot to the download mode.
- Press the Volume Up button after you see the warning screen.
- Connect the Samsung Galaxy Core to the computer using the USB cable.
- Click the PDA/AP button in Odin. You’ll see one of those two options depending on the version of Odin you are using.
- Click the Start button and your computer will now flash the custom recovery to your device.
Now you have a custom recovery on the Samsung Galaxy Core, it’s time to learn how to root the Samsung Galaxy Core (MetroPCS).
What is more, you can find out how to boot the Samsung Galaxy Core smartphone into custom recovery mode by using applications and key commands.
