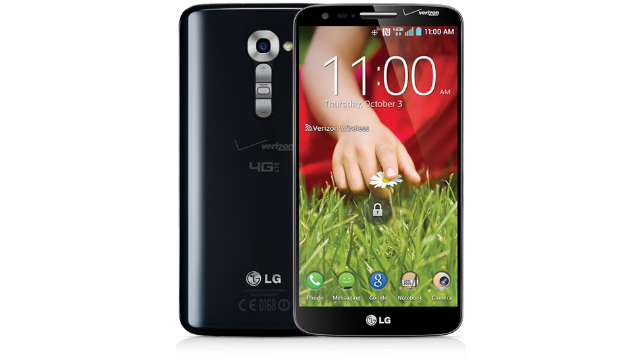
A custom recovery replaces the stock recovery environment that Google gives you on your devices by default. A custom recovery is most often installed for its additional features that a stock recovery doesn’t give you. One of those features is the NANDroid backup feature that lets you take a complete snapshot of your ROM and save the data of an entire partition with just the click of a button. Android does give us a way to make a full backup of your devices, but it is not available unless you are using ADB command. On other words, it comes hidden unless you can get on a computer and can type in command line code which is usually reserved for the advanced Android users.

The Files You Need
- Download the TWRP recovery for the Verizon G2 smartphone from this page.
- Download the Terminal Emulator application from the Google Play Store link here — the app is for your phone.
- Download the universal ClockworkMod ADB driver on your computer from this page.
- Installing a custom recovery on any Android device always voids the warranty. You can usually return back to a stock recovery and that will fix your warranty situation so it’s working again. However, you’ll need to look into your specific device yourself because some OEMs have additional security over the stock Android security.
Installing a Custom Recovery on the LG G2 Verizon
- Download the TWRP recovery to the desktop of any computer.
- Change the file name of the recovery file to “recovery.img”
- Connect your Verizon LG G2 smartphone to the computer using the USB cable you would usually use for charging the battery.
- Move the recovery file over to the root of the internal SD card folder on your device. The root of the SD card means keep it stored in the topmost folder.
- Unplug the smartphone from the computer.
- On your smartphone, download the Terminal Emulator app — the same one as we are showing you in the files section above.
- Once the app finishes downloading, tap in it from your app drawer — the same place where you normally find new apps.
- The terminal Emulator lets you type commands from your phone. Type the following lines:
su

cd /sdcard/

dd if=/data/local/tmp/recovery.img of=/dev/block/platform/msm_sdcc.1/by-name/recovery

exit- Once you confirm those commands, the custom recovery is flashed on your device.
- You need to manually reboot the Verizon G2 smartphone now before using the recovery.
- Great; your G2 now has TWRP recovery. You can boot into that recovery anytime you like. It is permanently on your device until you flash the stock recovery back on your device. It doesn’t matter how many times you turn off your device, the new recovery will be there.
- You might be interested in reading how to boot the LG G2 into the custom recovery mode on rooted or locked Android devices.