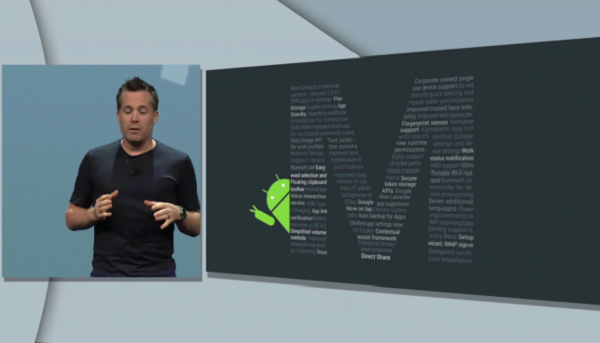
In our earlier posts, you might have read us talking about the new Android M rolling out on the Google Nexus. The Nexus are, no doubt, one of the leading smartphones in terms of power and quality. And that’s why you can now update your Nexus 5, 6, 9 and Nexus Player to the Android M developer version. According to the news, the developer version of Android M is showing improvements, keeping in mind that it still hasn’t reached the final stage and it isn’t completely ready. The most astonishing thing is that you can now enable the multi-window option on it.
It should be kept in mind that the android M is only meant for developers, and it’s going to be laggy and going to have a lot of problems. The new developer’s version update is still in the process of development so when you install it on your Google Nexus device, you might experience some bugs. Don’t worry: it will all be fixed when the official version rolls out later in November 2015. If you have peaked around to see what should you be expecting from the Android M, you can easily reinstall or downgrade to Android Lollipop.

The multi-window option isn’t displayed to the normal users. But you can follow this step by step guide to enable the multi-window function. This functionality is, again, still in the process of development and it need a lot of improvement. We hope to see that in the near future.
Enough talking. Let’s get down to business!
How to enable the Multi Window mode from inside the Android M Developer Preview Software
- Make sure that you have TWRP recovery on your Google Nexus device. If you still haven’t installed this custom recovery, click here that I’ll tell you exactly how to do that.
- Boot into the custom TWRP recovery mode and check that the system is already mounted or not. If there is a “Mount it” option, then click it. Make sure that your screen displays “Unmount System”
- Connect your device with the PC via USB cord.
- Download the Android Software development kit from here It is a kit that has all the software and drivers that your need for flashing, rooting and ADB.
- Go to the Android SDK windows and Click right while pressing shift. This will open a command prompt window.
- Now, you’ll have to type commands on the windows to flash your device. Type the commands “abd shell”, “cd/system” and “vi build.prop” on the Command prompt window.
- Change the command “ro.build.type=user” to “ro.build.type=userdebug” to enable multi-window.
- Close the editor and the shell as well as all the windows open on your computer and reboot your smartphone.
- Chances are, that you may get a notification or a message saying “Unable to Verify” or that your device won’t be able to work properly. Ignore these messages. According to our experience, it doesn’t affect anything.
- To enable the Multi Window option, go to Settings>Developer options.
There you have it. The Multi Window option on your Android M developers preview. If you have any kind of confusion about the procedure, just ask me by commenting.