A custom recovery — TWRP recovery, CWM recovery or Philz touch recovery — is needed if you want to flash a custom ROM. Unlike a stock recovery, a custom version can help us load new ROMs because we can upload a zip file. A stock recovery that always comes with our Android devices doesn’t come with the zip file option. That’s why we must install a custom recovery for flashing custom ROMs. There are other reasons why a custom recovery is important. For starters, most Android rooting guides you will find online need you to enter the custom recovery mode to flash SuperSU; thus giving you the root access. It isn’t always that way, though. Sometimes devices can get root by flashing a file directly through Odin, just like many of the Samsung devices.
If you are a regular reader of our site, you might come across some guides that need you to enter recovery mode for flashing a custom ROM or for getting root access. That is referring to the custom recovery that you should have installed already. Once you are confident you do have the custom recovery installed, you can follow the two guides below to learn how to get access to the mode.
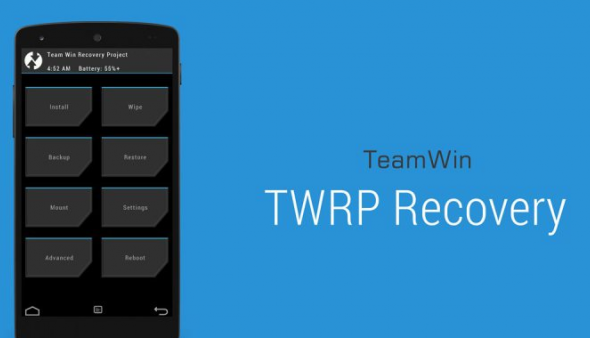
Accessing a custom recovery like ClockworkMod or TWRP with key commands
- Accessing the recovery by pressing buttons on your device should always be the primary way to go about entering the mode. The difficult part about it is that it isn’t always the same for each device. Moreover, the key combination can change for the same manufacturer. The great news is that it will only take an extra 10 seconds to try the other method. After trying both, you will have accessed the recovery mode at least once.
- Start by holding the Power button and keeping it held in until you know the device is off. The time is takes to switch off varies from device to device. Just because the screen goes black immediately does not mean that it is off. A safe rule of thumb is to just hold it down for ten seconds.
- Reboot the Android device holding the Volume Down + Power keys.
- If that didn’t work, Reboot the device holding the Volume Up + Power keys.
- One of the two should work for you. If you tried the first method and the device didn’t boot into the recovery mode, you might have at least turned the device on. You’ll need to turn it off again and start the steps to reach the recovery mode.
Boot Android to a custom recovery using apps
- Download the Quick Boot app from the Google Play Store.
- With the Quick Boot app, you can access the recovery mode that is installed on your device. You just need to have the custom recovery pre-installed and the device needs to have root access. Without root access already on the Android device, the Quick Boot app will not work.
- Awesome! All of you should now be in the recovery. You can continue with whatever guide you were using that required you to enter the mode.
In conclusion, that is the guide that teaches you how to get your device into the custom recovery partition that you have replaced for the stock recovery partiton. It should work for most devices. If you cannot get the hardware button combination to work for your device, then you can always try a more specific Google search for the query or just get root access on the device if you haven’t got it already so you can then install the Quick Boot application. The Quick Boot app is compatible with just about every device in the world and should always be tried before giving up on using your new recovery image.