There are many web hosting providers available, like HostGator, BlueHost, etc. But, we have to pay a good amount of money to them to get web hosting. Google is giving free web hosting for your static files. It means you can host your .html, .css, images and other files. You cannot host .php, .asp files. So, if you have a small static website and want to host it free without paying, then Google App Engine will help you. Google App Engine lets you store your static files on its servers. It gives you 1 GB of free online space and 1 GB bandwidth per day. So, if you have a small website with normal visitors, then this will be probably enough for you. It is also useful for college student website projects, in which they have been given static HTML website projects. Here are the steps to host your static website on Google App Engine.

Using Google to host your website for free
Step 1: Go to https://appengine.google.com and log in with your Google account credentials. You can also use your Google Apps account to login. If you do not have a Google account, then you can always create one.
Step 2: After successfully logging in, you will see a page with the option to create an application. Just click on “Create Application” button like below screenshot.
Step 3: If you are the first time using Google App Engine, then you will have to verify your mobile number. On the mobile number verification page, choose your country and carrier, enter your mobile number with country code and click “Send”. See below screenshot.
Step 4: The Google will then send you a verification code to your mobile number, just enter it on the next page and click on “Send”.
Step 5: Now, your mobile number has been successfully verified. It’s time to create your first App with Google App Engine. The next page will let you create an application. There are two things you have to do on that page. Here they are:
Application Identifier: Choose a unique name here, I will use the Tech Chomps blog. After selecting, click on “Check Availability” to check whether it’s available or not. If not, then only use any other name.

Application Title: Enter anything here, like your Website name.
After filling above two fields, read Google TOS and click “I accept these terms.”. Then, click on “Create Application” button.
After above step, you will see a successful app creation page.
Now, we have done our work on the Google App Engine website. It’s time to create our website on the PC.
Step 6: Now, you have to download two files, don’t confuse, it is easy to use both of these files. Download these files:
Python
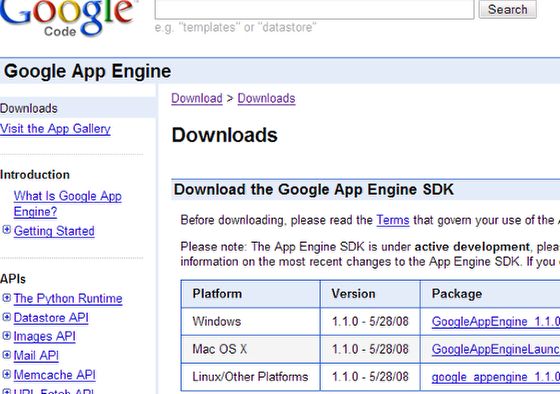
Google App Engine SDK for Python

Step 7: After downloading both of above files, first install “Python”, then install “Google App Engine SDK for Python”.
Step 8: Open Google App Engine and click File>>Add Existing Application. Choose the folder where you have extracted the website files. I will select “C:\appengine.”
Step 9: After choosing the website path, your project will be added to the list. Now, in SDK, Click on your project name and hit the “Deploy” button. Then, it will ask you login credentials, enter them and click on “OK.”
Step 10: Now, you will see a window. Let it finish the work when done; it will show you the message to close the window.

Now, you are finished hosting your website on Google App Engine. To test your site, put the Application Identifier URL which you have created in Step 5. Mine is http://techlistenblog.appspot.com. You can also use your domain name with this service. The beautiful example of this service is Royal Wedding Website (Prince William’s Official Wedding Website) – www.officialroyalwedding2011.org.