Last Updated on May 30, 2021 by Mat Diekhake
Google helps you do text and image searches, but many don’t know that it also allows you to do a reverse image search. What that means is you can give an image to Google, and it will search for it on the Internet to help you find more information about the given image.
On a desktop, you can perform a reverse image search by going to Google Images and dragging and dropping the image onto the search bar, and the search operation will be performed.
While that works for desktops, doing so on an Android device is not possible as you just can’t drag and drop an image into a web browser on Android devices. However, that doesn’t mean you can’t perform a reverse image search in Android.
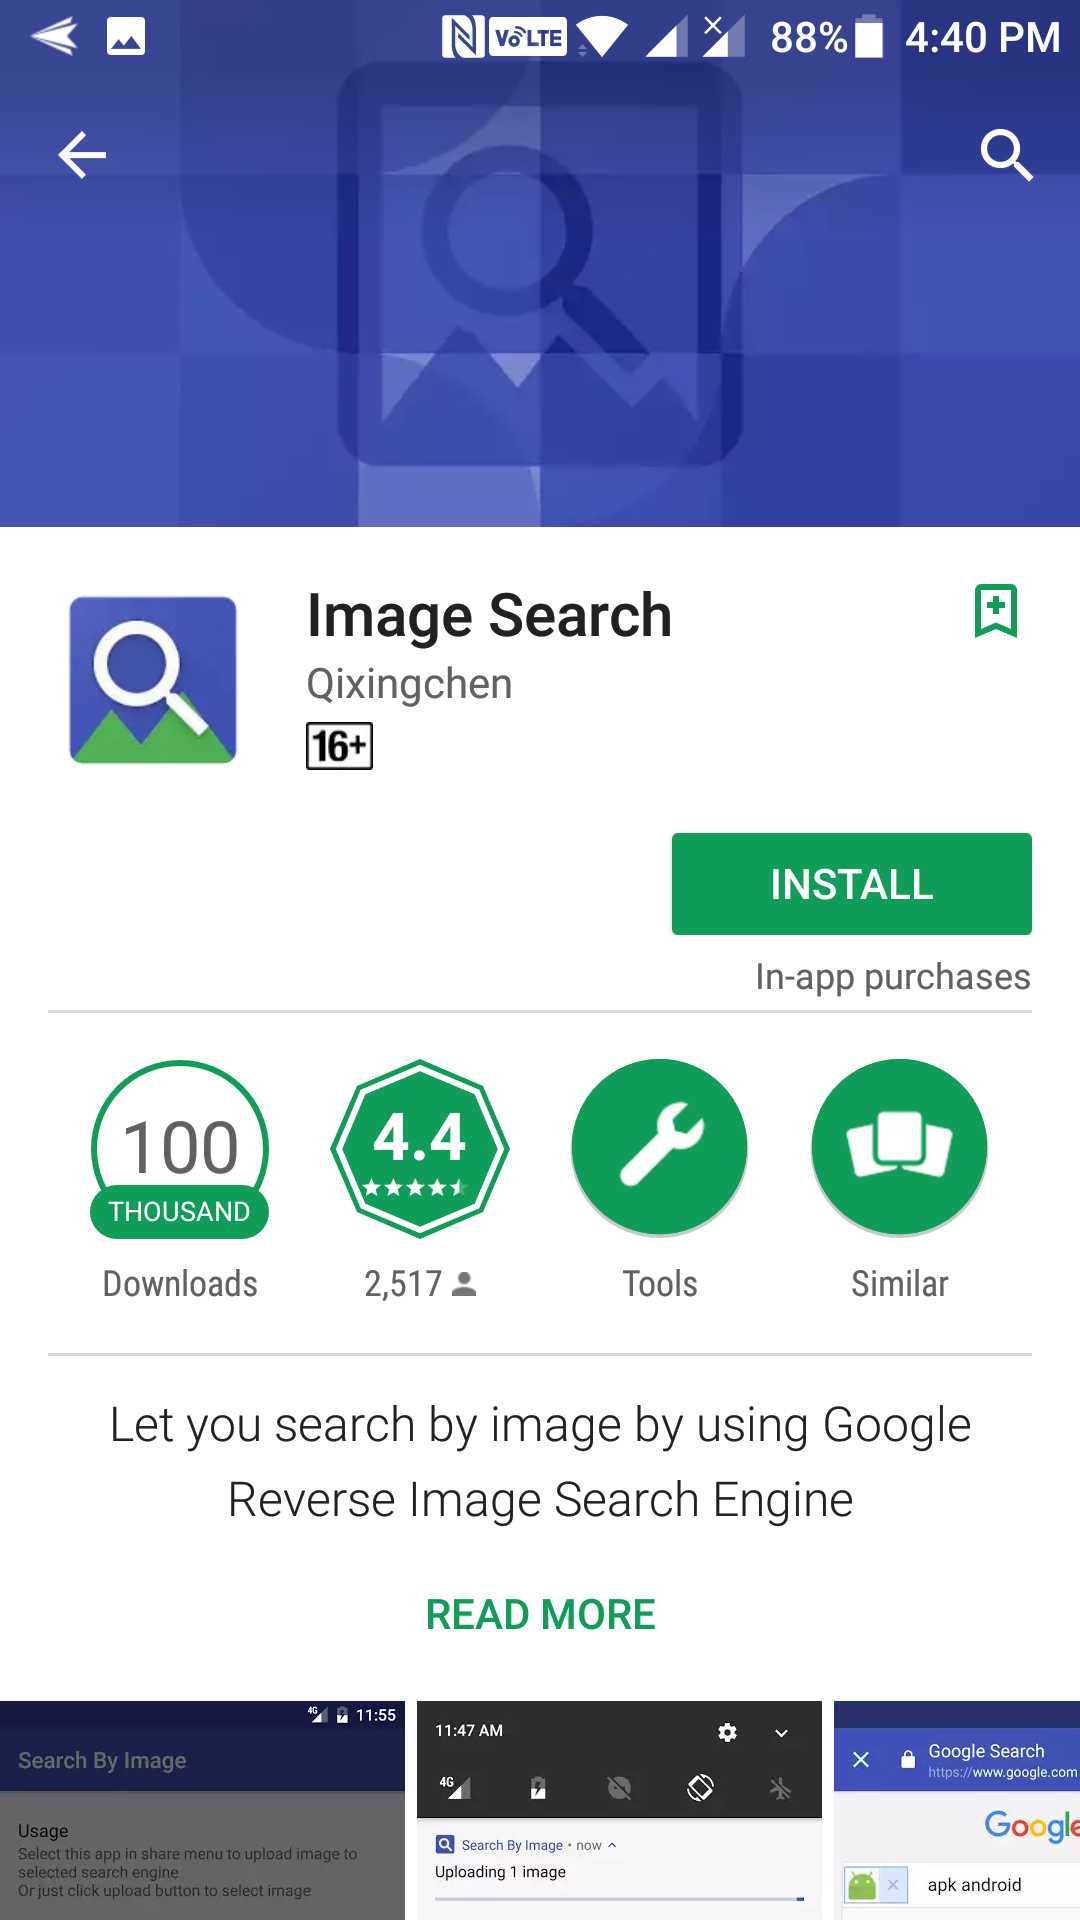
There is an app called Image Search that lets you do the job. The following guide explains how:
Doing a Reverse Image Search on Android Devices
To do the task, you are going to use a free app called Image Search available on the Play Store. Once you have downloaded and installed the app on your device, it only takes seconds for you to get started with doing reverse image searches on your Android device.
First of all, launch the Play Store on your device by tapping on its icon in your App Drawer. Then, search for and tap on the app named “Image Search.” It opens the app page. Tap on the button that says “Install” on the app page to begin downloading and installing the app on your device.
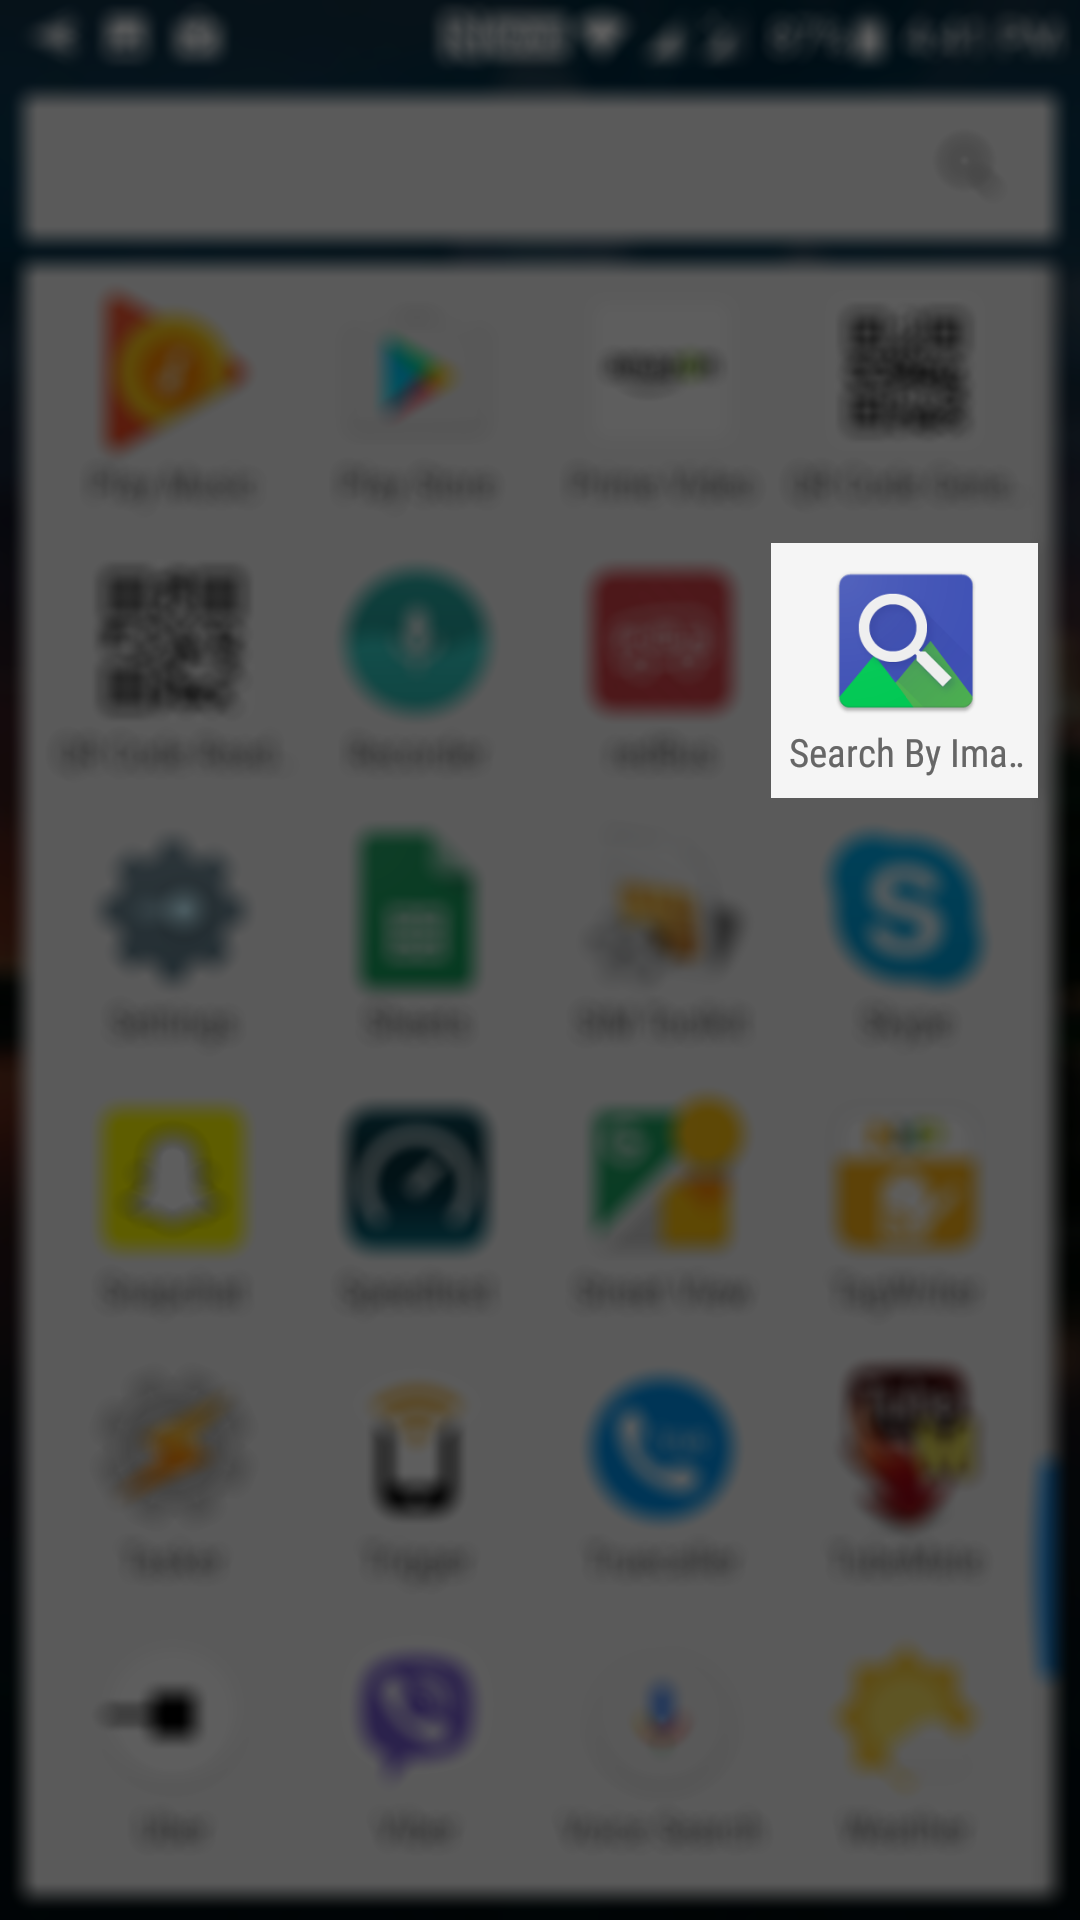
When the app has been successfully installed on your device, open App Drawer and tap on “Search by Image” to launch the newly installed app on your device.
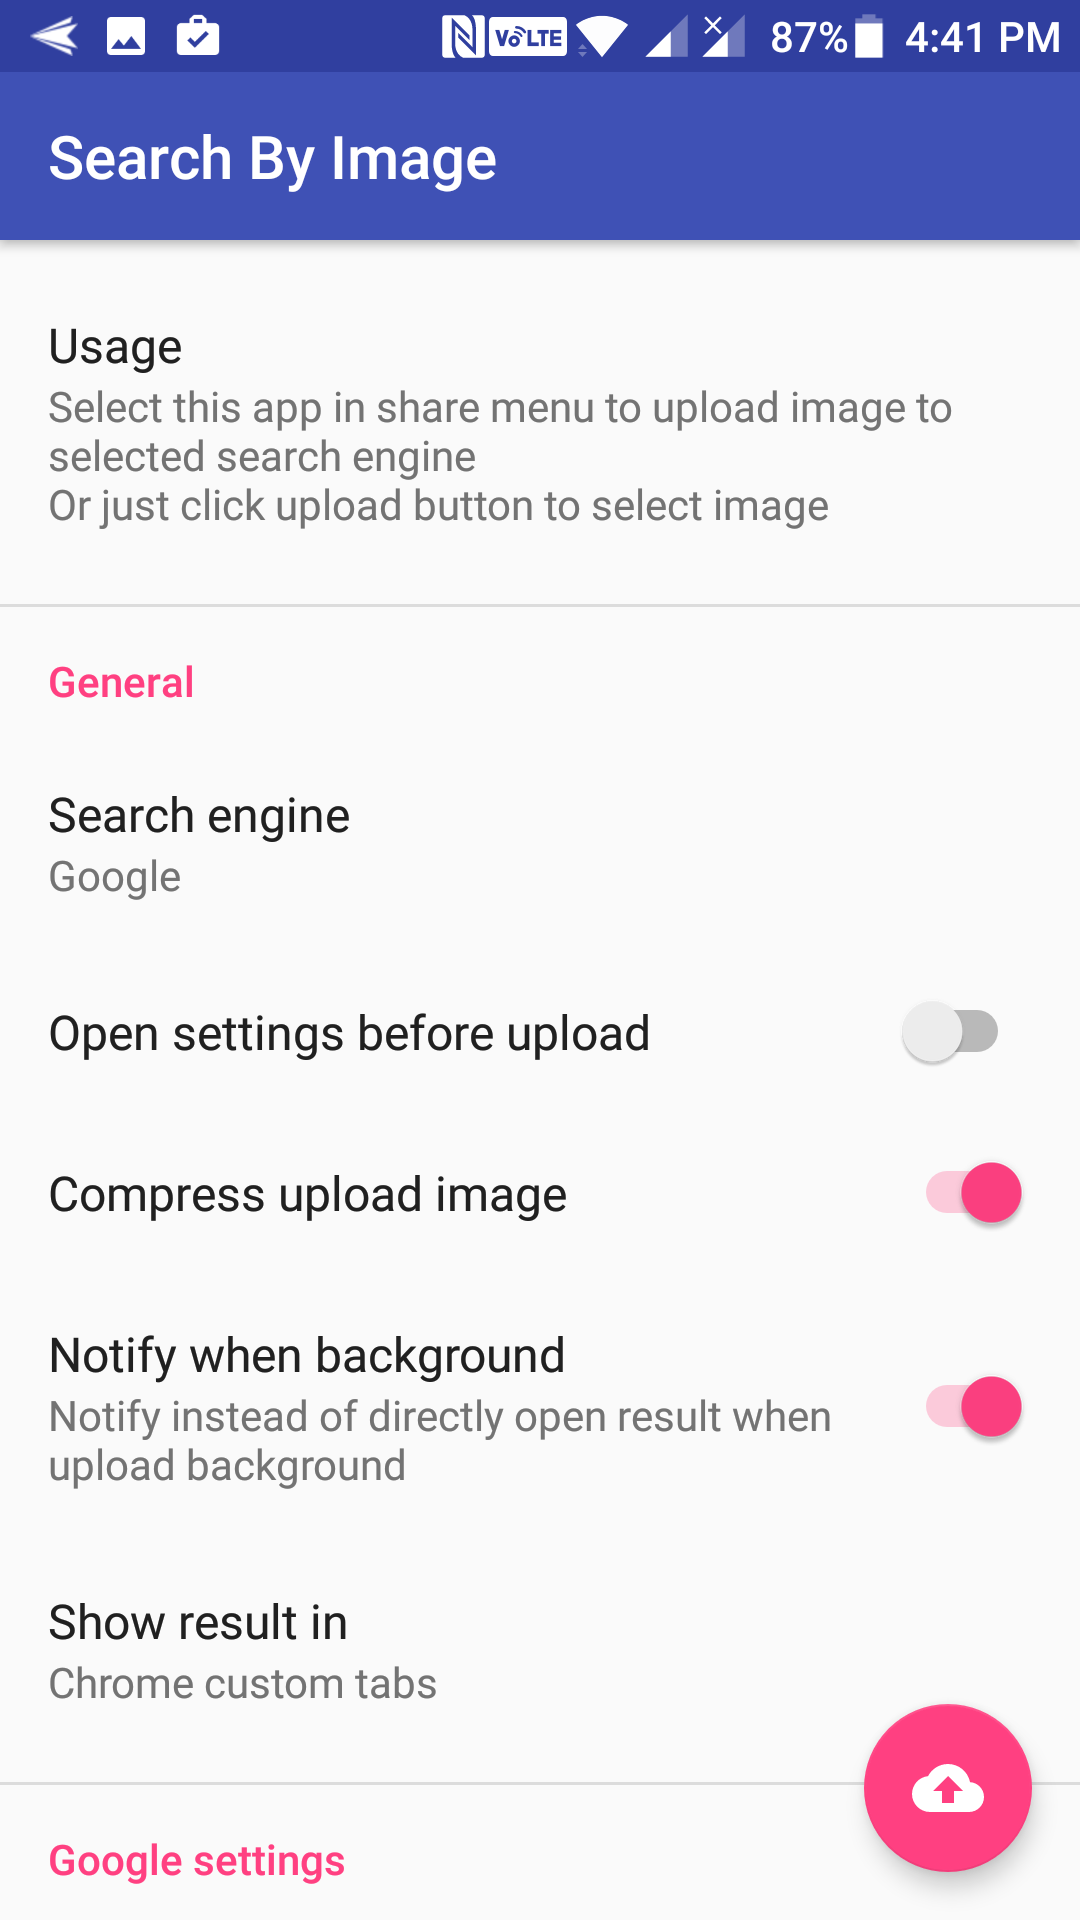
When the app launches, you will see many options that you can configure. These options determine how the reverse image search will work on your device.
One of the options you need to turn off here is “Open settings before upload.” If you turn this off, you will not see the settings page before the image upload begins.
Another thing you can do here is add a new image search engine for reverse image search. By default, the only search engine present in the app is Google, but you do have an option to add a new one to the list and use it for reverse image searches on your device.
When you are done configuring the settings, close the app.
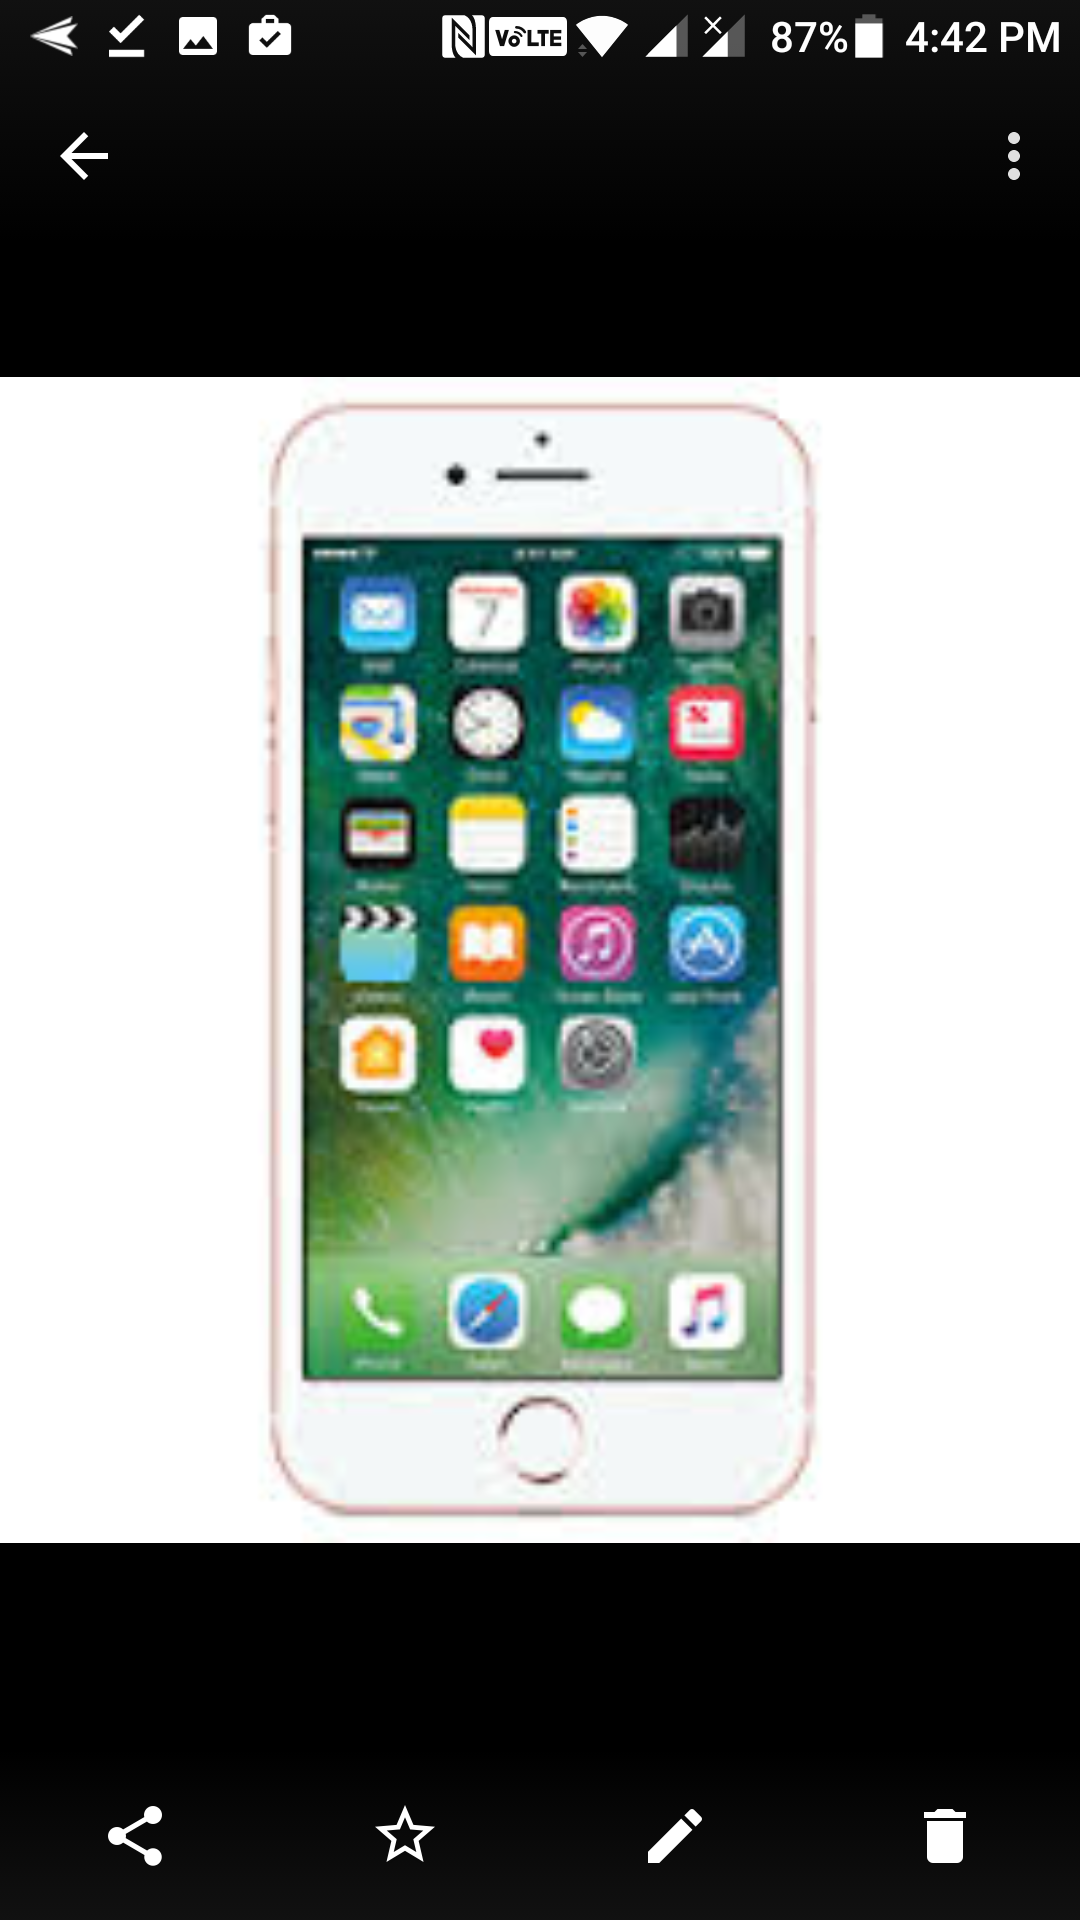
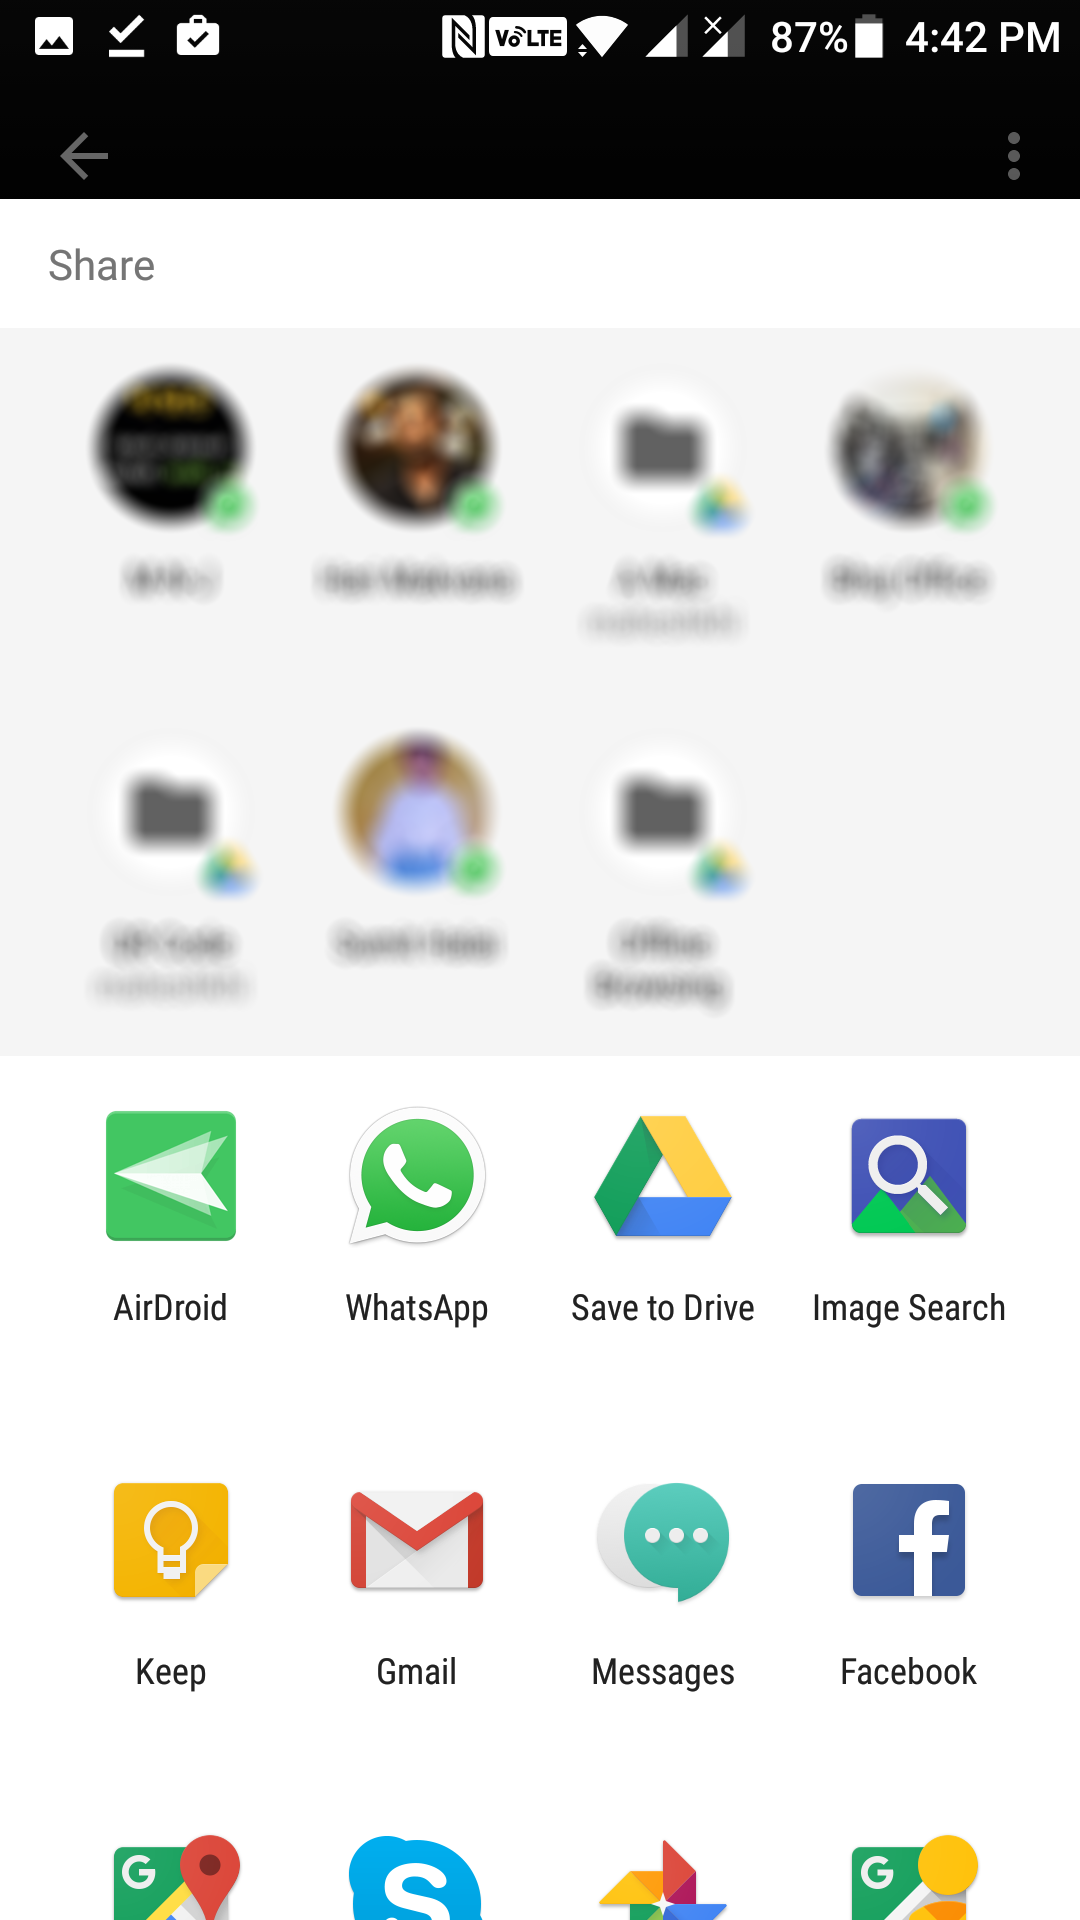
Here begins the main task: reverse image searching. To do that, what you need to do is launch an image on your device. It could be any image located on your device. When the image opens, say in the gallery app, tap on the share icon to share the image.
What you are doing here is sharing the image with the Image Search app. The app gets your shared image, and it then upload it to Google to perform a reverse search for that image. That is how everything works.
When the share menu opens, you will be asked what you would like to share the image with. Tap on the app named “Image Search” in the list to share your image with.
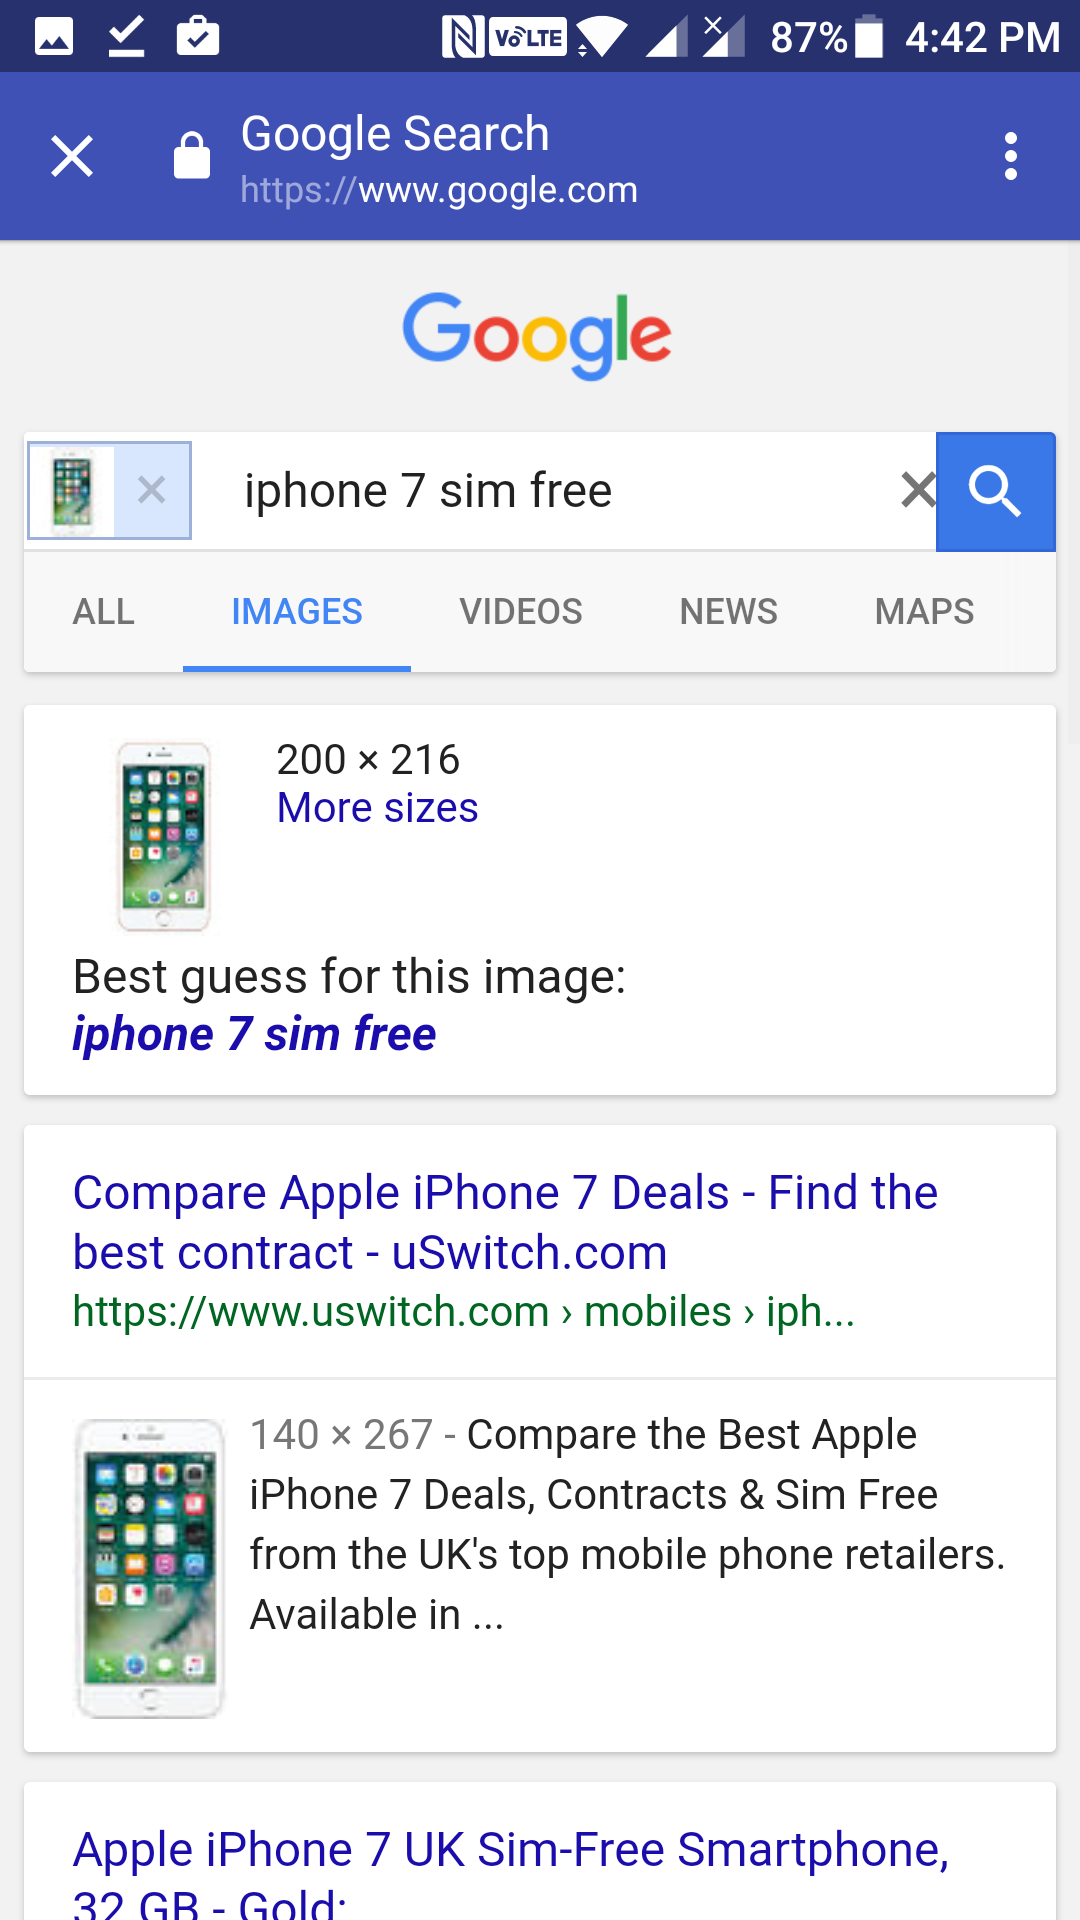
The image then begins to upload to Google for it to be reverse searched. When it is done uploading, you are taken to Google search results where you will see the results of the reverse image search. You should see the same image as well as other variations of the image found on the Internet.
You can tap on the “More sizes” option to get high-resolution images for your image. Since this is the standard Google search results page, you can do whatever you want with it as you have been doing with other search results pages for years on your devices.
So, that was how you could do a reverse image search using a free app on Android devices.

