Last Updated on April 9, 2025 by Mat Diekhake
One of the more obvious features for OneDrive developers to create to enhance its integration with Windows is the option to sync files between a OneDrive account and the Windows operating system itself. And thankfully OneDrive syncing is a feature that does exist. Similarly, you can also choose which folders you want to be included in the syncing of your OneDrive account, giving you more customization chances than ever before which should result in more people being willing to use OneDrive since no longer do you have to choose between either syncing all your files or none of them. The feature that allows this is called OneDrive Selective Sync.
The following tutorial demonstrstes how to choose folders for OneDrive Selective Sync when using a version of the Windows 10 operating system.
How to Choose Folders for OneDrive Selective Sync in Windows 10
You can choose which folders you want to involve in OneDrive’s Select Sync feature from the Microsoft OneDrive settings. Here is where to find it:
1. Right-click on the OneDrive icon in the Notification Area and then click Settings.
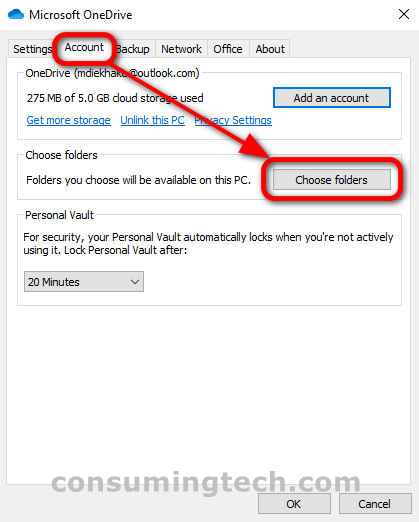
2. From the Microsoft OneDrive dialog, select the Account tab and then click on the Choose folders button.
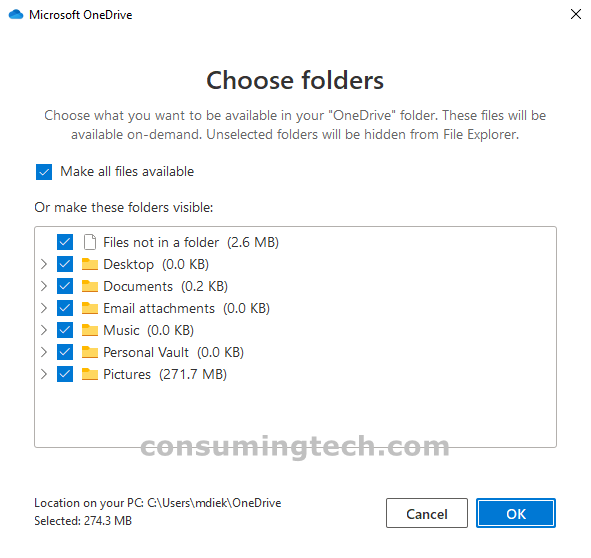
3. Under the Choose folders heading, choose between checking the box where it says Make all files available or checking the individual boxes beneath where it says Or make these folders visible.
Note: Newer versions of Windows show an updated screen. Under the Sync your OneDrive files to this PC heading, choose between checking the box next to where it says Sync all files and folders in my OneDrive OR checking each box that is desired under where it says Sync only these folders.
In conclusion, that is how to choose which folders you want to include in OneDrive Selective Sync in Windows 10.