Last Updated on February 25, 2024 by Mat Diekhake
Users first found the Quick Launch toolbar in Windows XP. It was then taken away by Windows 7 and didn’t make a return until Windows 10. The point of it was to offer you fast access to programs from the desktop.
You already have quite a bit of stuff coming from the taskbar that you can quickly launch. The left side is home to some default apps, and it’s also where the app icon for what apps you are currently using sit until you close them again. The right side of the taskbar, called the notification area, has the clock and some other common features people click on like the WiFi and sound. If you look to the left of the sound icon, you’ll see a little arrow. Clicking that small arrow opens up to some more programs that are installed but didn’t make it to the notification area, likely because Microsoft didn’t want to overcrowd it.
If the taskbar with everything that it currently offers doesn’t offer enough to satisfy what you want to get access to in a hurry, you can start making use of the Quick Launch Menu as well if you like. You just need to set it up first.
The following tutorial demonstrates how to bring back to Windows 10 the old Quick Launch toolbar that was available in Windows 7 and Windows 8. You can use this guide for all versions of the Windows 10 operating system.
How to Add/Remove Quick Launch Toolbar in Windows 10
Here is how you can add the Quick Launch toolbar to the Windows 10 operating system and how you can remove the toolbar you created as well:
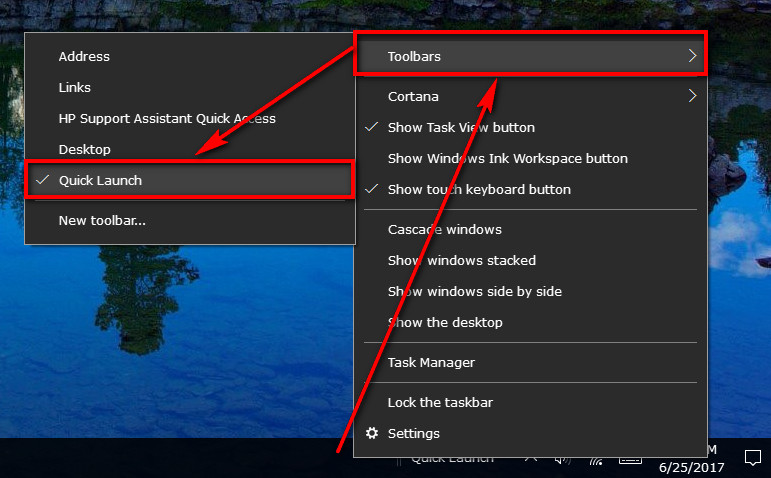
Click on the taskbar and then hover the mouse over the Toolbars link to bring up the secondary menu and then click on the New toolbar… entry.

Copy and paste the %UserProfile%\AppData\Roaming\Microsoft\Internet Explorer\Quick Launch folder location in the available bar at the bottom of the File Explorer window and then click on the “Select Folder” button.

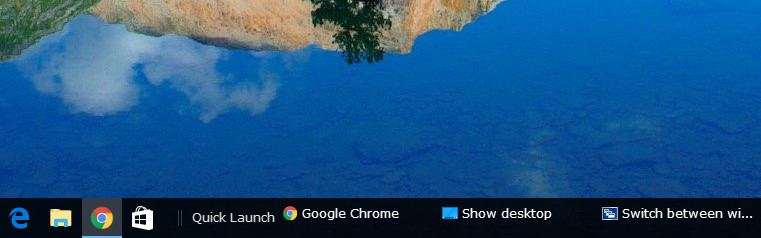
You now have the Quick Launch menu available in the taskbar, to the left of the notification area and its arrow opening up to additional programs.

If you don’t like it there, it is possible to click and drag it to move it around—doing that also make each entry from the Quick Launch bar viewable without having to click on anything. You wouldn’t want to keep it like that all the time, but it might be suitable if you wanted to use several programs from the Quick Launch menu in the one sitting.
Removing the Quick Launch menu is very easy to do. Before you do decide to remove it, though, you’ll need to know that removing it also removes it from the toolbar, so you’ll need to follow the guide from the beginning all over again to recover it. If you are sure that you want Quick Launch gone, then just right-click on the taskbar and then hover over the Toolbars entry once more and then click on the Quick Launch entry from the secondary menu.
Now just take a look at the taskbar/system tray area, and you’ll see that it is gone.

Microsoft has opted to keep the taskbar as clutter-free as possible by removing the Quick Launch bar from the taskbar, but it is possible to regain it by following the simple guide above. Most people don’t find the Quick Launch bar all that useful when they first set it up because it only comes with a few programs that it can launch until you add some more. It is possible to add more programs to it, though. All you need is to have whatever program you want to be included in the Quick Launch bar already installed on the computer. If you’re interested in finding out how it’s done, you can read out another guide for adding new applications to Quick Launch menu in Windows 10 and try it out.
Related Tutorials