Last Updated on February 17, 2018 by Mathew Diekhake
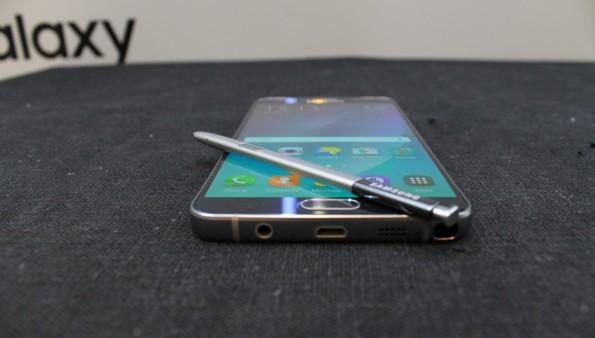
These are the steps to install TWRP recovery on the T-Mobile Samsung Galaxy Note 5. The Samsung galaxy Note 5 is available around the world, and for several phone carrier networks in the United States. Once you install a custom recovery, whether it be TWRP recovery, CWM recovery or Philz Touch recovery, you are able to take NANDroid backups, install custom ROMs via zip files and more. In fact, one of the main reasons for installing a custom recovery is so you boot into the recovery and flash the SuperSU zip file — the exploit that gives many devices root access. Samsung devices are often a bit different, though. The same can be said for the T-Mobile Samsung Galaxy Note 5.

The Files You Need
- Download the TWRP recovery file you are flashing to install the custom recovery from this page.
- Download the Odin flashing tool for your Windows PC — the tool works for any Windows OS apart from the version of Windows RT that comes with some Microsoft Surface tablets.
- Alternatively, you might be interested in installing the Samsung Kies Mini and getting the USB drivers that way from the computer.
- The following guide is only made for the T-Mobile Samsung Galaxy Note 5. Do not use this guide for a different model number or else you will brick the device.
Installing TWRP recovery on the T-Mobile Samsung Galaxy Note 5
- Unzip the Odin flashing tool for Windows PCs.
- Run the Odin app by double-clicking the mouse over the executable file after you have unzipped the file.
- You should now have Odin on the computer’s display waiting for you to connect the Note 4.
- Unzip the TWRP recovery image.
- Drag and drop the TWRP .img file over to the desktop.
- Long-press the Power button on the Samsung Galaxy Note 5 to switch it off.
- Reboot the Samsung Galaxy Note 5 holding the Home + Power + Volume Down buttons.
- Release the three buttons when you get to the warning screen on the smartphone.
- Press the Volume Up button just once and you will get the device passed that warning screen.
- Now the Note 5 is ready to connect to the computer.
- Find the USB cable and connect the Note 5 to the computer.
- The Odin flashing tool will pick up the device and let you know by changing the color of the ID: COM port. Those who did not see any change should consider installing the Samsung USB Drivers. If you did install the drivers but still suffer the same fate, try rebooting the computer to get the drivers to work properly. You can always bookmark the guide if you need to come back.
- Click the AP button found in Odin and upload the TWRP .img file from the desktop that you prepared earlier.
- Click the Start button and Odin will now flash the custom recovery to your device.
- Wait for the pass message issued by the Odin tool and you are ready to unplug.
