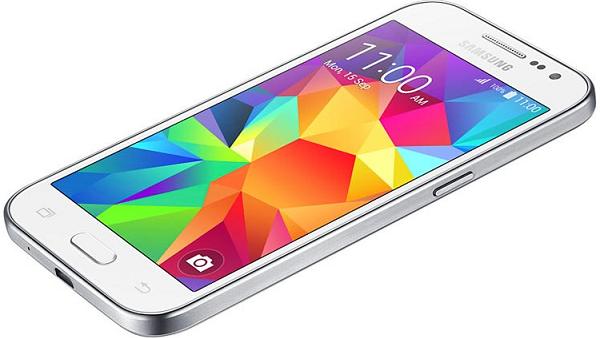
These are the steps to install TWRP recovery on the Samsung Galaxy Core Prime. Once you have the custom recovery working, you can get access to it through a button combination, ADB, or even the Quick Boot app if you have root access. Since a custom recovery is most beneficial because it allows us to install zip files, a custom ROM is often the main attraction with a custom recovery. That is, unless you need to get root access from within the recovery itself like many guides do when they use SuperSU. Anyway, the Galaxy Core Prime is the perfect device to try to flash a custom recovery, so let’s take a look at how it’s done.

The Files You Need
- Download the TWRP recovery tar file for the Core prime from the official TWRP link on this page.
- Download the Odin flashing tool for flashing files on your Windows PC.
- The Odin flashing tool works for any Windows version apart from the Windows RT that comes with Microsoft Surface tablets.
- Download the Samsung USB Drivers from the official Samsung downloads page on their website. Otherwise, you can download Samsung Kies Mini, install it on the PC and update the drivers that way.
Installing TWRP Recovery on the Samsung Galaxy Core Prime
- Unzip the Odin flashing tool on the PC.
- Run the tool by double-clicking over the Odin executable file after you’ve unzipped the package.
- Unzip the TWRP recovery file.
- Drag and drop the TWRP .img file over from the folder to the desktop.
- Long-press the Power key on the Samsung Galaxy Core Prime so that it completely shuts down.
- Reboot the Galaxy Core Prime in download mode. Do that by holding the Volume Down + Power + Home buttons down together until the screen starts showing a warning sign.
- Now release the three buttons and just press the Volume Up button once by itself.
- The Galaxy Core Prime should now boot in the download mode so you are ready to connect to the computer.
- Find the USB cable you use for charging and connect the Core Prime to the computer with the USB cable.
- The Odin app will change the color of the ID: COM port now for your device is connected. Don’t see that happening? Download the USB drivers and reconnect the device. If that still doesn’t fix your problem, try rebooting the computer. Sometimes the drivers don’t work unless the computer has rebooted.
- Click the AP button in Odin. If you are using an older version of Odin, it is the PDA button.
- Browse the desktop for the TWRP recovery file.
- Once the TWRP file is loaded in the AP/PDA box, click the Start button.
- You do not need to adjust any of the default Settings in Odin.
Soon Odin will give you a pass message on the display. Now you can unplug the Core Prime from the computer and use your new custom recovery. You should have no problem booting into the custom recovery mode.
Now that a custom recovery is installed, you might want to check out the best custom ROMs on the Samsung Galaxy Core Prime.