Last Updated on April 6, 2017 by Mathew Diekhake
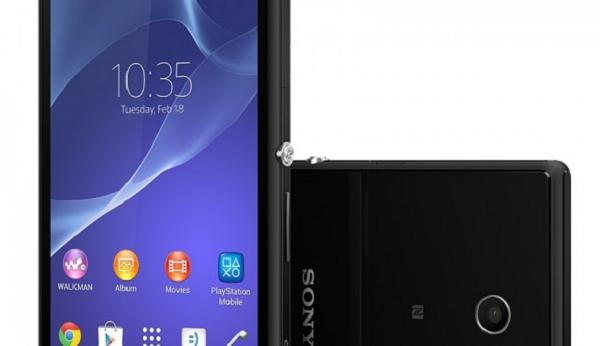
There’s a good news for those of our users who haven’t unlocked the bootloader on their Sony Xperia M2, yet. You can now install one of the popular custom recoveries – CWM – on your device to get more and better features than the stock recovery that comes preloaded on all the devices.
The only requirement for installing the recovery is you need to be rooted. If you’re done with that, here’s how you can install a custom recovery on your Sony Xperia M2:

Files You Need
1. You must be rooted before you can do the following tutorial. Please head to our how to root the Sony Xperia M2 tutorial to learn how you can root your device.
2. This should work on a locked bootloader.
3. You must have a Windows PC to do this tutorial.
4. This should only work on a D2303 device.
5. Download CWM Recovery to your computer. It is the custom recovery that will be installed on your device.
6. Download and install Sony Sync on your computer. It’ll install the required drivers for you.
Installing a Custom Recovery on the Sony Xperia M2
1. Extract files from CWM Recovery to your computer by right-clicking on it and selecting Extract here.
2. Head to Menu->Settings->Developer options and turn on USB debugging.
3. Plug in your phone to your computer using a USB cable.
4. Double-click on install.bat available on your computer.
5. Follow the on-screen instructions.
6. Wait for it to install the recovery on your device.
7. When the recovery is installed, reboot your device.
8. You’re all done.
CWM Recovery was successfully installed on your Sony Xperia M2 and you should be able to get access into the same using the Quick Boot app.
