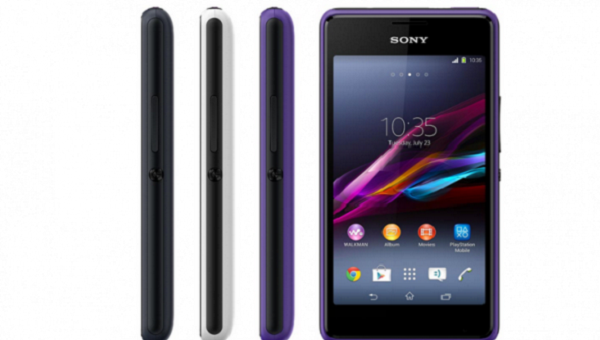
A custom recovery is not just a replacement for the stock recovery, but it does bring a number of new features that were missing in the stock one. These new features include taking nandroid backups, installing custom ROMs, and so on.
If the bootloader on your Xperia E1 is unlocked, you can install a custom recovery on your device using the following tutorial:

Files You Need
1. Your bootloader must be unlocked before you can do the following tutorial. Head to our how to unlock the bootloader on the Sony Xperia E1 tutorial to learn how you can unlock your bootloader.
2. Download CWM Recovery to your computer. Choose the version that is for your specific variant of the device.
3. Download Minimal ADB Setup to your computer. You’ll use it to issue various commands to your device.
Installing a Custom Recovery on the Sony Xperia E1
1. Extract files from both CWM Recovery and Minimal ADB Setup by right-clicking on each of them and selecting Extract here.
2. Turn off your phone.
3. Plug in your phone to your computer using a USB cable.
4. Hold down Volume UP+Power buttons at the same time on your device.
5. Your device should reboot into fastboot mode.
6. Open a CMD Window where ADB and CWM Recovery files are located. To do that, hold down Shift and right-click anywhere on your screen and select Open command window here.
7. Type in the following command into the CMD window. Make sure to replace recovery.img with the original name of the recovery image you have downloaded.
fastboot flash boot recovery.img
8. Wait for it to flash the recovery on your device.
9. When the recovery is flashed, reboot your device by issuing the following command:
fastboot reboot
10. Your phone should reboot.
11. You’re done.
You’ve successfully installed the CWM Recovery on your Sony Xperia E1.
It’s time that you root your device, so follow our how to root the Sony Xperia E1 tutorial to get your device rooted in no time.