Last Updated on February 25, 2024 by Mathew Diekhake
Deployment Image Servicing and Management (DISM) is a command line tool used to service and prepare Windows images and virtual hard disks.
DISM comes preinstalled in all versions of Windows 10 and can be accessed from the Command Prompt or Windows PowerShell.
You can use DISM for most images that are older than the most recent version of DISM. You can mount and service images from a .wim file, .ffu file, .vhd file, or a .vhdx file, and to update the installed operating system on the computer.
The following tutorial demonstrates how to perform an inbox corruption repair job by using the DISM /Cleanup-Image tool which fixes component store corruption in all version of the Windows 10 operating system.
Method One: How to Run “DISM /Cleanup-Image” Tool in Command Prompt
You can run the DISM /Cleanup-Image tool from the Command Prompt to repair Windows 10 images.
1. Open the Command Prompt (Admin).
2. How to Use DISM /CheckHealth Command
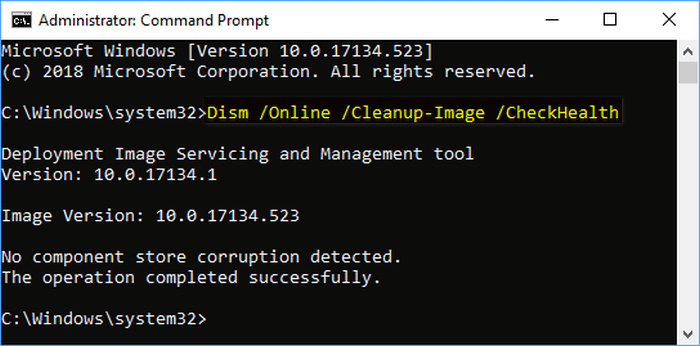
If you’ve got an image that has been flagged as corrupted by a failed process, then you can use the /CheckHealth command to see if the corruption can be repaired. Once you’ve got the information regarding the corruption, you can then run an additional command to help solve the problem, which you can find later in the guide; CheckHealth only checks for corruptions, and if they can be fixed, it does not fix them. CheckHealth will only take seconds to complete.
a. In the command line with administrator privileges, type the following command and then press the “Enter” key on your keyboard:
Dism /Online /Cleanup-Image /CheckHealth
3. How to Use DISM /ScanHealth Command
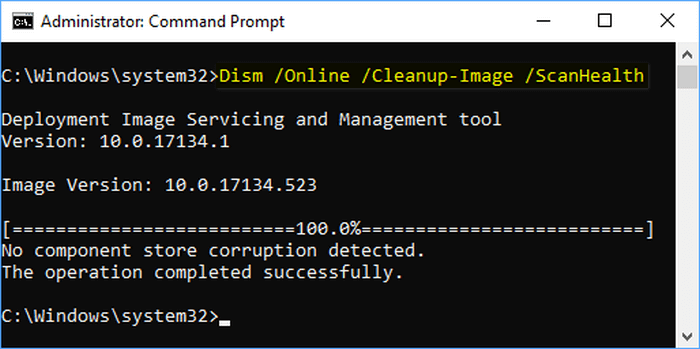
You can use the /ScanHealth command to scan the Windows image for any component store corruption. ScanHealth can take around 10 minutes to complete.
a. In the command line with administrator privileges, type the following command and then press the “Enter” key on your keyboard:
Dism /Online /Cleanup-Image /ScanHealth
4. How to Use DISM /RestoreHealth Command
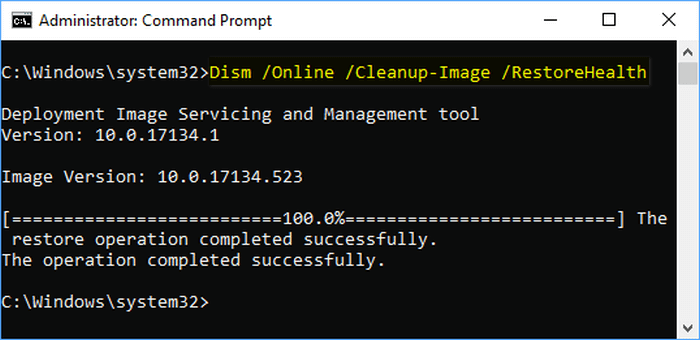
You can use the /RestoreHealth command to scan the Windows image for any component store corruption, run through any repairs that need to be done, and record the changes that were made in the log file. RestoreHealth can take up to a few hours to complete.
a. In the command line with administrator privileges, type the following command and then press the “Enter” key on your keyboard:
Dism /Online /Cleanup-Image /RestoreHealth
5. How to Use DISM /RestoreHealth /Source:wim Command
You can use the /RestoreHealth /Source to specify an exact location of an install.wim file which DISM will then use as a known good version of the files that can be used to repair the corrupted ones. This can take up to a few hours to complete. If you notice pauses to the progress bar during the installation, it’s a normal part of the process.
Notes
- Specifying a source can help if you tried running the RestoreHealth option above but weren’t able to repair the corrupted image.
- If you have a mounted Windows 10 ISO file, the install.wim file is usually found in the Source folder.
- If you don’t have an install.wim file because you’re using an install.esd file, then you should skip to step six below instead.
a. In the command line with administrator privileges, type the following command and then press the “Enter” key on your keyboard:
Dism /Online /Cleanup-Image /RestoreHealth /Source:wim:Full Path to install.wim file:<Index Number>
For example: Dism /Online /Cleanup-Image /RestoreHealth /Source:wim:D:\sources\install.wim:1 /limitaccess
6. How to Use DISM /RestoreHealth /Source:esd Command
You can use the /RestoreHealth /Source to specify an exact location of an install.wim file which DISM will then use as a known good version of the files that can be used to repair the corrupted ones. This can take up to a few hours to complete. If you notice pauses to the progress bar during the installation, it’s a normal part of the process.
a. In the command line with administrator privileges, type the following command and then press the “Enter” key on your keyboard:
Dism /Online /Cleanup-Image /RestoreHealth /Source:esd:Full Path to install.esd file:<Index Number>
For example: Dism /Online /Cleanup-Image /RestoreHealth /Source:esd:C:\$Windows.~BT\Sources\Install.esd:1 /limitaccess
Method Two: How to Run “DISM /Cleanup-Image” Tool in PowerShell
You can run the DISM /Cleanup-Image tool from the Windows PowerShell to repair Windows 10 images.
1. Open the Windows PowerShell (Admin).
2. How to Use DISM /CheckHealth Command
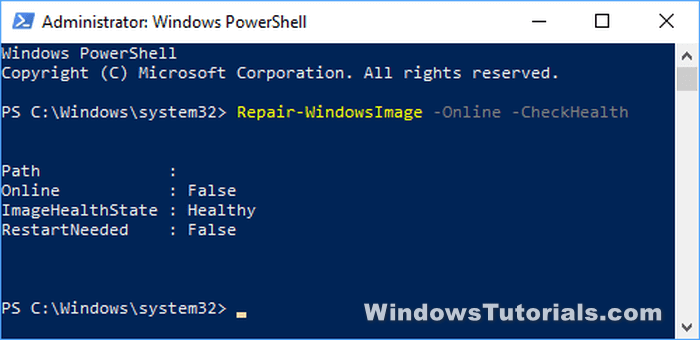
If you’ve got an image that has been flagged as corrupted by a failed process, then you can use the /CheckHealth command to see if the corruption can be repaired. Once you’ve got the information regarding the corruption, you can then run an additional command to help solve the problem, which you can find later in the guide; CheckHealth only checks for corruptions, and if they can be fixed, it does not fix them. CheckHealth will only take seconds to complete.
a. In the command line with administrator privileges, type the following command and then press the “Enter” key on your keyboard:
Repair-WindowsImage -Online -CheckHealth
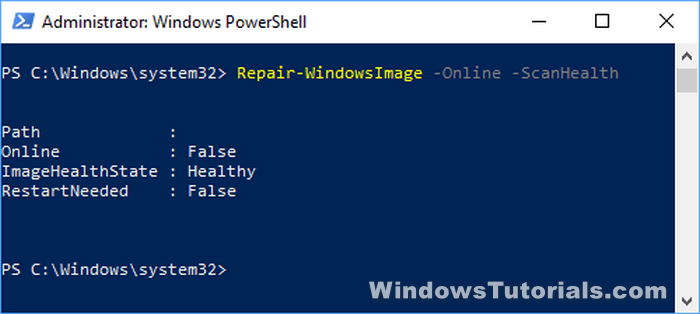
3. How to Use DISM /ScanHealth Command
You can use the /ScanHealth command to scan the Windows image for any component store corruption. ScanHealth can take around 10 minutes to complete.
a. In the command line with administrator privileges, type the following command and then press the “Enter” key on your keyboard:
Repair-WindowsImage -Online -ScanHealth
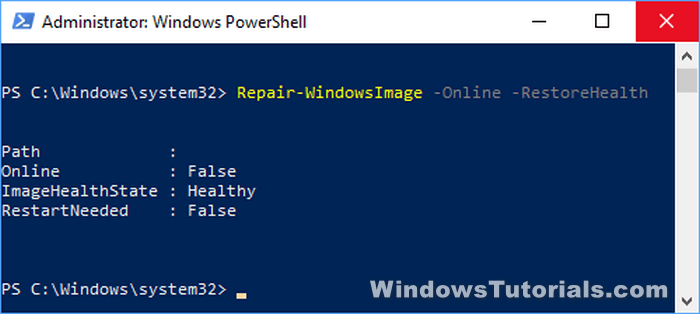
4. How to Use DISM /RestoreHealth Command
You can use the /RestoreHealth command to scan the Windows image for any component store corruption, run through any repairs that need to be done, and record the changes that were made in the log file. RestoreHealth can take up to a few hours to complete.
a. In the command line with administrator privileges, type the following command and then press the “Enter” key on your keyboard:
Repair-WindowsImage -Online -RestoreHealth
5. How to Use DISM /RestoreHealth /Source:wim Command
You can use the /RestoreHealth /Source to specify an exact location of an install.wim file which DISM will then use as a known good version of the files that can be used to repair the corrupted ones. This can take up to a few hours to complete. If you notice pauses to the progress bar during the installation, it’s a normal part of the process.
Notes
- Specifying a source can help if you tried running the RestoreHealth option above but weren’t able to repair the corrupted image.
- If you have a mounted Windows 10 ISO file, the install.wim file is usually found in the Source folder.
- If you don’t have an install.wim file because you’re using an install.esd file, then you should skip to step six below instead.
a. In the command line with administrator privileges, type the following command and then press the “Enter” key on your keyboard:
Dism /Online /Cleanup-Image /RestoreHealth /Source:wim:Full Path to install.wim file:<Index Number>
For example: Dism /Online /Cleanup-Image /RestoreHealth /Source:wim:D:\sources\install.wim:1 /limitaccess
6. How to Use DISM /RestoreHealth /Source:esd Command
You can use the /RestoreHealth /Source to specify an exact location of an install.wim file which DISM will then use as a known good version of the files that can be used to repair the corrupted ones. This can take up to a few hours to complete. If you notice pauses to the progress bar during the installation, it’s a normal part of the process.
a. In the command line with administrator privileges, type the following command and then press the “Enter” key on your keyboard:
Dism /Online /Cleanup-Image /RestoreHealth /Source:esd:Full Path to install.esd file:<Index Number>
For example: Dism /Online /Cleanup-Image /RestoreHealth /Source:esd:C:\$Windows.~BT\Sources\Install.esd:1 /limitaccess
That’s all.





May 11, 2019 @ 05:44
My DISM says that “The restorehealth option is not recognized in this context” and by “this context” it is referring to me putting in the commands as explained in the guide above.
May 11, 2019 @ 05:44
I have two laptops that I use for work. On one of them I can run DISM command fine. On the other one I can’t run administrators DISM logs or commands. I can’t work out if it is related to them being different computers with different hardware or not.
May 11, 2019 @ 05:44
Are you running two different versions of Windows on the one computer? This message can be present if you are using an older version and a newer version because there have been changes since Windows 7. The %windir% directory has changed from Windows 8.1 and up.
May 11, 2019 @ 05:43
dism /online /Cleanup-Image /StartComponentCleanup /ResetBase is not working on recent Insider builds.
May 11, 2019 @ 05:43
Same here. Seems to get stuck at 96%.
Oop. Wait a minute. We have movement. I think it just takes a while, even if it appears like it is stuck.
Operating completed successfully.