Last Updated on April 12, 2017 by Mat Diekhake
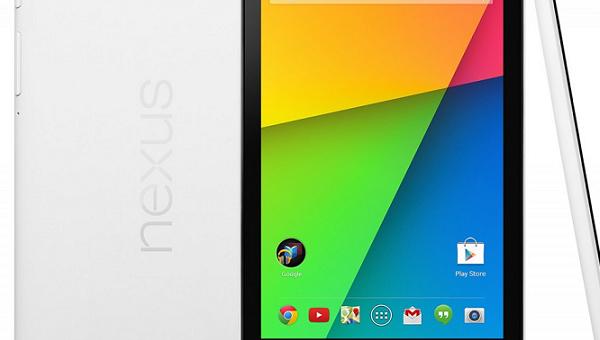
We are now starting to see Android 4.4.3 roll out to several Nexus devices. Yesterday we covered it for the Nexus 5 and today I’m going to show you how you can update your Nexus 7 to Android 4.4.3 KitKat using the KTU84L firmware file. It is the same firmware that some users are received OTA only now it is available to install without the wait if you were not lucky enough to have to arrive at your device. If you haven’t checked yet because you don’t know how you can now by going to Settings > About device > Software updates > Check now.
I know you’re anxious to get started so I will list a few things as quickly as possible just so you know what to do before you start. People with experience on software updates can skip ahead to the guide blow.
- The Nexus 7 comes with 32 GB of built-in storage. These devices are fantastic value for many and Google loves to look after them but it does come at a cost. Unfortunately, this is the central area and that is it does not have any external SD card option for users to add additional storage space. If you do not have room to make a backup then you have to delete some of your files if you want to backup the data. I advise you do that if possible. It is important to backup the EFS folder, and from there the rest is up to you. Other data people find important is contacts, call logs, SMS texts, MMS messages, pictures, video music and more. You can use applications available from Google Play to make it easier for you. There is Titanium, Helium and others. Otherwise, there is also the option of using Google Drive or syncing with Samsung Kies of the Gmail account that is assigned to your smartphone.
- Secondly you will need to have up to date Google Nexus USB drivers. It plays an important role for when connecting to the computer.
- Put a stop to any security programs such as antivirus that are running on a Windows PC and the Android OS. I mention Windows because it is the most common type of OS used by the people. However, because we do not use Odin this time this is done for mac OS X and Linux users also.
- The Nexus 7 comes with USB Mass Storage and USB charging. When this handset is connected to a computer via USB cable, it will start charging the battery. On rare occasions that charge does not work for different reasons. If it is not working on your device then it is important not to start this guide unless you have at least 75% battery power remaining. That way we can get through the instructions without it turning off, and that is crucial.
- Enable USB Debugging mode by visiting the Developer Options. All of you can get there by going to Settings > Devloper Options because it is hiding in Android 4.2 and not here. The Nexus 7 started with Android 4.3 and was updated to Android 4.4, 4.4.2 and finally what we have here today in the latest and new Kitkat build.
- It is the official firmware so after you install it you will lose the Custom ROM that was running if you have root. The root is no longer here, but the good news is that it can gain root again on the new firmware and the warranty is back while the root is off. Please note that this only applies to handsets that have any existing warranty left, and not all handsets do.
- Make sure you are using the right mobile by verify the model number. Go to Settings > About smartphone > Model Number.
Before you begin you will need to have:
- Android SDK
- Fastboot
- Fetch the android-sdk-windowsplatform-toolsdirectory and copy it to the directory
How To Update The 2013 Nexus 7 Wi-Fi With Android 4.4.3 KitKat
1. Download the firmware signed-razor-KTU84L-from-KOT49H.df43279b.zip and extract the files to the desktop.
2. Fetch the USB cable from the phone charger and us it to connect the Nexus 7 to the computer system unit.
3. Boot the Nexus into fastboot or otherwise known as bootloader mode.
4. Press Volume Up + Volume Down + Power at the same time to make this happen. Do not let go until the fastboot menu says Start.
5. Go to the Razor-KTU84L folder and copy and paste the files to the fastboot directory.
6. Now is when we separate depending on what operating system you are viewing this.
7. if using Windows run the flash-all.bat file.
9. if you are using Mac OS X run the flash-all.sh. Obviously for Mac users this will be done in the terminal.
10. Linux users need to run the flash-all.sh also.
11. After you have confirmed, the flash does not touch anything on any of the devices currently turned to the on position.
12. When done it will reboot by itself. You do not need to do anything. This boot process can take extra minutes for the first time. It is nothing to worry about, and it will be quicker the next time.
13. Remember to disconnect the Nexus from the computer properly. For Windows users that means moving the mouse cursor down to the system tray in the taskbar and clicking on the safely remove hardware icon. Put a stop to the USB Mass storage device.