Last Updated on April 1, 2017 by Mat Diekhake
The Google Nexus 4 now has a new stable custom ROM available: the CM 12.1 stable ROM based on Android 5.1.1 Lollipop. If you would like to try Android 5.1.1 Lollipop, but you don’t have the official over-the-air update up for grabs just yet, why not try out the custom ROM instead? That’s what Nexus devices are made for after all.
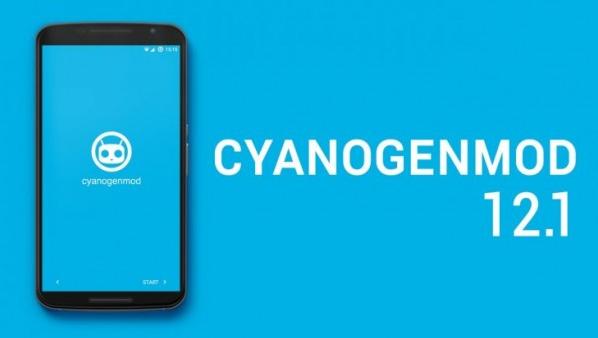
Installing custom ROMs on Android are undoubtedly a great deal of fun. Some people prefer to not install the nightly builds and anything below stable. Well, if that’s you, it’s time to whip out your device because the official stable release for CyanogenMod 12.1 is here thanks to this Snapshot ROM.
The files you need:
- Download the CM 12.1 stable ROM for Nexus 4 Here.
- Download the Google Apps you might want to install here so you can use Google’s services. Download the pack for Android 5.1.1 Lollipop.
Installing the CM 12.1 stable custom ROM on the Google Nexus 4 (based on Android 5.1.1 Lollipop)
- Boot the Google Nexus 4 in the custom recovery mode. To do that, start by completing power off your Nexus by holding down the power key. Complete the following for both Team Win’s TWRP recovery and ClockworkMod Recovery (CWM).
- Now reboot it by holding the Home + Power + Volume Up keys at the same time.
- Keep holding the button down until you see the bootloader mode on the display.
- Use the Volume keys to change the ‘Start’ mode to Recovery Mode on the display.
- Press the Power button once to confirm you want to enter recovery. Now you should have no worries entering the recovery mode.
- Take a NANDroid backup from the recovery mode menu. Now you will get a complete snapshot of your current ROM — it will even save current application progress so you can pick up where you left off.
- Choose the backup option to complete the NANDroid backup automatically. The exact wording will vary slightly between TWRP and CWM. However, you’ll only see one backup option to take from both so you cannot go wrong.
- Now navigate to the ‘Install’ option from the menu in your recovery mode. Again, the exact wording will differ between custom recoveries. However, you’ll only see one “install” option.
- Browse the SD card for the CM 12.1 Android 5.1.1 Lollipop Snapshot custom ROM and install it.
- Browse the SD card again and upload the Google Gapps package and install it.
- Once you’ve loaded both files, go back to the main recovery menu and choose to reboot the system.
Troubleshooting:
If you get stuck in a boot loop, or your device isn’t working properly, enter the custom recovery mode again by using the same Volume Up + Power + Home button sequence. Now navigate to the ‘wipe data/factory reset’ and apply the same. Your device should now be out of trouble.