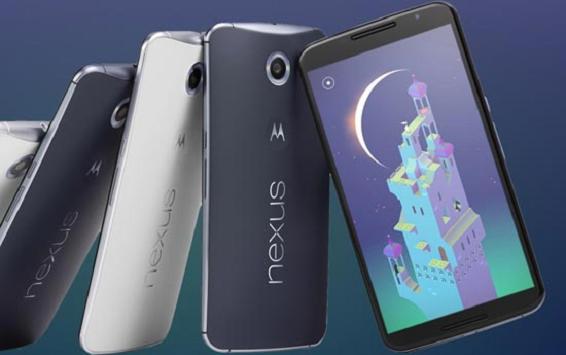
The Google Nexus 6 is a beast and it is an official Google device so it will get Android updates as soon as its released. Recently Google released its Android 5.0 Lollipop OS which comes pre loaded with this phone but now Google released Android 5.1 Lollipop with some cool and new features. This update will not come to your phone using official OTA update, you have to manually install it on your device. So today I’m going to tell you how to install this Android 5.1 Lollipop update on your Nexus 6.
Android 5.1 Lollipop is the upgraded version of Android 5.0 Lollipop that came with your Nexus 6. It has some cool features apart from the ones already found in the previous build. This version has some security related features like the anti-theft feature with which a thief can’t factory reset your phone without your Google account credentials.
This process of installing the LMY47D factory image to your Nexus 6 is legal and hassle-free. The process is not going to hurt your phone in any aspect. After installing this factory image your phone’s warranty will remain unaltered you can continue to use your phone as before. This update is also useful for those who rooted their Nexus 6 and installed any custom ROM on it. Applying the same will remove root access and install a clean Android 5.1 Lollipop OS on your Nexus 6.
As this is a manual installation of the update image file, it will wipe all the data stored in the internal memory of your phone. So you better make a backup of your important data. You can sync your contacts to your Google account and sync them back after. You can also backup the data stored in internal memory to your PC or any other external drive. You should also backup your phone’s media files like photos, videos and music to your PC.
For some preparations you need a Windows-based PC for this update process. Make sure you disabled any kind of security related software, like antivirus and anti malware as they can interfere between the process and this may lead to a bricked device. You also need a USB cable for this and better if its original. You also need your PC with USB debugging option enabled. To do that, go to settings > Developer Options > enable USB debugging option. If the Developer Options is not there in the Settings, you can enable the option by navigating to Settings > About Phone > tap on Build Number 7 times. Also charge your phone to 75% so it won’t go off during the process because it can brick your device.
If you had done some customization of your device like rooting then you should factory reset your device before installing this factory image on your device.
Important: do not try to install this image on any other device, do not skip any part of this guide and this guide is also useful to those who had their device already bricked up.
Steps to Install Android 5.1 Lollipop Factory Image on Nexus 6
- Download the Android 5.1 Lollipop factory image package from here.
- Extract the zip file to a single folder on the desktop.
- Reboot your Nexus 6 to Boot loader mode.
- Now right-click on any empty space in the folder by pressing and holding the shift key and click on “open command window here”.
- Now plug your phone to PC using the USB cable.
- On command window, check if your phone is detected to PC using this command: adb devices.
- If your phone is detected then you may go to the next step. If not, then install adb drivers before going to the next step.
- Now double-click on “flash-all.bat” file to launch it and confirm the installation process.
- After the installation, press any key to complete the installation and let your phone to reboot to OS mode.
Now you have Android 5.1 Lollipop OS on your Nexus 6. Enjoy and don’t forget to like and share this with your friends. If your phone won’t boot, then manually repair your device by going here.