Last Updated on September 1, 2024 by Mathew Diekhake
Boy, have CyanogenMod been in the news lately or what? From the founders coming out and saying there may not be any need for root access as we look into the future years, to creating their own company with a big group of employees, it’s fair to say it has been a big year for the team. Still based on the west coast of the United States you can check them out from their site for more information on what they have been up to lately. I’m sure if you ponder over many of the blogs around, you’ll notice much of it anyway. Here is another fine example of something they have done.
This being CM (CyanogenMod), means that it is a custom ROM. Always make sure you understand that before continuing. Custom meaning it was not brought out by the companies themselves and it will indeed void any warranties.
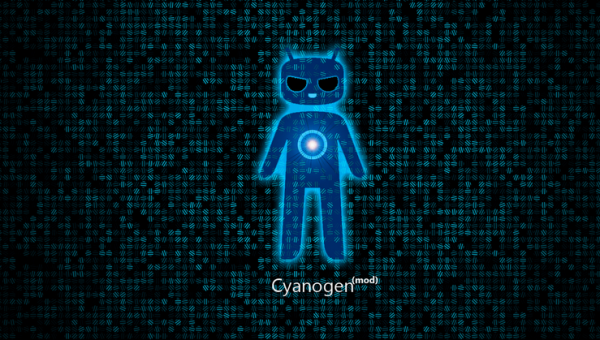
- Did you know that the CM team now has an official mascot? You might not have noticed because it was still blue and fairly weird-looking much like the normal head. This time it zooms out and you can see the complete body shot.
- Then there was the news of Chromecast kicks its way on the custom ROM scene with this team being part of all that.
- You may or may not have noticed all the commotion in the past week or so about security issues popping up in Android. These are real threats and are now in the process of being patched up. The CM team has also patched the threat and now the updates are rolling around to many of the devices. This is one of those devices and installing this firmware will fix the threat.
- This tutorial is only for the AT&T variant of the S3. Do not attempt to follow it on any other version.
- Following this will limit the amount of future updates you will see. If you are familiar with watching them arrive as a notification and into your settings where you then press a button to get the automatic installation, this won’t happen anymore. That’s why we like to tell our people that they should upgrade to the latest builds just before they are ready to root. This way you can enjoy that update to date build for longer. You do have the option of updating to another build manually, but remember that this will take away the root access that you had before by following this guide. It’s a bit of a catch 22 dilemma. There’s no real issue with it though, because you can always find another guide to follow. Sometimes even the same guide can be used, but don’t assume that is the case without checking first because that can get you into trouble. You can see what this one is for by looking at the end of the title. That means don’t try it on anything else.
- Some AT&T users have made some complaints about the battery time. With that knowledge under our belts, we will be reserving a bit extra in the tank and tell you to charge to 70% this time. That should give you plenty of leeway. Just make sure that your phone is charged enough so it doesn’t shut down during the procedure. If it does, this is very serious and can cause a lot of damage. You will need help with your handset if this has happened so leave a comment for help.
How To Install Unofficial CM10.1 Android 4.2.2 Jelly Bean On The Samsung Galaxy S3 SGH-i747 from AT&T
1. Download the CM10.1 Android 4.2 ROM, as well as the Google Gapps.
2. Using USB, connect the Galaxy S3 SGH-I747 into the computer.
3. Copy and paste both of the files you should have downloaded in step 1, and transfer them over to the devices SD card.
This is pretty much the last chance you will have to make any backups you might want. That includes your contacts, data, settings and even apps. Failing to do so could result in things being gone. If you are a popular person and have lots of friends, this could be a headache you could do without. I had to do-over my father’s phone once and it took me most of the night to complete. It seems like it won’t take that long, but believe me it does.
4. Power down the phone and unplug it from the computer.
5. Boot it up in recovery.
6. Wiping all the phone’s data is now what is needed. The reason is this can get the cache caught which causes problems. For that reason, you should also wipe both caches after doing the standard factory wipe.
7. Head back out from here and back to the very beginning. Here you need to choose, install from SD card.
Now, remember the two files from step 1 which we transferred? Now we have to transfer them again back to here. Do them one at a time and make sure you get both of them, including the GApps.
8. That’s basically it. All that is left to do is select reboot system now at the main screen again.
That’s it, you’re good to go.