Last Updated on December 26, 2022 by Mathew Diekhake
The Windows 10 operating system always has services running in the background. These services are similar to daemon processes in UNIX-like operating systems.
These services in Windows 10 play an integral role in the core of the operating system. The services look after things like error reporting, file serving, event logging, printing, and cryptography.
Sometimes people may want to change the operations of these services manually by themselves because the current settings that the Windows 10 operating system has chosen by default are not doing what the users need them to be doing. In other words, sometimes people might wish to enable a service that is disabled and disable a service that is enabled. Likewise, it’s quite common for people to want to start a service that is currently stopped.
The following guide shows what you need to do is start-stop- enable and disable any of these services.
How to Start, Stop, Disable and Restart Services in Windows 10
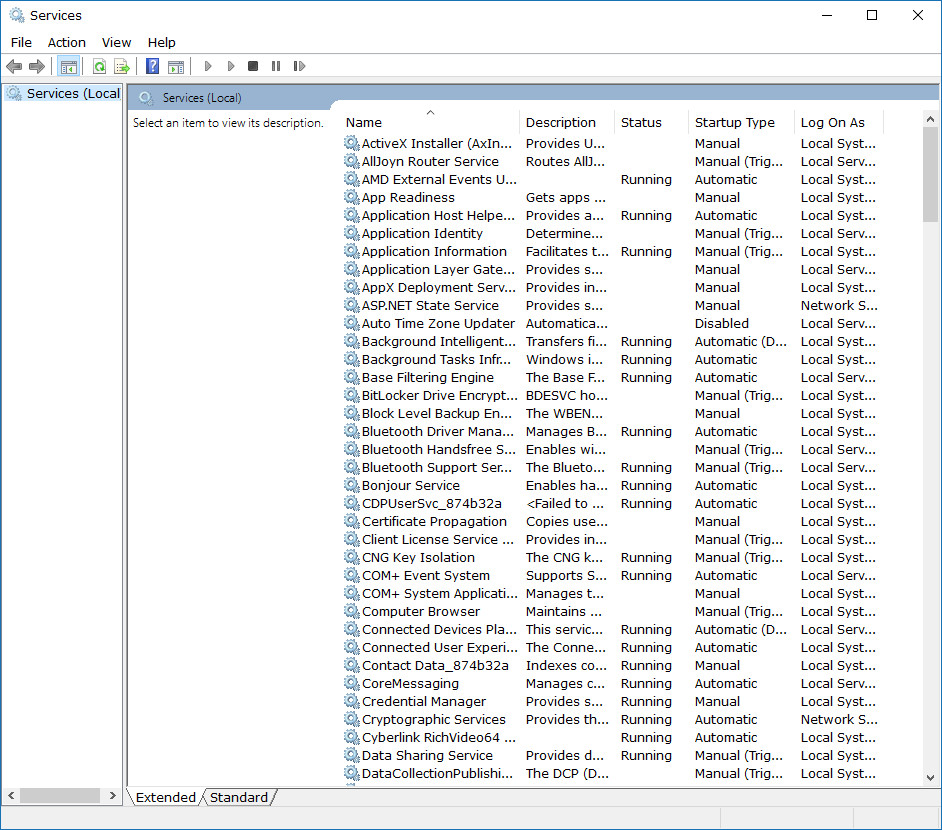
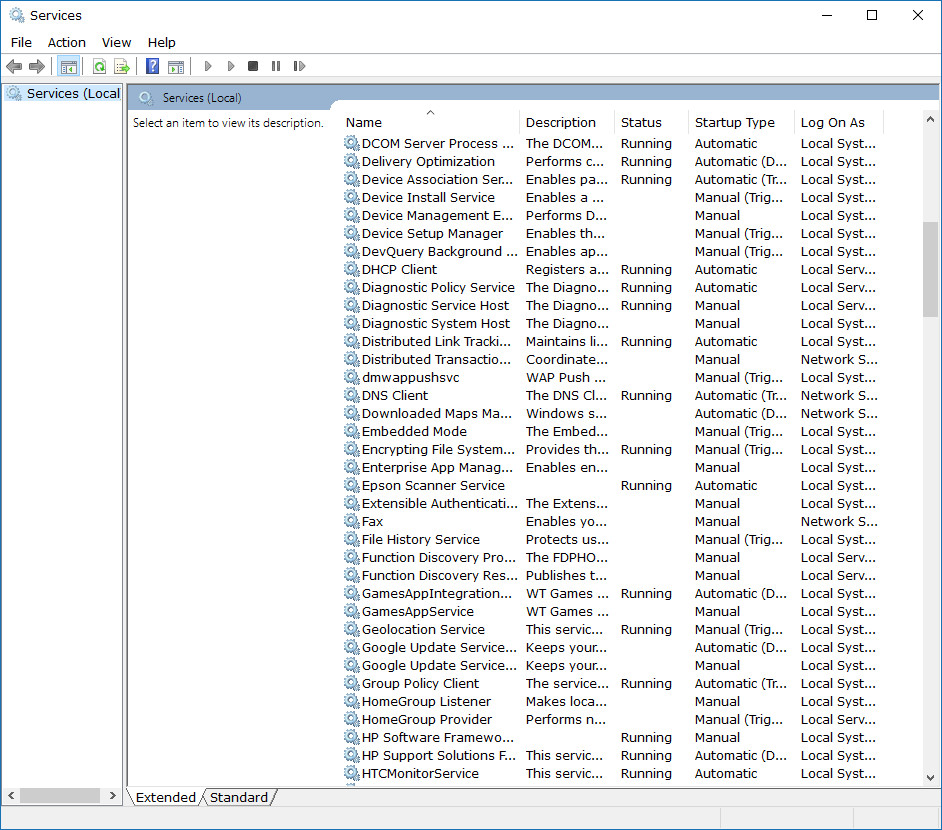
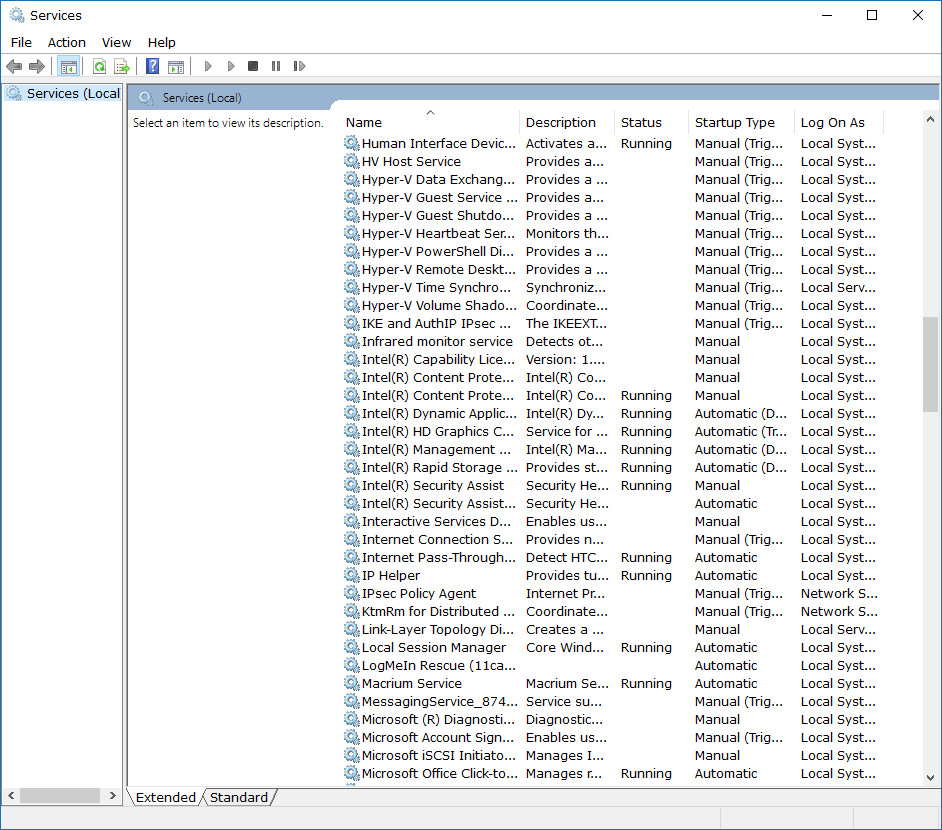
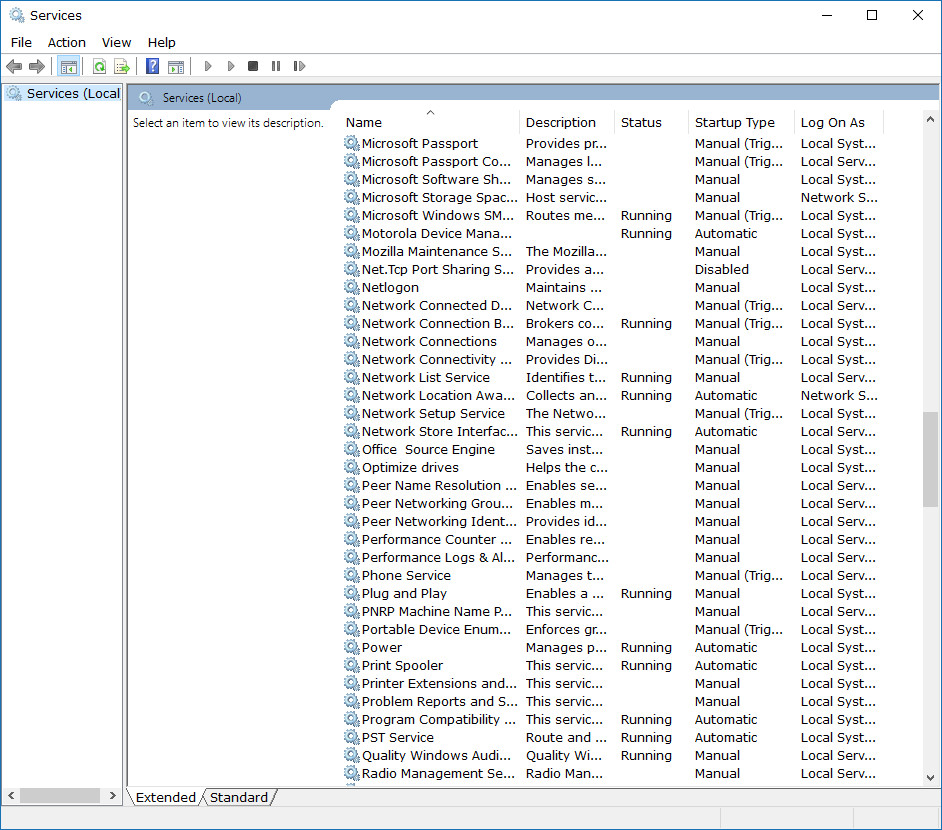
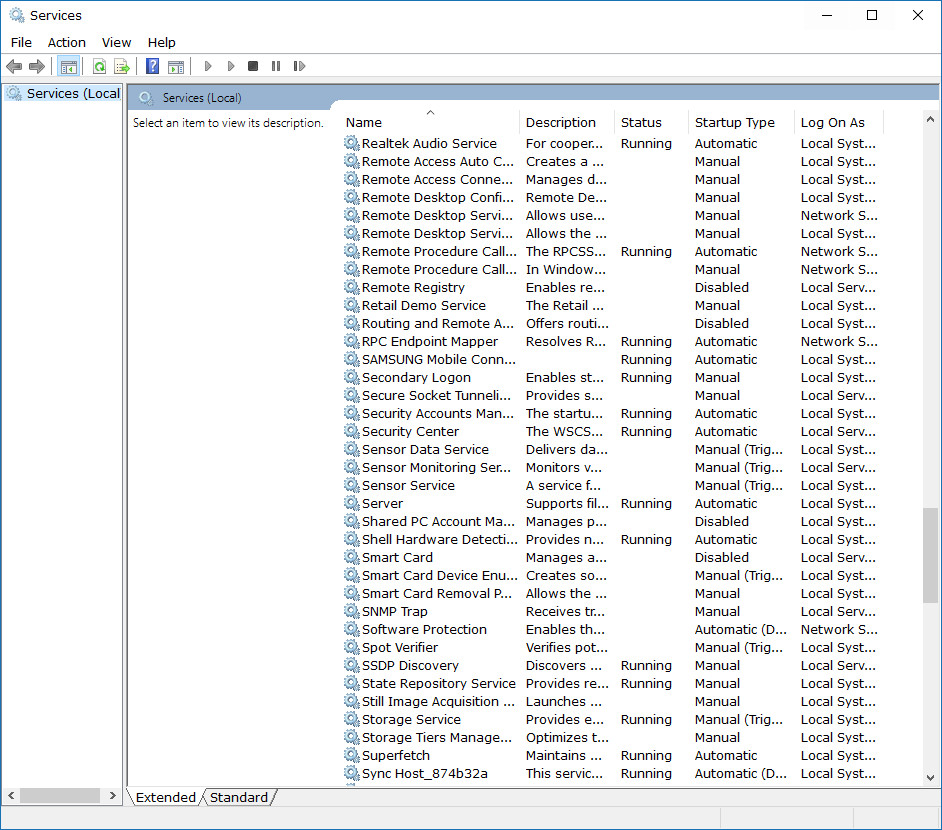
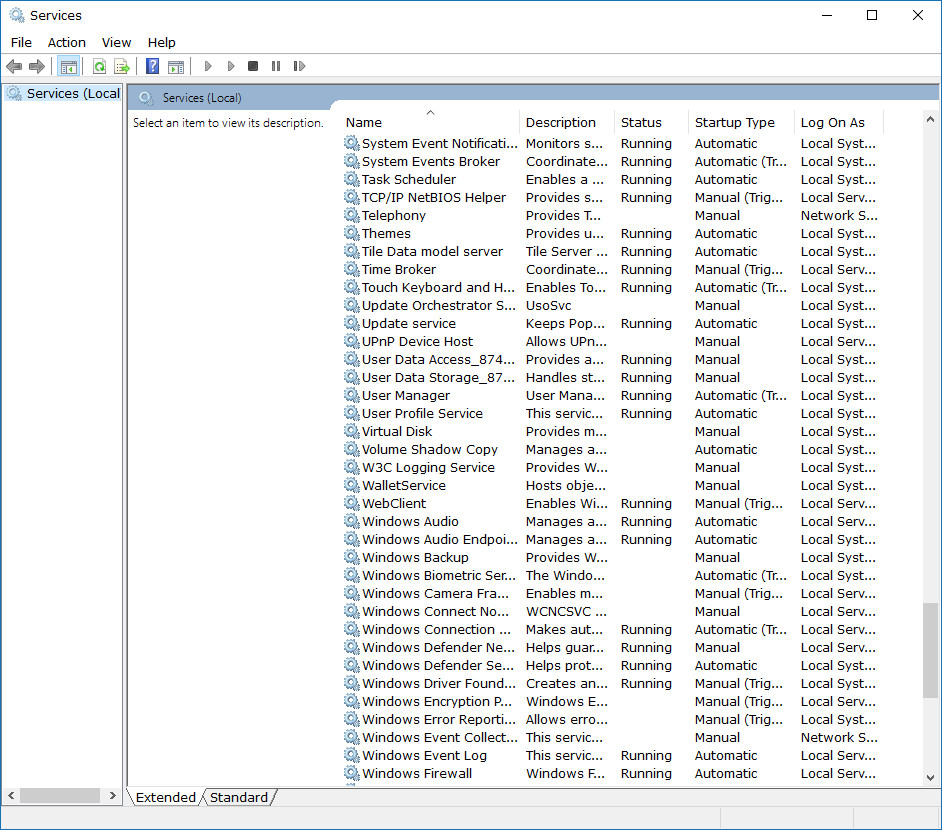
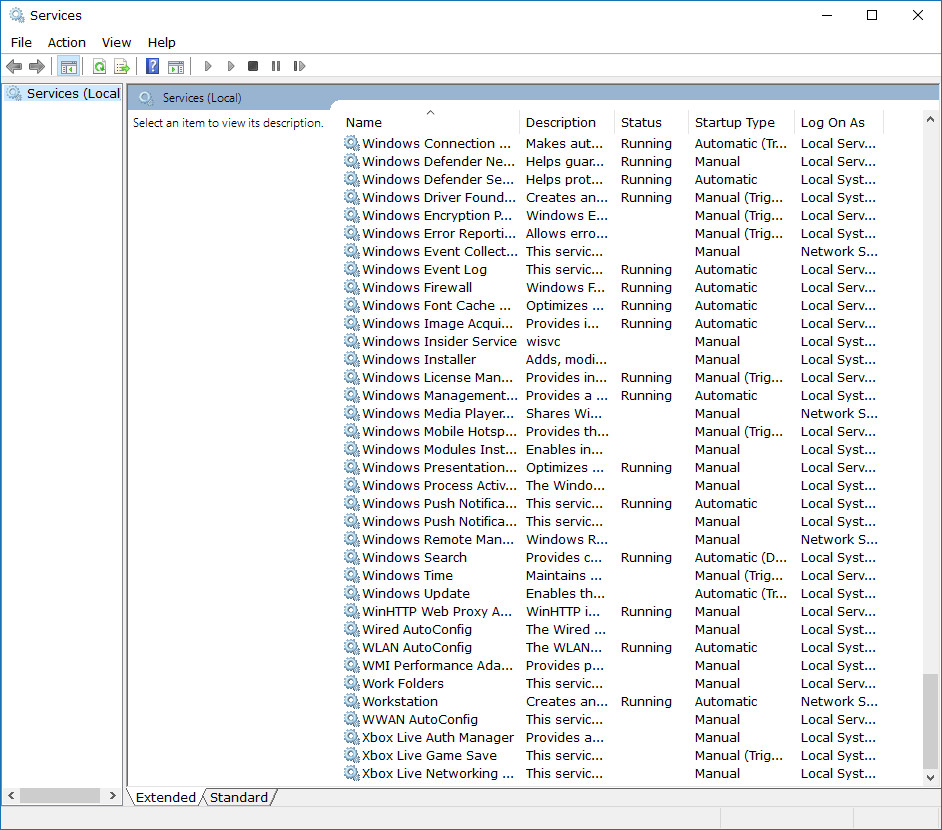
1. Start by pressing the Windows logo key + R to open up the Run dialog box and then type services.msc and hit the Enter key on the keyboard. You should now see all of the services that are available for your computer like demonstrated below.
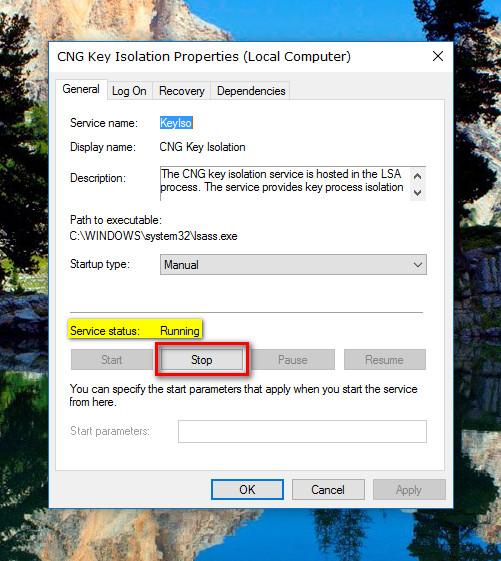
2. Depending on what the service is that you decide to click, it might say that it is running or stopped. For example, if you click on the CNG key isolation you’ll likely find that it is running on your versions of Windows 10 when you are using it. If you then double-click on the entry, it opens up the CNG Key Isolation Properties (Local Computer) dialog box.
3. When the dialog box is open, check the Service status and then you’ll see where it shows you if it is running. As you can see mine currently is running. To stop the service, you need to click on the Stop button directly beneath the Service status. Next, click on the Apply button, so the changes you have made are applied and then click on the OK button to close down the CNG Key Isolation Properties dialog box.
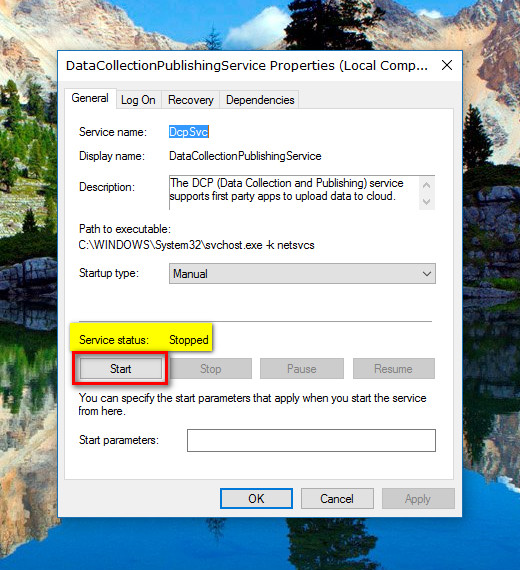
4. If you know one of the services that are stopped and you want to have it started again (without having to reboot the computer if it is a service you expect to start on reboot), then you can double-click the mouse or touchpad on it and open its dialog box. For this example, I’m going to click on the Data Collection Publishing Service Properties dialog box because it is one that is currently stopped on my computer and likely will be on your running Windows 10 as well.
5. With the dialog box open, you’ll see that the Service status is Stopped and the button available beneath it says Start. click on that Start button to start the service. Now click on the Apply button to apply the changes you have made and then finish by clicking on the OK button to close the Data Collection Publishing Service dialog box.
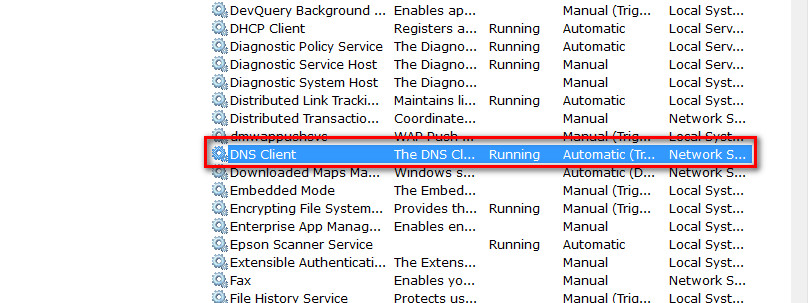
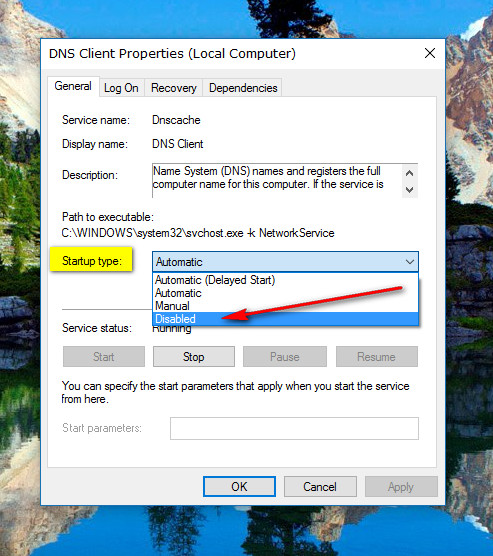
6. If you want to disable and restart a service and not just turn them on or off, then the process, you need to follow is a bit different. For the sake of disabling one of these services, find the one you want disabled and double-click on its entry. In this example, I have clicked on the DNS Client entry to open up the DNS Client Properties dialog box.
7. With the dialog box open, look for the Startup type drop-down box. Click on the drop-down menu and then choose Disabled from the list. Next, click on the Apply button and then close the DNS Client Properties (Local Computer) dialog box by clicking on the OK button.
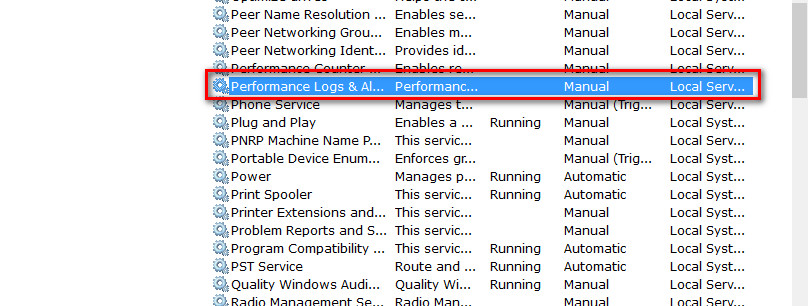
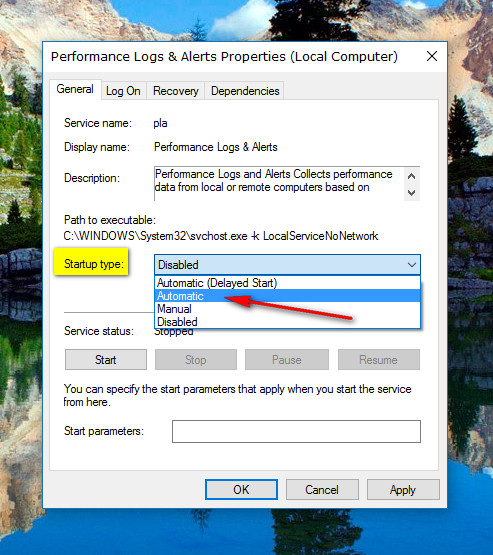
8. Enabling these services is a little bit different. The difference is there are a few choices you have to enable a service, and there isn’t any one button called Enabled to get them going again. Moreover, you likely won’t find any of these services disabled by default, so you will need to find one that you have disabled yourself manually. For this example, I’m going to use the Performance Logs and Alerts entry in the service by double-clicking on it and opening up the Performance Logs & Alerts Properties (Local Computer) dialog box.
9. Where it shows the Startup type (just click the option to disable a service) click on the drop-down menu that is currently showing the service as disabled. Here you have three choices: Automatic (with a delayed start), manual and just the standard automatic option. Choosing any of these three options will enable the service again depending on what you want. After making your selection for the service, click on the Apply button and then the OK button to close down the Performance Logs and Alerts Properties dialog box.
The Services area in Windows 10 isn’t a place where you should play around. Some services can be stopped and started whenever you want, but there are others that are not always safe to disable. If you plan on disabling a service in here that wasn’t already disabled, you should research it to make sure it is OK to do so, or you just might regret it later. Many of the services that you find are already optimized for not taking up much CPU usage, and they help keep the operating system running smoothly.
Related Tutorials

