Last Updated on May 30, 2021 by Mat Diekhake
Volume levels on our smartphones vary, and they depend on where we are. For example, the volume levels of your phone may not be too high when you are at your office, but it will be high when you are at home as there is supposedly nobody who will get disturbed by it.
If going to the office is your everyday task, you will have to adjust the volume levels every day as I am sure you will not want for your phone to make a deafening sound when you are in a meeting.
To help you from the hassle of adjusting sound levels every day, there is an app that schedules the volume levels automatically for you. Once installed and configured, the app automatically determines what volume level should be set at what time.
Here’s how to use it on your Android device:
Scheduling Volume Levels on Android Devices
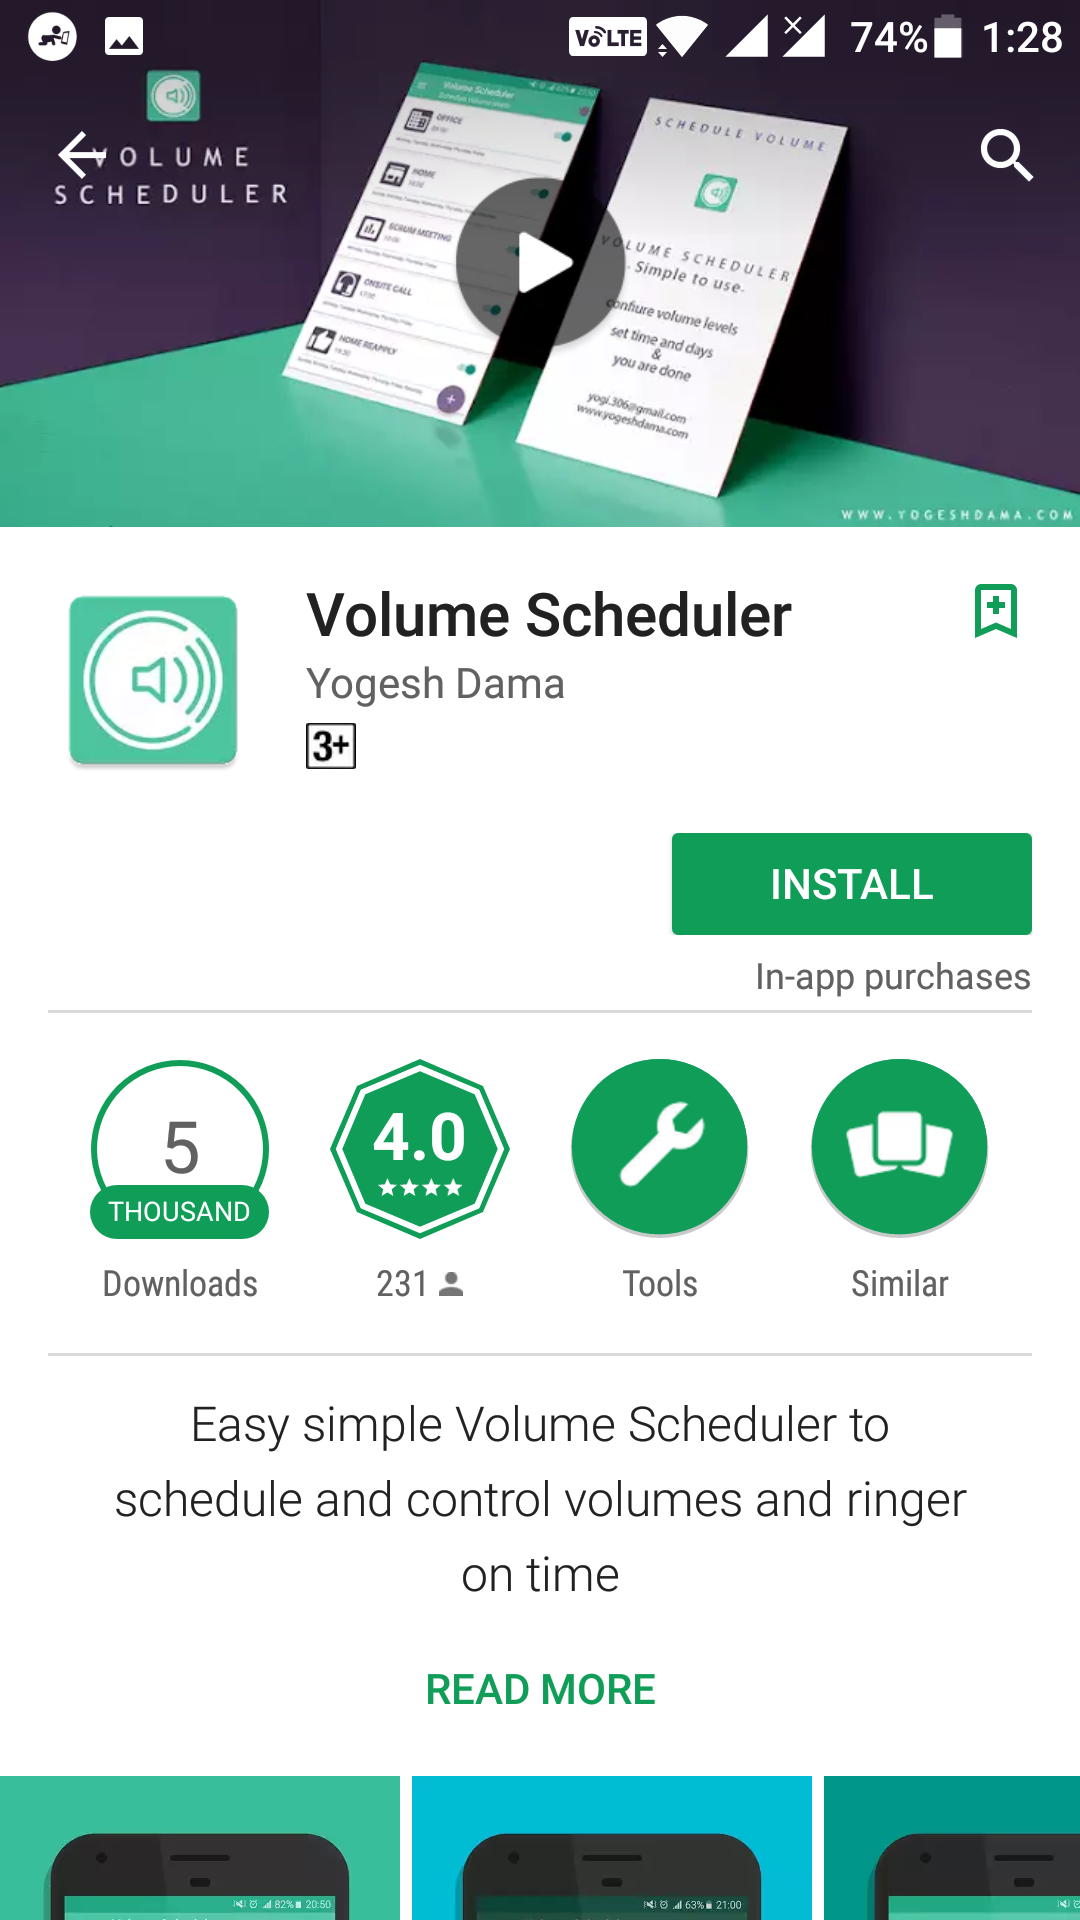
To do the task, you are going to use an app called Volume Scheduler which is available for free to download and use on the official Google Play Store.
First of all, open the App Drawer on your Android device and tap on “Play Store” to launch the Google Play Store on your device. When the store opens, tap on the search bar and search for and tap on “Volume Scheduler.” You should now be on the app page. Tap on the button that says “Install” to begin downloading and installing the app on your device.
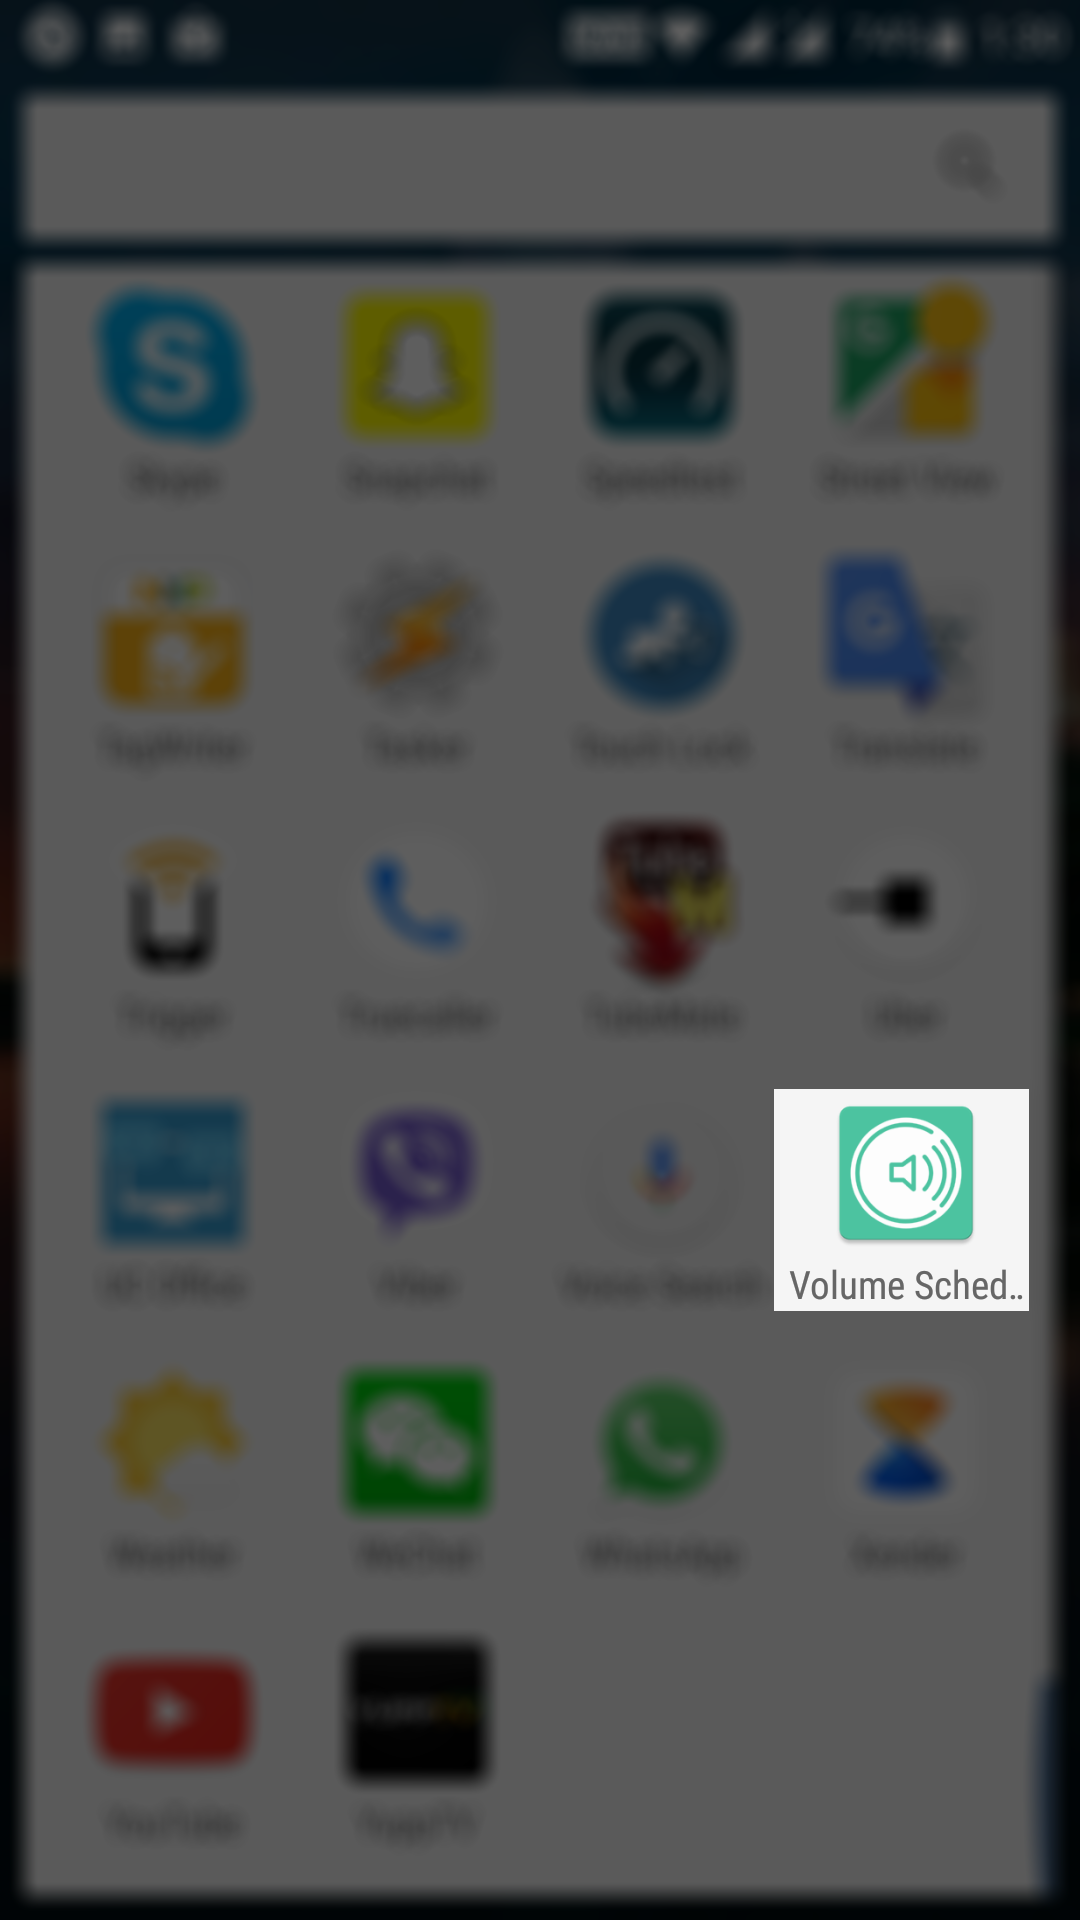
When the app’s downloaded, launch it on your device. To do that, open the App Drawer and look for and tap on “Volume Scheduler” and the app launches.
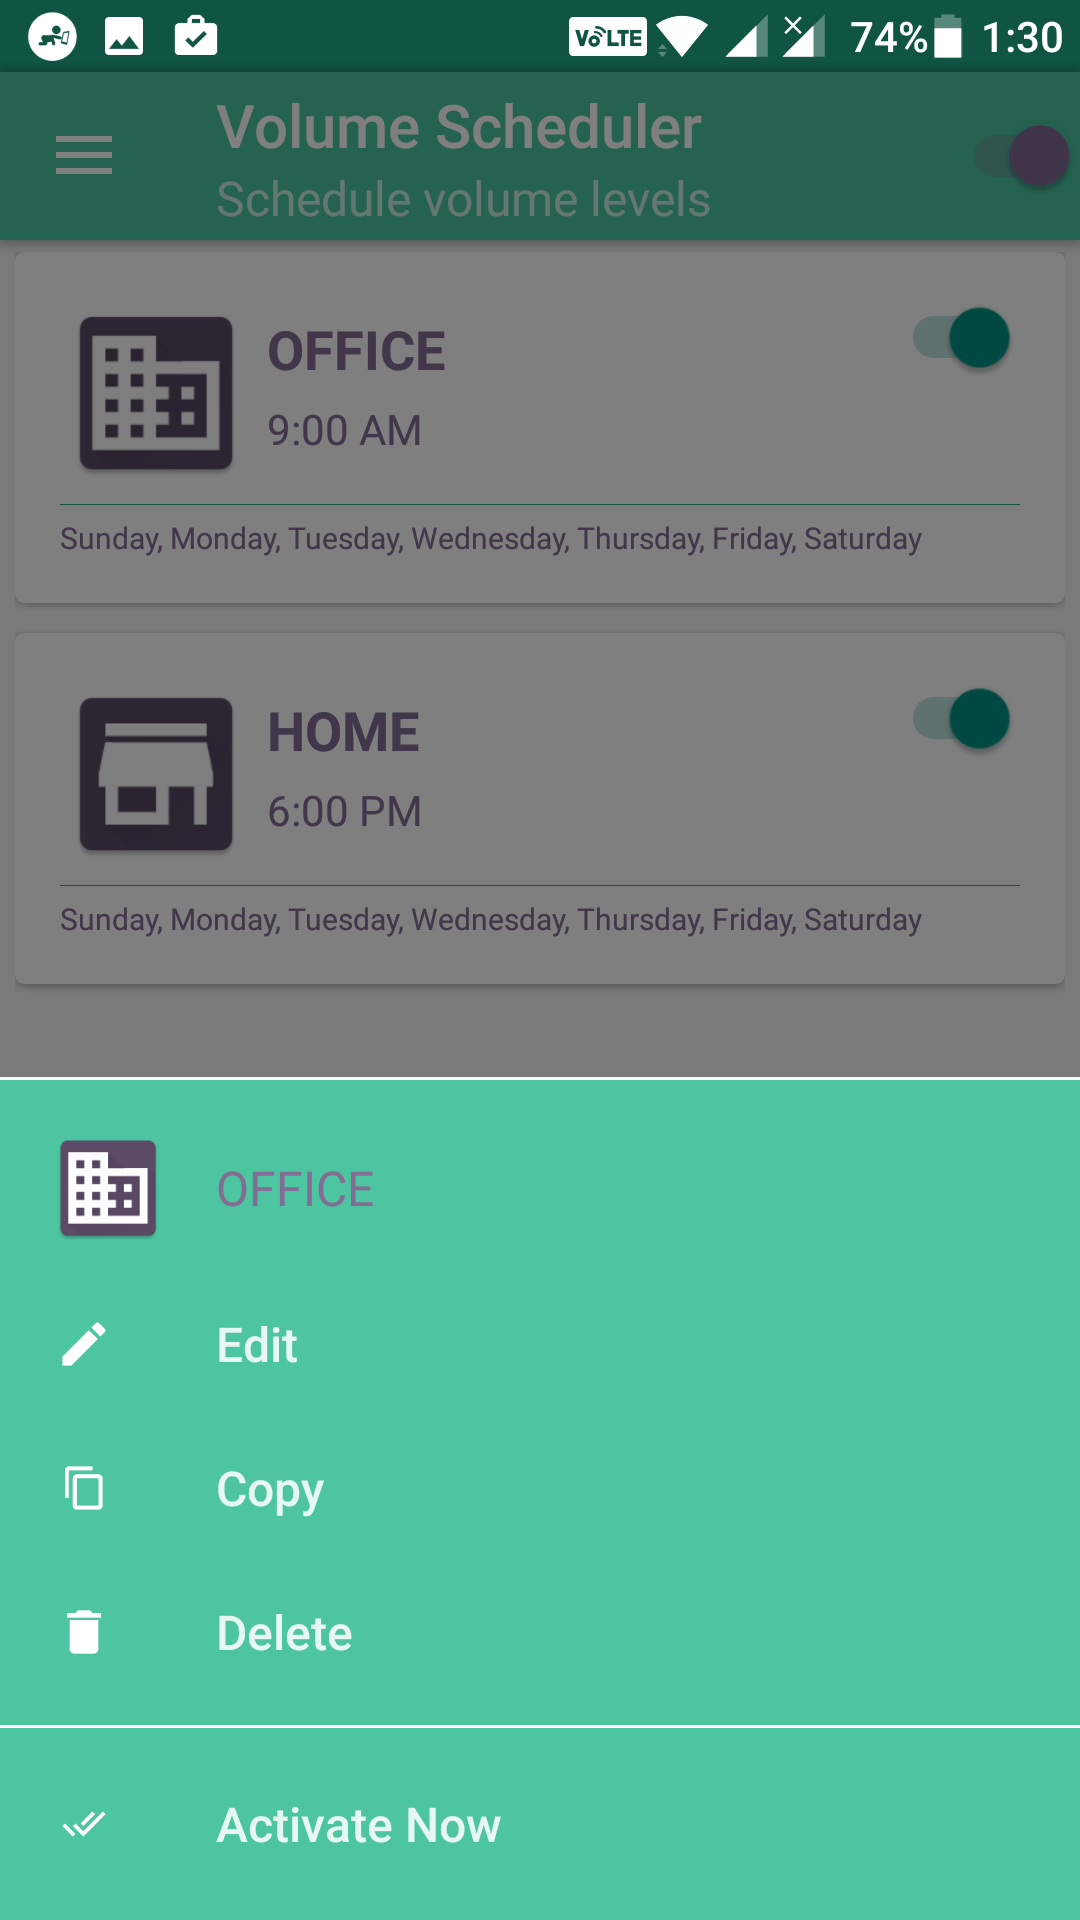
When the app launches, the first thing you want to do is ensure that the toggle at the top is in On position. That toggle is what defines whether the app should be active or not. If it is Off, the app functionalities will not work.
After making sure that the toggle is On, you then need to edit a profile. You will see two profiles on your screen named office and home. Tap on the one you would like to configure. Then, tap on the option that says “Edit” to edit the profile.
On the following screen, you can change all the settings for the selected profile. The first field is available for the name of the profile. You can change it if you wish. Another option you will want to configure is called “Volume Profile.” Tap on it to open its settings.
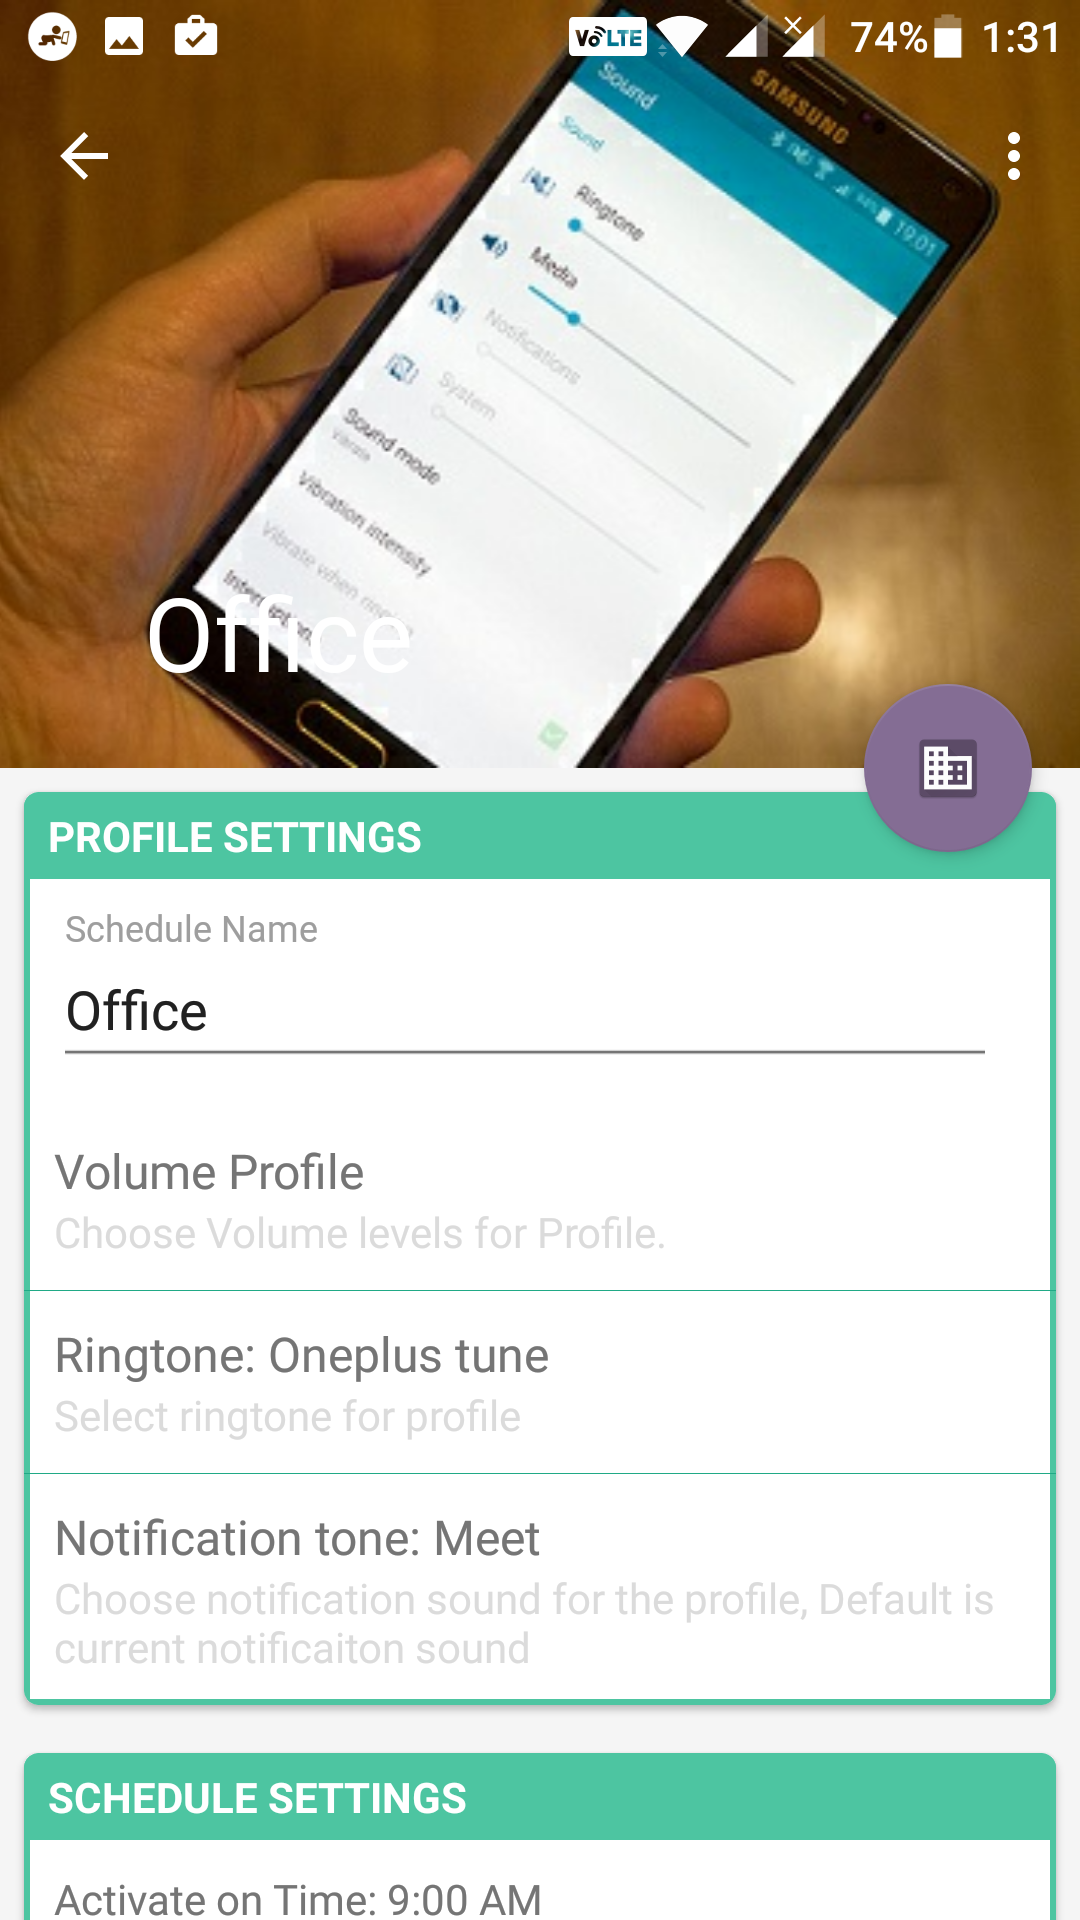
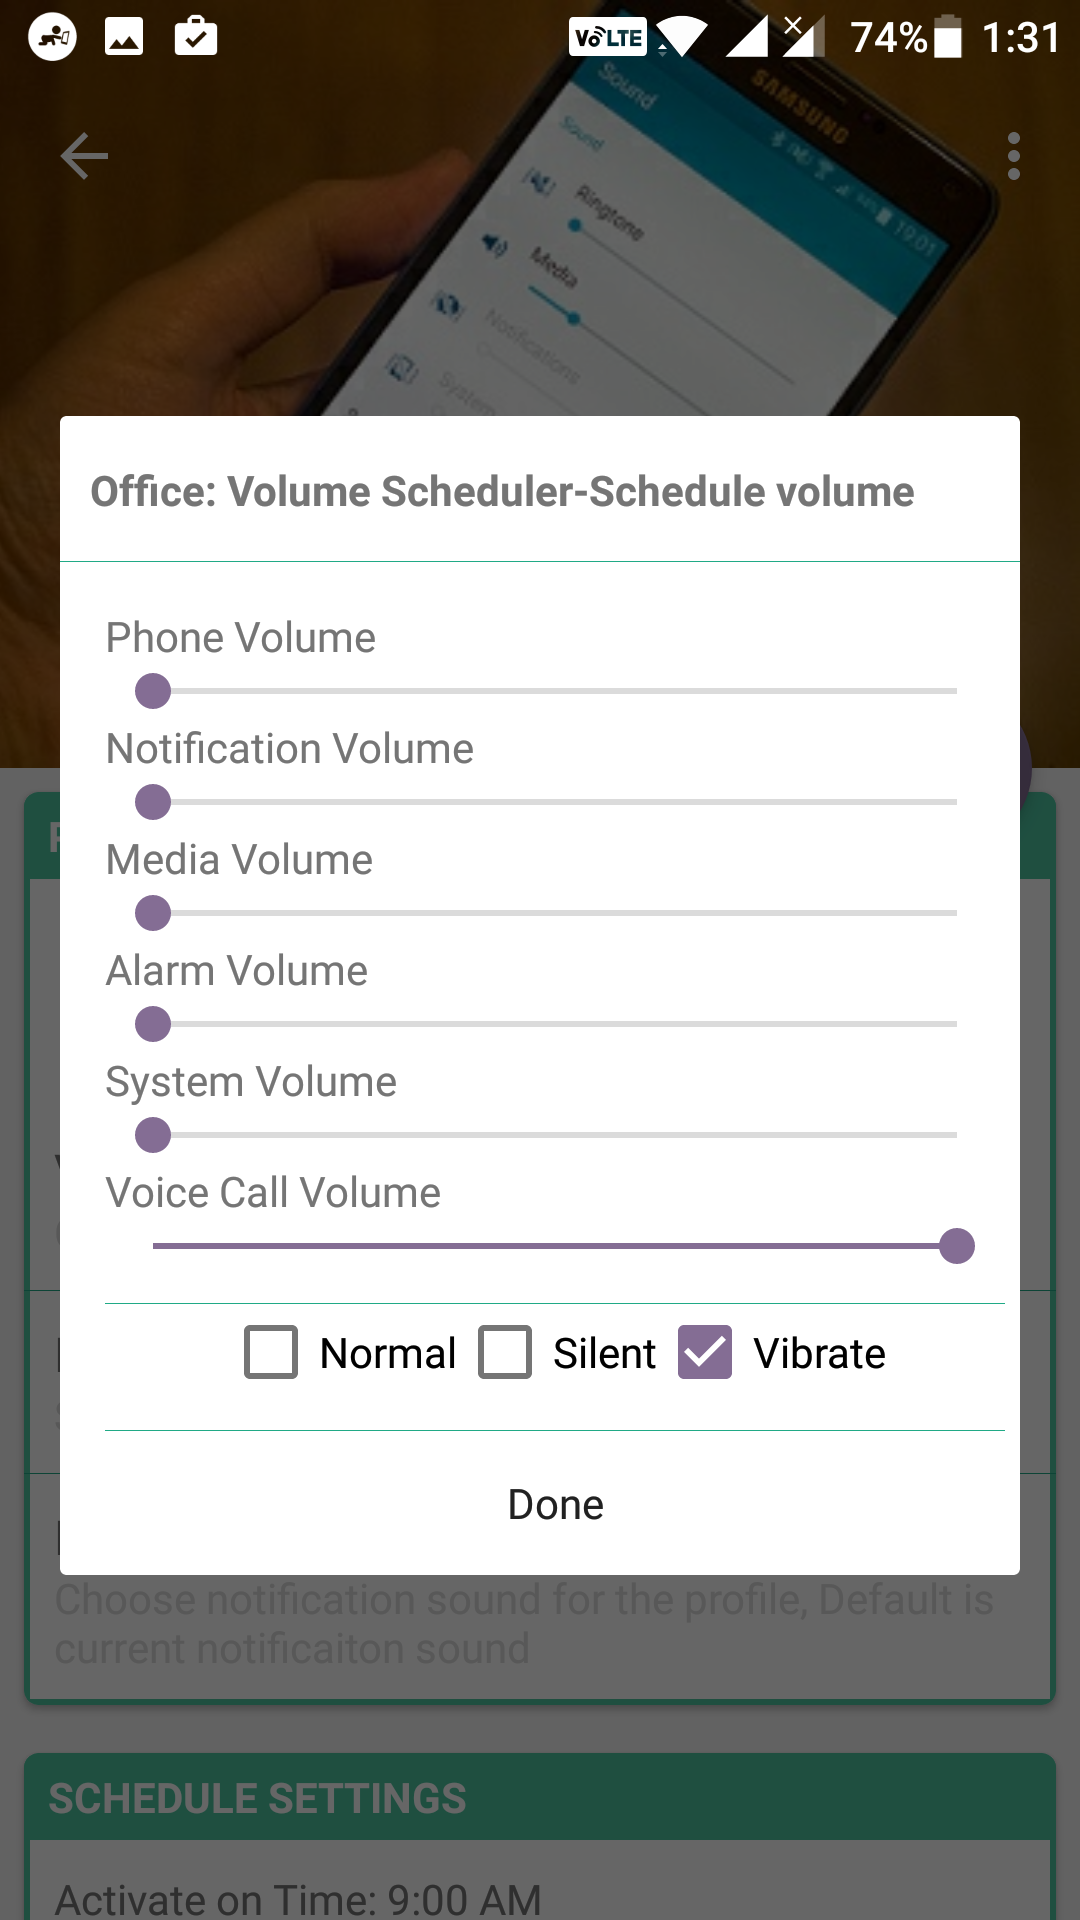
On the following screen, you can set the volume levels for different volume types. The volume types you can adjust are for the phone, notification, media, alarm, system, and voice call.
When you are done adjusting the volume levels, tap on the button that says “Done” to save the changes.
Then, you ought to set the scheduled time. For that, tap on “Activate on Time: 9:00 AM”. After that set, the scheduled time and you should be all set.
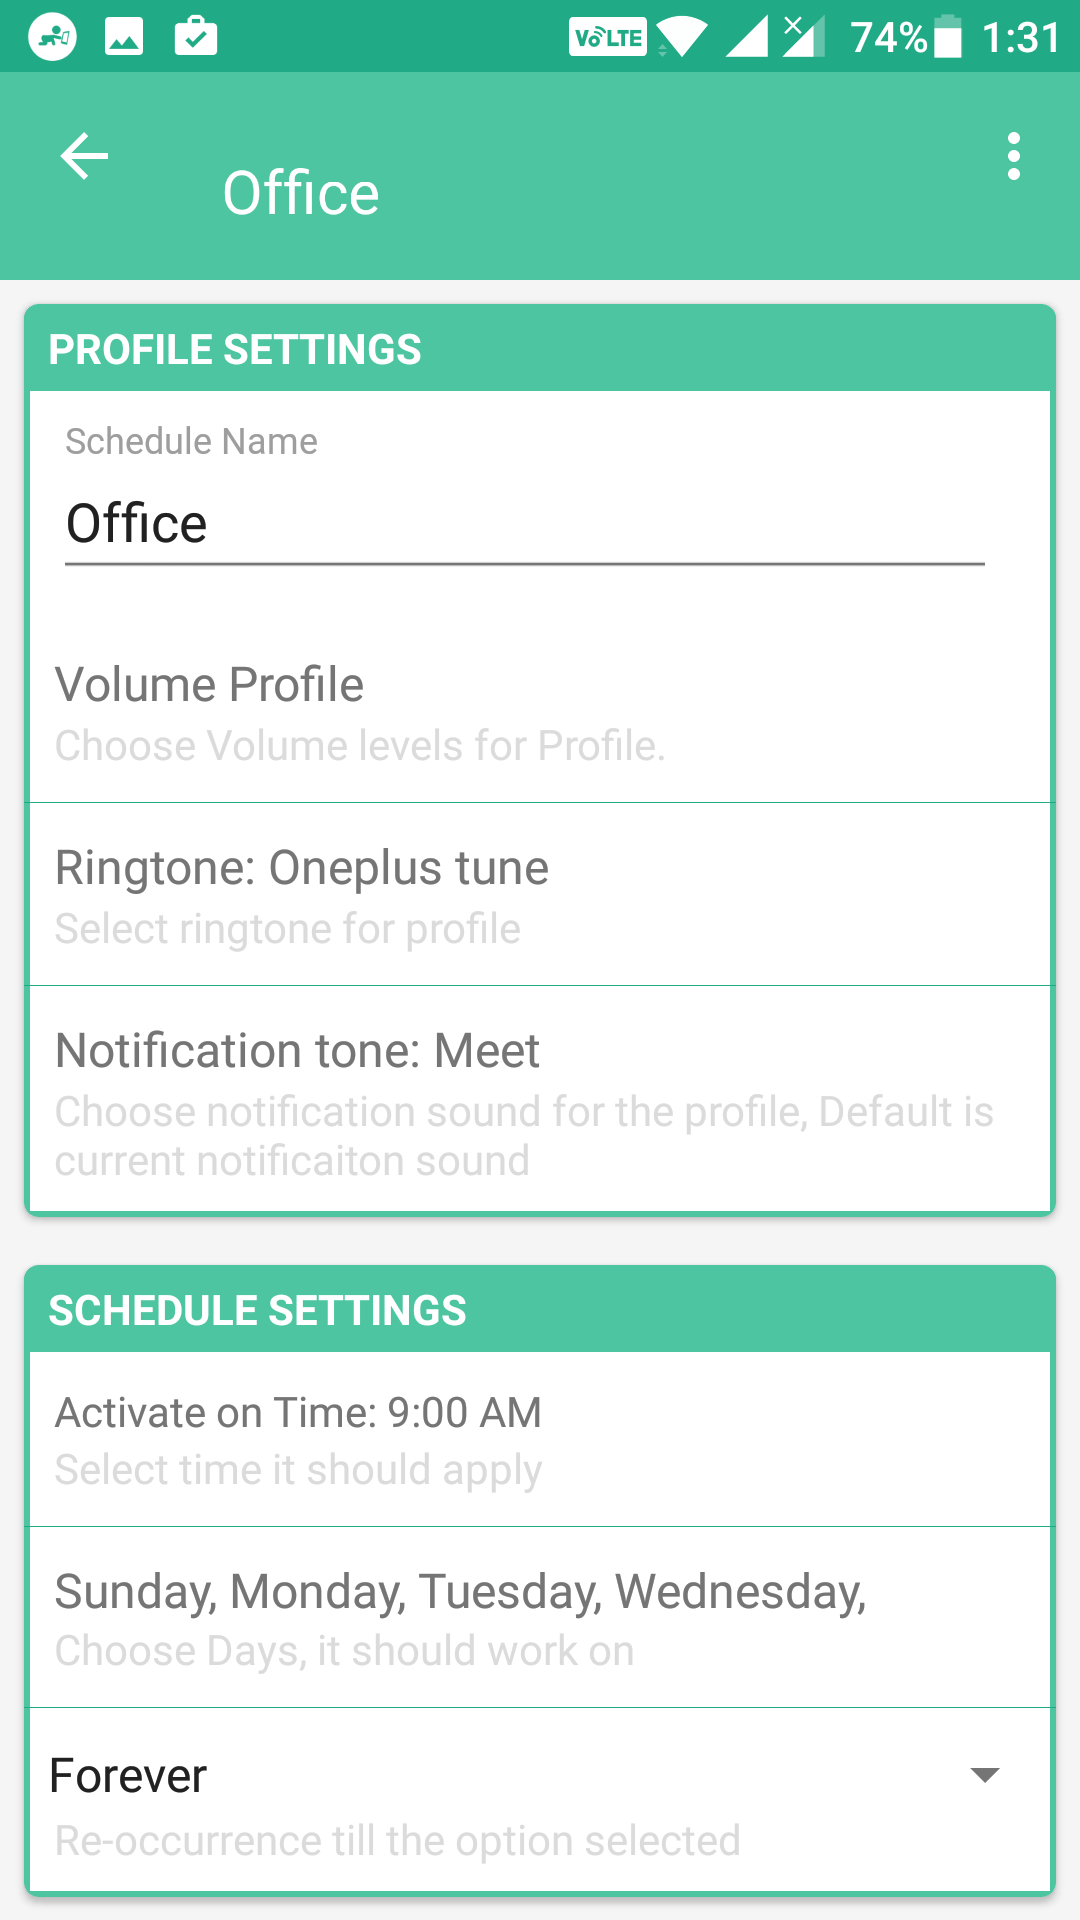
The profile is all configured, and it should work as per the settings you have set up. If you want, you can configure other profiles as well in the app, so they all work the way you want them to. You can also add new profiles if you want to.
With all these profiles configured in the app, your phone automatically adjusts the volume levels on your device without you having to do it manually. It takes care of the sound levels of your device and the only time you need to do something about these volume levels is when you want to re-configure a profile.
So, that was how you could schedule volume levels on Android devices.
You might also be interested in:
- How to Move Cursor Using Volume Keys on Android
- How to Snooze or Dismiss Alarms with Volume Keys on Android
- How to Improve Performance of Gboard in Android
- How to Get Samsung Internet Browser on any Android Device
You can subscribe to our RSS, follow us on Twitter or like our Facebook page to keep on consuming more tech.