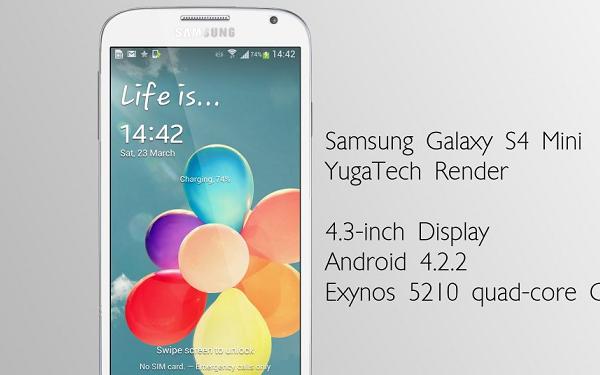
Samsung rolled out a new software update for the Galaxy S4 Mini that upgrades the operating system to a new version of Android 4.4.2 KitKat. The build number is XXUCNK1. Providing you’ve already followed the OTA update installation steps by choosing to “install now” and “download,” then you are able to open up the internal hardware away from the restrictions in place by the manufacturer. Those unwilling to wait for the over the air signals will find the file available to download manually. Usually Sam Mobile is the reliable source for the latest files for your Sammy smartphone or tablet.
Don’t start anything until you’ve read through our list of essentials. Once you are satisfied that rooting is the way to go for you then you may follow the steps. You must be an advanced Android user to use the guide, as it’s not something to be taken lightly. You run considerable risks by customizing the OS. One of the risks is soft-bricking the device. Another is getting stuck in boot loops and having to find your way out. If you don’t have experience with stock recovery, custom recovery, the Odin application or modifying a smartphone, it’s time to step away and find some experience fro ma friend who does. As always, if you feel confident enough to try it out, but would prefer asking a couple of question beforehand, you may leave comments in the box below and we’ll read them and reply.

The pictures are not necessarily a fair representation of what you find in the guide.
Details of Note
- The following is for the LTE variant of the Mini with the Qualcomm Snapdragon system chip. Do not try to install the file on any other version of the galaxy S4. The files are sensitive and each device with a different model number requires a new file.
- Backup your i9195 data which is stored on the ROM and transfer it over to the internal memory. The internal memory is never wiped when we factory reset; therefore , you know the data is safe here. However, if you wish to add extra space, you can by buying expansion SD card for more storage. You can back up the data using the external SD card too. Use Easy backup to make copies of the call logs and the calendar. Use Helium to make copies of the phone contacts, SMS texts and market applications on your mobile. You can use Google Drive for extra space, as they offer a limited amount for free. SMS backup+ is another application wort checking out if you want a dedicated SMS app for the text messages. or, you may follow through with your own preference and store the data however you see fit.
- Install the USB Drivers from Samsung Kies. Remember to disable Kies before starting the steps as it interfere with the Odin app. You can download the drivers other ways such as third-party links or by visiting the official website.
- Check the battery reads over 505 from the status bar. We know the status bar changes its appearance in 4.4.2 KitKat to be all white and transparent when the battery drains. The battery isn’t a huge concern since we are connecting to the computer for most of the time. That means the USB charging feature will take over and look after the battery.
- Enable USB debugging by going to Settings > applications > development or Developer options > USB debugging.
- You must use a Windows PC, notebook or laptop. The app doesn’t work on Mac’s or Linux. The file will not continue flashing and you risk harming the device.
- Backup the EFS folder for when you get stuck in a logo loop. If the EFS folder becomes corrupt it’s a headache.
How to root the Samsung Galaxy S4 Mini i9195 with XXUCNK1 Android 4.4.2
- Download the file from this page.
- Download Odin direct here.
- Boot the S4 Mini up in download mode.
– press Volume Down + Power + Home at the same time. - Connect the mini smartphone to the computer using the USB wire.
- Wait until Odin says “added” and the ID: COM port turns blue or yellow.
- Click the AP button and upload the tar.md5 file.
- Do not touch the re-partition box.
- Leave on the Auto reboot
- Leave on the F reset Time option.
- Click the start button when you are ready for the flashing.
- The ID: COM port changes color and the phone reboots after the flashing finishes.
- Disconnect the mobile safely from the computer by stopping the USB mass Storage device.
If you are getting stuck in what we know as a boot loop, it’s requiring you to enter the recovery mode. From there you ought to select “wipe data factory reset” and “wipe cache partition.” finally don’t forget to wipe the Dalvik cache. If that doesn’t work you may want to try the full factory reset. If applying the factory reset and wiping the cache both don’t work, you want to try flashing CyanogenMod on it, or any other custom ROM. Furthermore, you should download the Root checker and Unroot Pro. Unrooting using a Play Store application such as this one is the easiest way to return the phone back to stock.