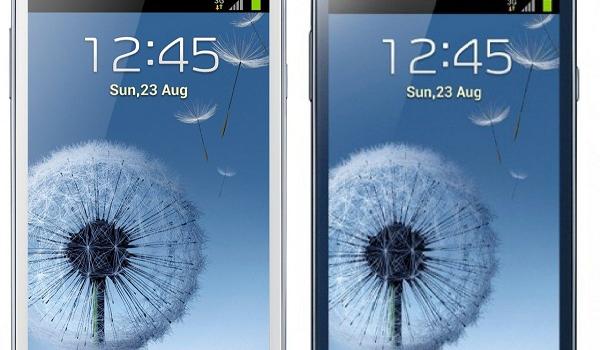
If you don’t want to go all out on a flagship Samsung device, the Galaxy Grand series is always one of the next best options. Since it doesn’t have the power of the flagships, you want to gain root access and increase the power to get the most out of it. You can do that by overclocking the internal system with the help of apps from Google Play. You might also wish to increase the Samsung battery performance and remove the stock Samsung bloatware they always pre-install. Others might wish to try installing a custom ROM for the Grand Duos which is usually made by third-party developers. You can find some really great ROMs that will update the version of Android.
The best way to backup your Grand Duos after completing the guide is by installing a custom recovery and entering the recovery mode. From there you can choose to take a NANDroid backup before flashing a ROM. The NANDroid option is amazing since it takes nearly a complete snapshot of the current ROM. Usually you would need to download and install many apps from Google Play to backup all the different things a NANDroid can do at once.

However, that’s after you have root access. before you have root access, first you must take a backup the usual way. That means using the build-in Samsung backing up options, or installing third-party application from Google Play. Helium for Android is the best for backing up your apps, and it’s also great for backing up other data.
Details of Note
- You will need to unlock the Developer Options menu if you cannot already see it available from the Settings menu on your Grand smartphone. Go to Settings > About Device or About Phone and tap over the build number seven times. if you forget to count, don’t worry. The display should tell you how many times you have left before the Dev Options is now unlocked. After it’s unlocked,. simply head back out of there and go back to the main home screen on the Android device,. Now tap to open the Settings once again and scroll down the list until you see the Developer Options menu.
- Check the box that enables the USB Debugging Mode once you are inside the Developer Options menu. Now you can leave there and it will remember your Android OS preferences without having to click any confirmation box.
Rooting the Samsung Galaxy Grand Duos GT-I9082
- Download Odin 3.07 from this page. Links are toward the bottom of the page. You can use a different Odin version if you need.
- Download the updated version of the SuperSU from here. transfer the SuperSU file over to the Grand Duos smartphone.
- Download the ClockworkMod Recovery image from here.
- The first thing we are going to do is flash the custom recovery. We need to eventually enter that recovery, install SuperSU and flash it from the recovery menu. That’s why we want the recovery first.
- Start by completing powering down the Grand smartphone. Do that by holding down the Samsung power button for ten seconds before letting go. You should see the display completely powered down.
- Now hold the Power key + Volume Down + Home key at the same time and wait until you see the screen change. You should see a warning screen or the Android logo.
- Press the Volume Down button now and you will eventually see it in Download Mode.
- Extract the Odin package and the rooting package to the desktop now so you can use the executable files inside. At the moment, both files are zipped, so you cannot use them.
- Run the Odin app and leave it open.
- Now connect the Grand Duos to the Windows computer that has the files.
- Since Odin is already open, it should now detect your device by showing the ID: COM port in a different color (usually yellow or blue).
- Click the PDA/AP button and browse the desktop for the CWM recovery file. Remember you must unzip the folder before you’ll find the rooting file.
- Now click the Start button and wait for it to finish installing the custom recovery image.
- Now we need to gain the root access.
- Turn off the Grand Duos once again the same way you did before by holding down the Power button for ten seconds.
- Now we are going to boot it into the custom recovery mode by pressing the Power + Home + Volume Up and keep them pressed in until the smartphone blinks twice. Now release the Power key only. Wait until you see a list on the display and choose the ClockworkMod recovery (CWM) option.
- Once you are in the recovery mode, navigate through the menu using the Volume keys and choose the “install from SD card” option.
- Now select the “choose zip” option and browse the SD card for the SuperSU file. Choose to install the SuperSU and confirm it.
- Wait until the SuperSU is finished installing and navigate back to the main recovery menu.
- Choose the reboot now option and you’re all set.
Now you are ready to confirm the root access worked by installing the root checker application. The link in the post points to the Google Play Store.