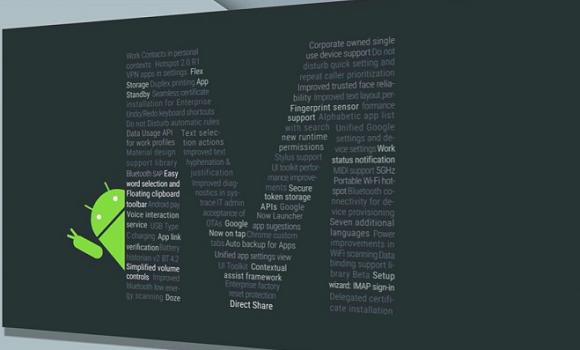
Android Lollipop might still be the most popular operating system everyone is talking about and still the one they consider new when heading out to the local phone shop to pick up the new Samsung Galaxy S6 — or any other device for that matter. However, make no mistake about it, the Android M is the latest software release Android has to offer and it comes with some pretty neat improvements.
I don’t think it really matters what improvements it involves, the people are still going to download the previews of the future installments if they are a developer or have developing interests. With that being said, it isn’t important to glide over any features at this time. You’ll be better off finding the guide as soon as possible, so here it is:

You should take all the usual options before starting such as backing up your data. We all know a NANDroid backup is just around the corner, but that doesn’t mean now a great time to skip safety. If you don’t back up and you want to factory reset you will lose the data you didn’t save. Most people love to use Helium for backing up those apps; you might also want to use the built-in backup functionality that comes native on your handsets. The choice is yours.
Rooting Android is not recommended by Google or any OEM because it creates millions of additional warranty claims by noobs who are not advanced Android users. It’s precisely the reason they don’t want you rooting. Apart from that, they couldn’t care less about you flashing a custom ROM, installing a custom recovery, using extra apps for root-only purposes from Google Play and so on. With that being said, you should learn that rooting does indeed void any remaining warranty you might have on the device. You can get that warranty working again for free claims after you unroot the device. You already know how to do that: flash the next software update after this one and you’ll remove all root access.
How to root the Google Nexus 6 on the latest Android M Developer Preview 2 with build number MPZ79M
- Hit the official Android developers page here and download the Android SDK.
- Learn how to install the ADB drivers on your Windows computer with which you plan to use the guide by reading the post here about installing ADB on Windows multiple different ways.
- Download the Despair kernel unique for the Nexus 6 and a different tool than the Nexus 9 uses.
- Download the SuperSU 2.49 beta which is the same SuperSU file we are recommending for all nexus devices this time.
- Download the TWRP recovery you probably want to install on your device.
– I say the term “probably” loosely because of course you can use TWRP or CWM (ClockworkMod) on the Nexus devices. Since most people these days are using TWRP for these Nexus devices, that’s the custom recovery image we are using today. However, you can substitute the TWRP file or the CWM file. Just be sure you change the tale during the guide when using the command prompt utility. The command we show in the guide works specifically for the TWRP only and wot work to flash the ClockworkMod recovery. - Transfer the custom recovery image you are using over to the same folder where you have fastboot saved. That’s your main folder you ought to be using today.
- Connect the Google Nexus 6 to the computer and transfer the SuperSU beta and the Despair kernel to the SD card (internal storage).
- Complete power off your device and reboot it to the fastbootr mode. Fastboot mode is easy enough: hold the Volume Down + Power buttons collectively together and it will boot to the fastboot mode.
- Open the same folder that has fastboot and the TWRP recovery.
- Look down at your keyboard and hold the Shift key whilst right-clicking the mouse and a new menu will present itself on the display.
- Choose to open the command prompt window here from the new menu.
- You are now set to type your first command.
- Type the command: “fastboot flash recovery openrecovery-twrp-2.8.5.0-shamu.img” to get to the recovery mode.
You should now see a new menu and one of the options from that new menu is recovery. tap over the recovery option and you will enter the recovery mode. - Now that you are in recovery mode, everything is a cinch: tap over the “install” option from the custom recovery menu and browse for the Despair kernel. Proceed to install that kernel before going back, pressing the “install” option once again and this time uploading the SuperSU file from your SD card.
- Now you can go to the main custom recovery menu and choose to reboot the system.
Since you are flashing Developer Previews, you probably know all about apps such as the root checker. Continue to install it if you want to find out if the root access is working. Additionally, you probably already know about the features available for rooted Android users. However, if you still feel like doing some casual reading, be sure to check out what things you can do with a rooted Android and let us know what you think in the comments.