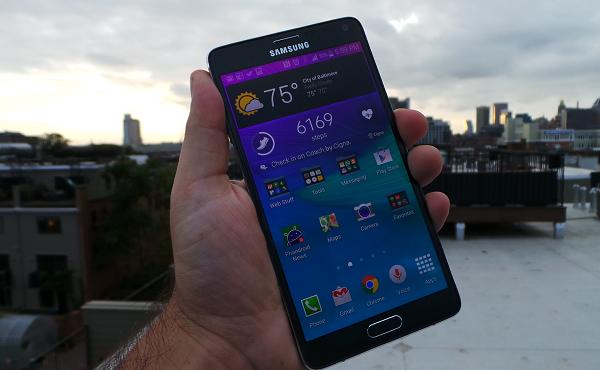
The Samsung Galaxy Note 4 Developer Edition is available to gain root access for those developers out there looking to take things a step further. As you know, developers are smart people and don’t often require guidance for this sort of thing. Nevertheless, we are going to give a run down of pre-requisites and the guide like we would for any other smartphone or tablet. As you know, unlocking the OS will open up the system internal so you can install custom ROMS, custom firmware, custom applications and more. Whether you want to overclock the CPU and deliver better device performance or if there’s a favorite app out there, you can do as you please.
ChainFire is the genius behind this tool. He delivers an experience that is as close to the stock Android as possible and that’s why we love it. Correspondingly, it’s the easiest way to unchain the OS according to most people who enjoy the custom scene.

It comes as little surprise if the users reading this post already know how to backup their Note’s. Therefore, you can go ahead with your normal way of backing up the phone contacts, call logs, SMS texts, MMS texts, market applications, video files, music files, picture galleries, the EFS folder and anything you need to store and make an additional copy of before starting. Nonetheless, some of our favorite applications to get this done are ROM manager, Helium for Android. Titanium for those with root access already, Holo Launcher, Ultimate backup, My backup pro and G-Cloud. With the aforementioned names users can store everything they need. SMS Backup+ stores those text messages you can’t otherwise find a place for.
Details of Note
- You must turn off all security features from the computer and smartphone. That includes malware, spyware and antivirus protection. Furthermore, you can use a notebook, laptop or a computer t get this done. Just make sure it has a working USB slot since we need to plug our devices straight in. However, you will need a Windows-based operating system ranging from Windows XP to Windows 8. Windows 10 isn’t out yet at the time of writing this post. However, once it is out we know the Samsung team will make the Odin tool compatible.
- The Note 4 comes with USB charging as s stock feature. That means it will automatically charge the smartphone battery once plugged into the computer. If you know this is not working you must reserve enough power to see through the guide. You do not want the phone shutting off before it completes the installation since it leads to soft-bricking and factory resets which wipe the phones data.
- The steps we are detailing today is only for the Verizon or ‘Big Red” version of the Note 4 and isn’t for use on any other. The aforementioned device is available from T-Mobile, Sprint, At7t and Verizon.
- The steps are for advanced Android users only and shouldn’t be tried by rookies since you can soft-brick the phone if you make a mistake. If you don’t have any family or friends for assistance, make sure you read through the instructions carefully and leave a comment if you are stuck.
- Make sure you have enabled the USB Debugging Mode from the Developer Options menu available from the Settings menu. Moreover, download and install the up-to-date USB drivers either manually or by installing Samsung Kies.
How to root the Samsung Galaxy Note 4 Developer Edition with ChainFire’s CF-Auto tool
1. Download the rooting package here.
2. Down load the latest version of Odin here.
3. Extract the contents to the desktop of the computer.
4. Have the Odin application running and open on the monitor for us to come back to shortly.
5. Fetch the USB cable.
6. Use the USB wire for connecting the Note 4 to the computer of your choice.
7. Watch the ID: COM port in the application on the monitor change color to blue or yellow.
8. You will see a message appear on the screen saying “added”.
9. If this does not happen for you it likely means you need to re-install the USb Drivers.
10. Click the PA button and upload the rooting file from the desktop.
11. Leave the default settings as they are. They include:
- Auto Reboot on
- F Reset Time on
12. Do not check the box that says re-partition.
13. Click the Start button and wait for the flashing process to finish.
14. Do not touch any buttons while it’s flashing.
15. Disconnect the phone from the computer after the reboot is complete.
Click the safely remove hardware button from the system tray.
That’s all.
If you stumble across a message that says “Unfortunately SuperSU has stopped“, install the SuperSu application from the Google Play Store