Last Updated on August 3, 2022 by Mat Diekhake
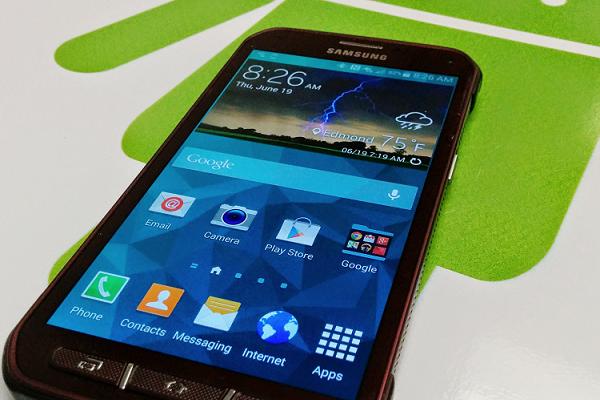
The Samsung Galaxy S5 Active is a phone that started off with Android 4.4.2 KitKat and still remains without Lollipop since the first Google-owned Nexus range is without Android 5.0 Lollipop too. We know that the Nexus 6 and Nexus 9 is updating to Lollipop extremely soon, but the S5 Active will remain without it for some time until Sammy do the rounds to the more important handsets such as the standard S5 that is a great deal more popular. The Active variant is exclusive to AT&T as no other phone carrier network picked this one up.
Nevertheless, owners can unlock the operating system and open it up[ for use with Custom ROMS, custom firmware and custom applications unavailable from the Google Play Store. Users will love to check out ROM manager, ShootMe, Juice Defender, Quick Boot, Wireless Tether and more.
Everybody should backup the OS unless you want to risk losing valuable and irreplaceable data. Once the system partition is wiped you can’t get back any of the sensitive data such as phone contacts, SMS texts, MMS texts, call logs, market apps and any other date. That’s why you want to use applications available from the Google Play Store such as Helium for Android, Holo Backup, SMS backup+, g Cloud and others. With the aforementioned apps, users can make copies of everything from the contacts list and music. However, for those picture you want to try backing up with Samsung Kies since this is a Samsung device. Kies doubles as a fantastic way to install the latest USB drivers which you also need before picking up the steps. Moreover, if you don’t decide to start with Kies you want to install the file manually for the USB drivers. You can get this from the official Samsung website and other safe sources.
The safest way to complete the steps is by downloading the root file to the computer and installing it from the computer. That’s why you need to have either a notebook, laptop or computer to start the steps. In addition to the computer, it must be running Windows OS such as Windows XP through to Windows 8. Microsoft haven’t released Windows 10 yet, but when they do, it too will be compatible with the Odin tool.
You will equip yourself with ChainFires CF-Auto-Root tool from the repository in the steps. We choose to roll with ChainFires work since we know he is a gifted developer that is also responsible for SuperSU, Triangle Away that takes away the triangle after unlocking the internal system and more. Furthermore, ChainFire’s file gives users an Android experience as close to stock as possible while still unchaining the OS for loads of custom play.
Details of Note
- You want to stop all security programs from running on the computer and the smartphone before starting. That includes any firewalls, virus protections, malware protection and spyware programs looking after your machines. They can interfere with proceedings.
- The Active smartphone comes with USB charging as a stock standard feature. That means it instinctively begins charging the device’s battery when it’s plugged into the computer all by itself. It doesn’t need the phone charger part for that. However, on occasion, the USB charging feature plays up. In that case you want to make sure the battery has at least 50% power. Look at the status bar for the battery icon after turning the smartphone on to take a look.
- Make sure you have the USB Debugging mode enabled. You can find this option from the Developer Options menu off the Settings app.
- You should understand that rooting always voids the warranty since no developer has come up with a way to return the flash counter back to zero with unlocking the internals at the same time. The only way we can revert back to zero is by flashing the stock software package over the top and taking away the root access.
- Make sure you remember to turn the antivirus software back on again before you browse the web or else you are exposing yourself to several vulnerabilities around the web including the nasty Trojan Horse.
- It’s essential that you are an advanced Android users and have some experience with flashing kernels, ROMs or unlocking the OS before starting the guide. Try and sort after a friend or family remember with experience if you don’t have any yourself. Additionally, if you don’t have anybody to help you, you can always leave a comment and we will assist you when we see it.
How to root the Samsung Galaxy S5 Active using ChainFire’s tools
1. Start by turning the computer on.
2. Use the computer’s desktop to download the following:
3. Download the CF-Auto-Root package from this link here.
Note: The link above is for the Samsung Galaxy S5 Active/Sport. There is a separate file for the Galaxy S5 Active from Canada (SM-G870W).
4. Download Odin 3.09 from here.
5. Fetch the USB cable.
6. Have the Odin application running on the monitor.
7. Connect the Active mobile to the computer using the USB wire.
8. Watch the ID: COM port change blue or yellow and the message saying it’s “added”.
9. Click the PA button and upload the root file.
10. Leave the default settings as they are.
11. Do not turn on the re-partition option.
12. Click the Start button for the flashing to begin.
13. Wait for the ID: COM port changing color once more.
14. Additionally, a “pass” message appears on the screen when it’s successful.
15. Disconnect the mobile from the PC by “safely removing the hardware” from the system tray.
16. Stop the USB Mass Storage device.
That’s all.