Last Updated on December 24, 2022 by Mathew Diekhake
The following tutorial demonstrates how to reset and re-register the Settings app when using a version of the Windows 11 operating system.
Since Windows 10, Microsoft has put lots of work into the Settings app in an attempt to make a mobile-like easy-to-use interface for adjusting settings, and that would replace their old vision that was displayed in the Windows Control Panel. While some settings still need to be opened from the Control Panel, Microsoft devs have shifted most options to the Settings app already, and they’ve done an excellent job with it.
It’s unlikely that you will ever experience problems with the Settings apps’ functionality. But if you were to encounter a problem with it, Microsoft has programmed it in a way that you can solve that: by running a Windows PowerShell command. And in Windows 11, you even get an updated PowerShell shell to run from the new Windows Terminal app.
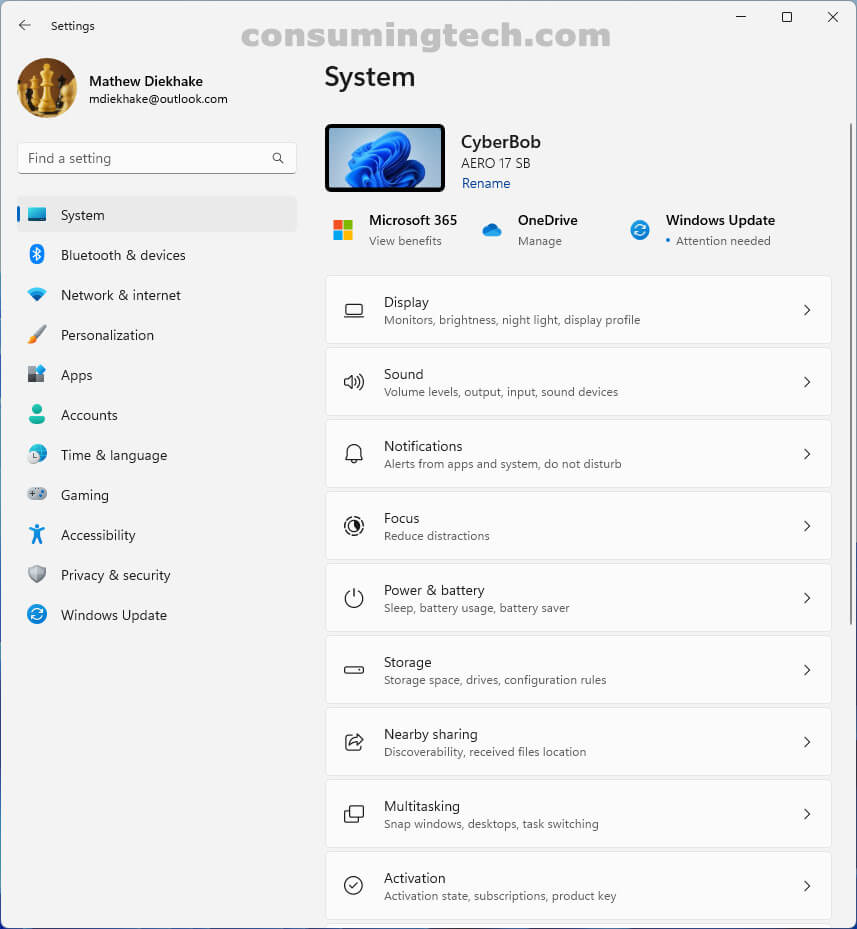
An example of the Settings app in Windows 11:

How to Reset/Re-Register Settings App in Windows 11
You can reset and register the Settings app at the same time suing one line of code in Windows PowerShell. Here is how to do that:
1. Open the Windows Terminal app. How to Open Windows Terminal in Windows 11 [Tutorial].
2. From the Windows Terminal menu, select to open a new Windows PowerShell window if it isn’t set as the default already.
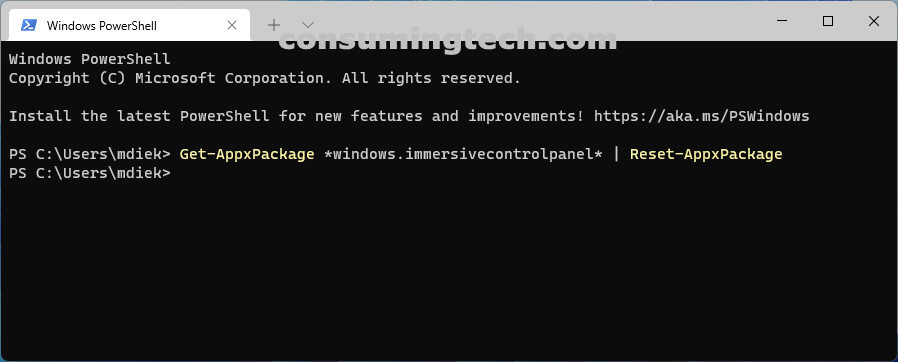
3. In the PowerShell window, type the following line of code and then press the Enter key on your keyboard to execute it:
Get-AppxPackage *windows.immersivecontrolpanel* | Reset-AppxPackage
4. Close the Windows Terminal, continue using the computer, and you will find the Settings app has been reset and re-registered.
Related Tutorials

