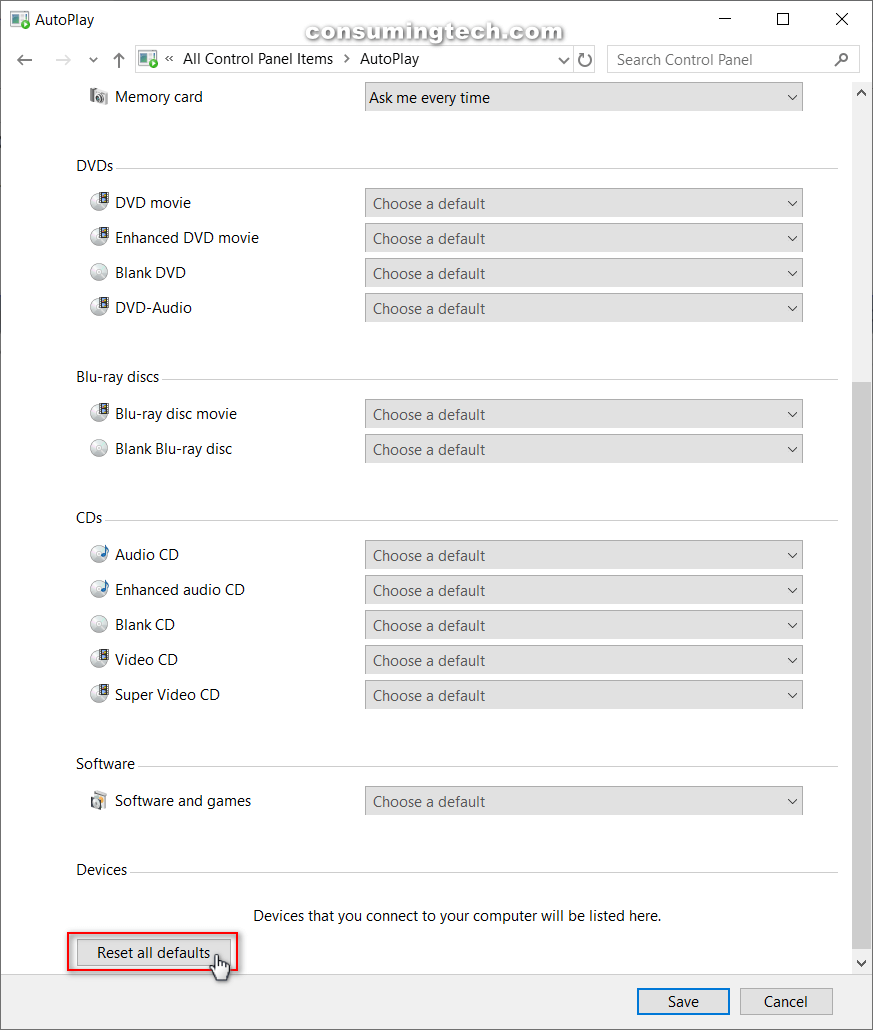
AutoPlay handles what Windows 10 does with your media types (pictures, music, video) when a hot-plug device is connected to the computer based on what actions the user has chosen. This includes displaying/playing media automatically or taking no action. It may also result in displaying a standard folder view of the contents.
Users don’t have to configure AutoPlay if they don’t want. Instead, they can turn off AutoPlay from the settings, which will result in no notifications or actions required when compatible devices are connected to the computer.
You may want to reset the AutoPlay settings back to their defaults after you have changed them in the past. Especially if Windows 10 continues to evolve and the default settings became even better than what they were to begin with.
The following tutorial demonstrates how to reset the AutoPlay settings back to their default when you’re using a version of the Windows 10 operating system.
How to Reset All AutoPlay Settings to Default in Windows 10
You can turn AutoPlay on and off from the Settings application in Windows 10. You can also choose the AutoPlay defaults for removable drives and memory cards from the Settings app, too. To find those settings, navigate to Settings > Devices > AutoPlay. To reset AutoPlay, however, you need to go to the Control Panel. To do that:
1. Open the Control Panel in icons view, and click on AutoPlay from the list of All Control Panel Items.
2. Scroll down to the bottom of the AutoPlay settings, and then click on the Reset button.
You can now close the Control Panel window and continue using your computer if you like.
That’s all.
