Last Updated on December 26, 2022 by Mathew Diekhake
The Sticky Notes app has seen a significant update in the Windows 10 Anniversary Update that comes with some new features and a new modern look.
If you are having any problems with the newer version of the Sticky Notes app, you can try resetting the Sticky Note application and see if that fixes the problem. The Windows operating system has an easy way for you to reset the Sticky Notes app without having to go to much trouble.
However, if you have tried resetting the Sticky Notes application, and that didn’t fix the issue that you are finding, you might prefer trying to reinstall the app instead completely.
The following tutorial demonstrates how to reinstall the Sticky Notes app by using Windows PowerShell in all versions of the Windows 10 operating system.
Reinstalling the Sticky Notes App Using Powershell in Windows 10
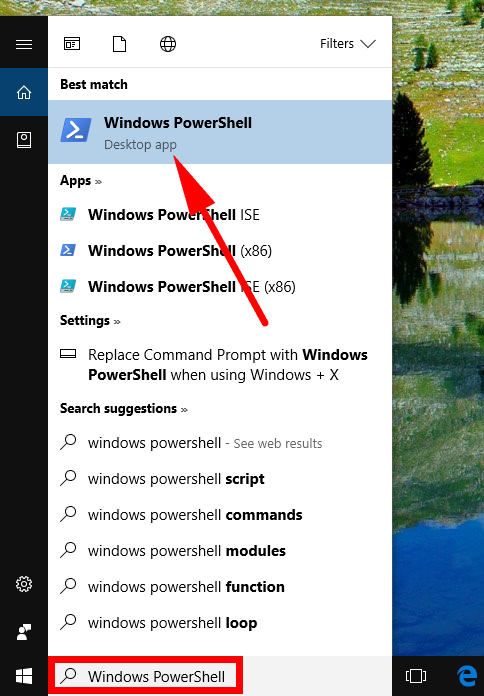
1. Click where it says Search Windows on the left side of the taskbar at the bottom of the computer and then type Windows Powershell into the box. Doing so shows you the Powershell application at the very top. Right-click on it and then choose to run the Windows Powershell with the administrative permissions by clicking on the Run as administrator.
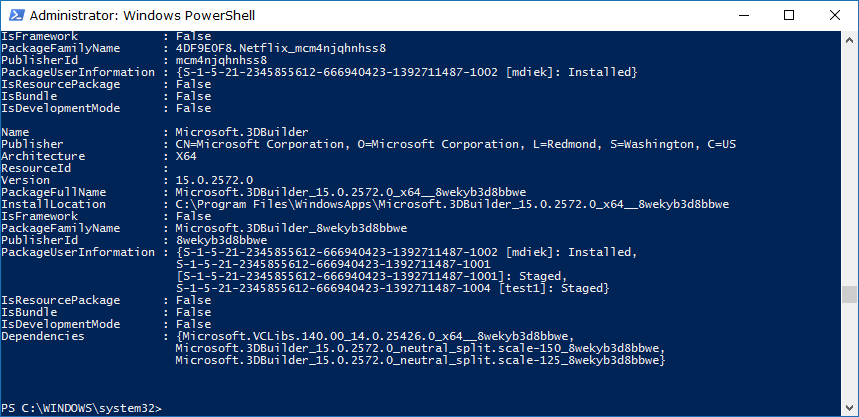
2. You should get a blue screen that looks the same as the one below (minus the code that we have added).
3. Type the command Get-AppxPackage –AllUsers and then hit the Enter key on the keyboard. (click to enlarge screenshot below)
4. You’ll trigger heaps of code rolling down the display. Do not be alarmed by this at all as it is perfectly normal. (click to enlarge screenshot below)
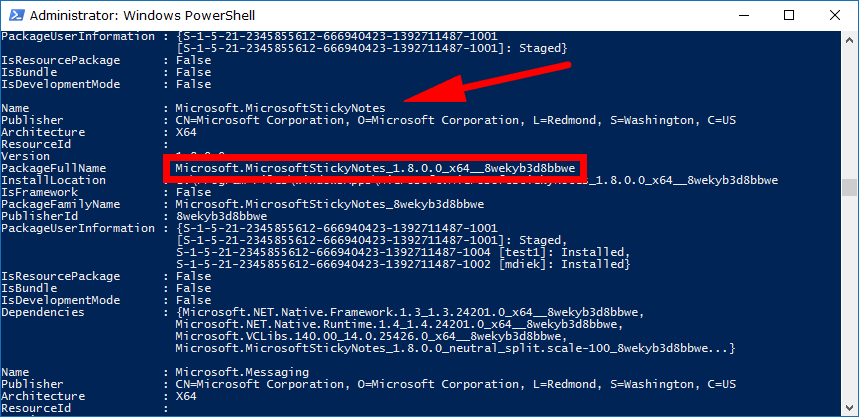
5. Look on the left side of the screen for the Package Full Name heading and then copy the code that is next to it (Microsoft.MicrosoftStickyNotes_1.8.0.0_x64__8wekyb3d8bbwe) by pressing the Ctrl + C hotkey combination. (click to enlarge screenshot below)
Note that pressing to right-click the mouse and copy from there does not work within the Powershell, so you need to do the Ctrl + C hotkey combination.
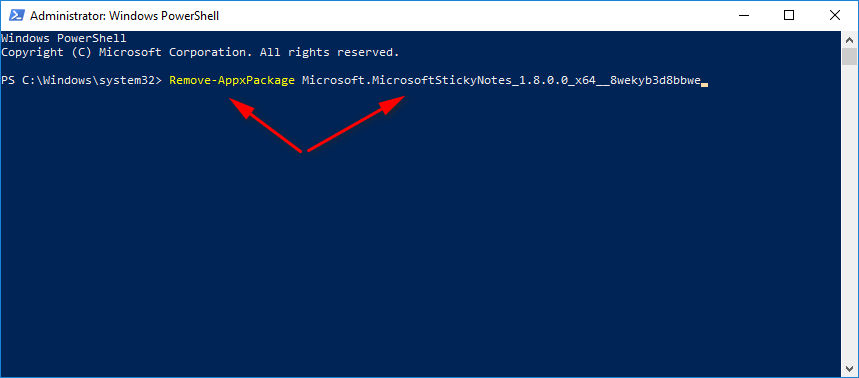
6. Now type the next command Remove-AppxPackage and paste the code next to it, so it looks like this: Remove-AppxPackage Microsoft.MicrosoftStickyNotes_1.8.0.0_x64__8wekyb3d8bbwe (click to enlarge screenshot below)
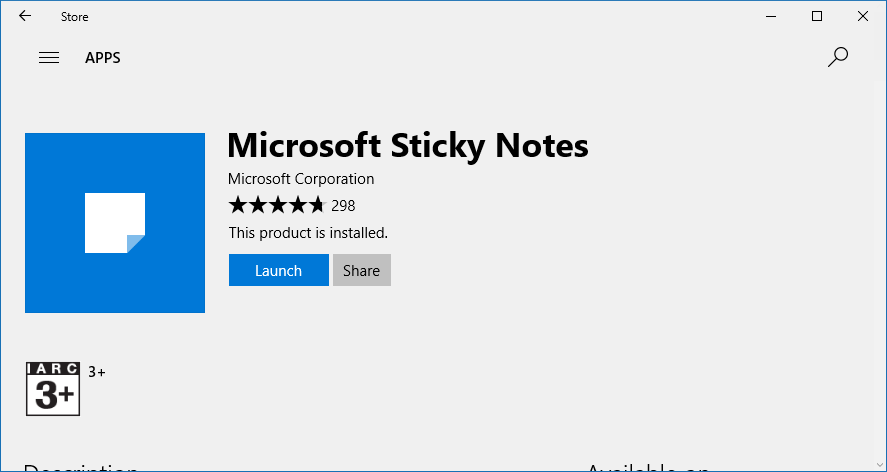
7. You have successfully removed the Sticky Notes application from the computer running on the Windows 10 operating system. Now you need to head over to the Microsoft App Store and download a new version of the application to get it back on the computer again.
That is everything it takes to use the Windows Powershell to remove the current version of the Windows 10 Sticky Notes application and then replace it again from the Microsoft App Store, so it is back on your computer but without the problem you were facing last time. The new version of the app should work just like you never had it running on the computer before.
Related Tutorials


September 18, 2019 @ 23:33
You say Remove-AppxPackage and then you say RemoveAppxPackage
September 18, 2019 @ 23:44
Thanks 🙂
I have updated the article.